
Get Started
The landing page for the GitLab for Miro documentation.
GitLab for Miro is our app that lets you sync content between Miro and GitLab. 🔄
It links your GitLab projects to your Miro boards, automatically creating App Cards for your project work items. Just connect your instances and sync your projects to start importing your GitLab work items into Miro.
Before you begin
GitLab for Miro installation prerequisites.
- An active GitLab account.
- An active Miro account, with a board you'd like to use.
Install
Installation instructions for GitLab for Miro.
- From your desired Miro board, click the Tools, Media, and Integrations button in the left-hand menu.
- Click the Marketplace search option, type GitLab for Miro in the bar, and select the app.
Connect
The start of the section on connecting GitLab and Miro for use by the app.
There are two options for connecting GitLab and Miro. You can connect a GitLab Cloud account or a Self-managed instance. The instructions for each process are below.
Initial setup
You may connect additional GitLab instances after installing the app. The instructions below outline the steps to create your first connection.
GitLab Cloud
How to connect a GitLab Cloud account to the app.
- Click Connect GitLab and select the GitLab Cloud (gitlab.com) option.
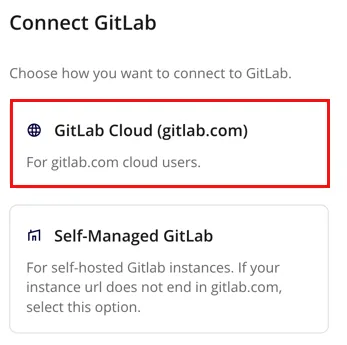 The Authorization window appears.
Self-managed GitLab instances
How to connect Self-managed GitLab instances to the app.
Recommended method for teams
Self-managed GitLab instances can be connected in two ways. The OAuth application method is recommended for teams, but must be completed by a user with a GitLab admin role.
Any GitLab account holder may complete the Personal Access Token method.
Connect via OAuth application
- Click Connect GitLab and select the Self-Managed GitLab option.
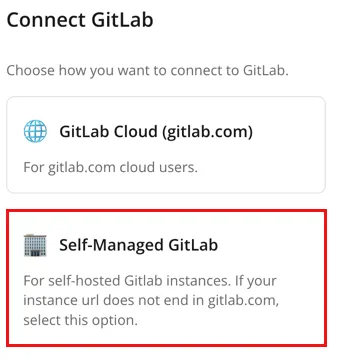
- Click the OAuth Application option.
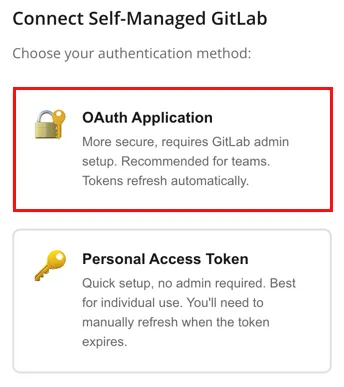 The Setup OAuth Application wizard appears.
Connect via Personal Access Token
How to connect the app to GitLab via Personal Access Token.
- Click Connect GitLab and select the Self-Managed GitLab option.
- Click the Personal Access Token option.
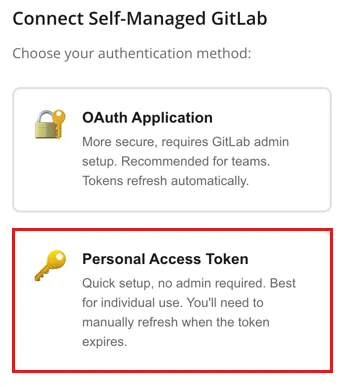 The Connect with Personal Access Token wizard appears.
Personal access tokens expire.
Connections made via personal access token eventually expire. The app will warn you before your token expires. When it does expire:
Go to your GitLab instance and create a new Personal Access Token with the same scopes.
In the Miro panel, go to the connections view and click Add Connection.
Follow the setup wizard again with the new token credential.
Revoke a Personal Access Token
How to revoke a personal access token connection.
- Go to your GitLab instance, click .
- Find the Miro GitLab Integration token in the list.
- Click the three-dot menu and select Revoke.
Link a project
How to link a Gitlb project to the app.
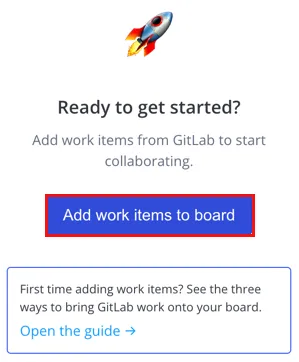
- From the GitLab for Miro panel, click Add work items to board.
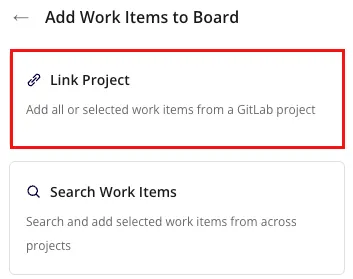
- Select Link Project from the listed options.
- Optional: Select your desired connection if you've set up more than one.
- Search for your desired project or click the carrot to scroll through your options in the Project field.
- Set any filters desired and choose which fields to show on the Miro cards.
- Click Link.
Imported Work Items
Information about app cards created in Miro based on imported Work Items from GitLab.
After successfully linking, the GitLab for Miro app creates App Cards on the current board for every work item that matches your filters. Each card shows the work item title, GitLab status, assignee, and any labels you chose to appear.
The cards are added to your board at the cursor position. You may move and arrange them as you would any other Miro element.
Sync for the first time
How to sync your connection for the first time.
- Click Sync on that project card to update just that project.
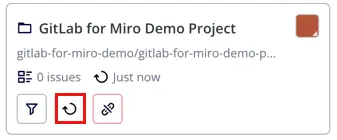 Alternatively: Click Sync All in the Linked Projects section header to update every linked project at once.