
Example Behaviour
Example scripts
If you are setting a field value which is in Atlassian Doc Format, you can use the ADF builder tool provided by Atlassian and refer to their documentation for more details.
Change Field Name Example
This example shows you how to change the name displayed for a specific field within the issue creation screen. In this example, the field entitled Summary is changed to Ticket Title in response to a particular team's preferences.
Follow the steps below to create the behaviour:
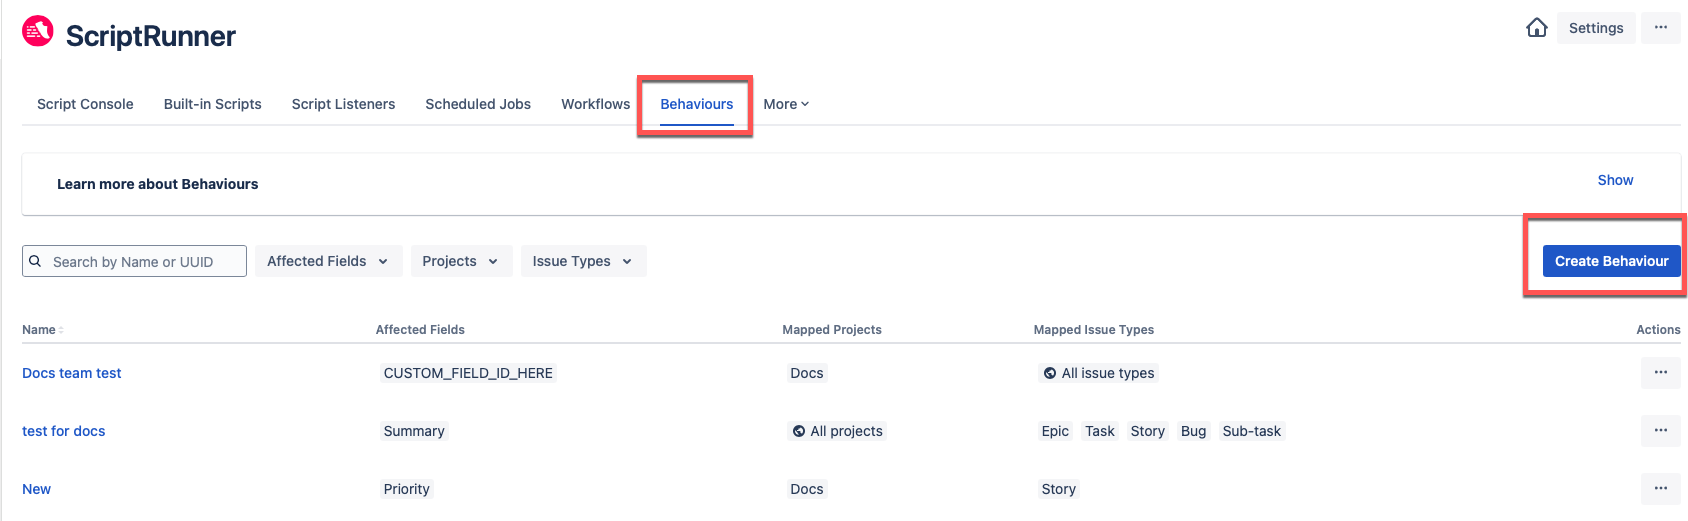
- Open the Behaviours tab and click Create Behaviour.
You will see the Create Behaviour screen displayed:
- Enter a name and description for the behaviour. It's good practice to make these as descriptive as possible.
- Ensure the Enable Behaviour toggle is activated.
- Scroll down to the Behaviour Mapping section and select the relevant project to which this behaviour will be mapped from the Projects drop-down. For this example, choose the Docs project.
- Select the issue type that will be associated with the behaviour from the Issue Types drop-down. For this example, choose the Task issue type.
- Scroll down to the Behaviours Scripts section and click Add Script. The Add Field Script pop-up window is displayed where you can add the behaviour script:

Define when the script should run. This can be when the issue creation screen loads initially and/or in response to a field change. For the purpose of this example, check the On load option so that the Summary field is renamed to Ticket Title when the issue creation screen loads.
When Runs On load The script will run when the create screen initially loads.
You'll want to choose this option when you want the affected field to populate immediately upon opening the create screen.
For example, a field name or field description is changed, or a value is pre-populated into the field.
On change The script will run when the specified supported field change happens.
You should choose this option when you've added a condition to the logic and identified a trigger that will update the affected field.
- Choose Create View from the options to run the script on from Create View, Issue View or Transition View. Refer to the Behaviours Supported Fields and Products details, as not all field types are supported.
- Enter your code within the script box, as required. Note that you can open the API documentation directly from here.
Alternatively, you can reuse one of the many example scripts provided and modify the code as required, ensuring that you:- Edit any variables, like custom field names, roles, or groups, in the example code so it's relevant to your instance.
- Choose the right time to run your script on load and/or change so that it runs when needed.
- Click Example scripts, and you are automatically redirected to the ScriptRunner HQ website, where you can view the Behaviours example scripts.
- Choose your preferred script from the examples provided. You also have the option to search for a particular script.
- Open the script and click Copy Cloud script.
- Return to the script box and paste the copied code into the code editor.
- Click Save Script once you have confirmed the parameters as
getFieldById("summary").setName("Ticket Title");.
Now that you have created the behaviour to run when the screen loads, you will see the field entitled Summary change to Ticket Title when you create new tasks within the Docs project in your Jira instance. - Refresh your screen and click Create to see the behaviour in action. You are returned to the Create issue screen, where you will see your changes, as shown below:

If you wish to revert to the original Summary field name, click Disable from the ellipsis menu next to your chosen behaviour, as shown below:
Alternatively, you can go to the Edit Behaviour screen and then deselect the Enable Behaviour option.