
Radio Matrix
The Radio Matrix lets you quickly set up a table format of radio buttons for multiple questions from which the user can select one answer per row.
This type of option is commonly used in a rating or likes scale.
Field types must be added using the Form Builder to function.
Learn how to do this on our Create Your First Form page.
How to add a Radio Matrix macro to an existing form:
Navigate to the page with the relevant form and enter Edit mode.

- Click the existing Form, then click Edit.
The Form Builder appears. Use the Add question button to add the Radio matrix option.
The configuration options appear.Fill in desired configuration details.
- Provide a title or question.

- (Optional) Provide a description to appear underneath the matrix.
- Define Row options by clicking in the associated text field(s).
- Define Column options by clicking in the associated text field(s).
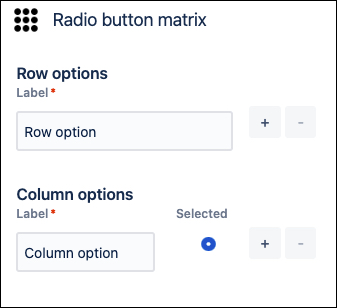
- Use the + icon to add row options. Use the - button to remove unwanted options.
- (Optional) Use the Selected radio button option to preselect a column option.
- Provide a title or question.
- Click Save in the Form builder when finished.
This saves the inputs and returns the screen to Confluence Edit mode. - Publish or Preview the page to see the final result.
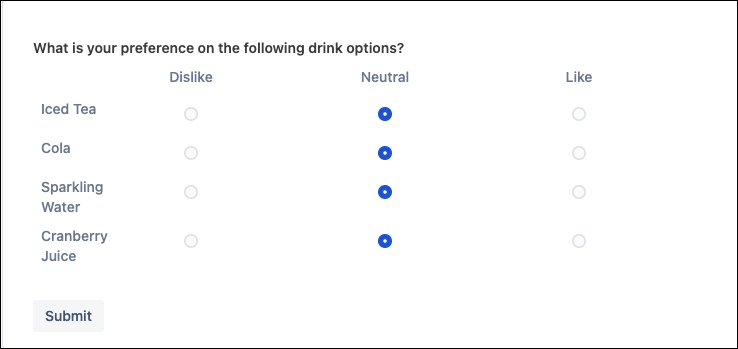
Example use case
Add the Radio Matrix option to a form to gather data for an upcoming company lunch. We'll ask the users to give predefined feedback on a list of drink options.
Navigate to the page with the relevant form and enter Edit mode.
Click the existing Form, then click Edit.
The form configuration appears.Use the Add question button to add the Radio matrix option.
The configuration options appear.Click Add a question.
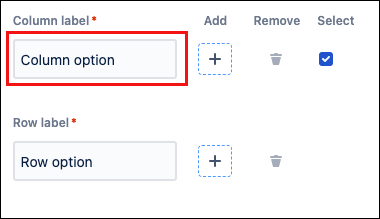
Type:What is your preference for the following drink options?- Click the first Column label option, labeled Column option.
Type:Dislike. Click the + option.
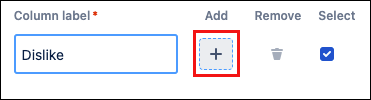
A new Column label option appears below the first.Click inside the Text field of the next option.
Type:Neutral.- Repeat clicking the + button to add one last column option.
- Label the Text field:
Preferred.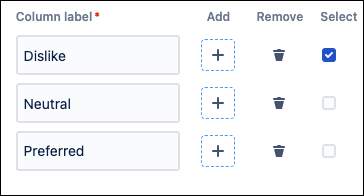
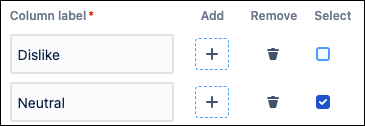
- Click the Select checkbox option next to Dislike. This deselects the default option.
- Click the Select checkbox option next to Neutral.
Click the first Row label option, labeled Row option.
Type: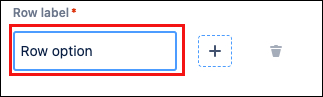
Iced Tea.- Repeat clicking the + option to add a checkbox option three times more. Label the row options created as
Cola, Sparkling Water,andCranberry Juice.
- Click Save.
The field appears as a placeholder in Confluence Edit mode. Click Publish or Preview to see the result.