Advanced Cards
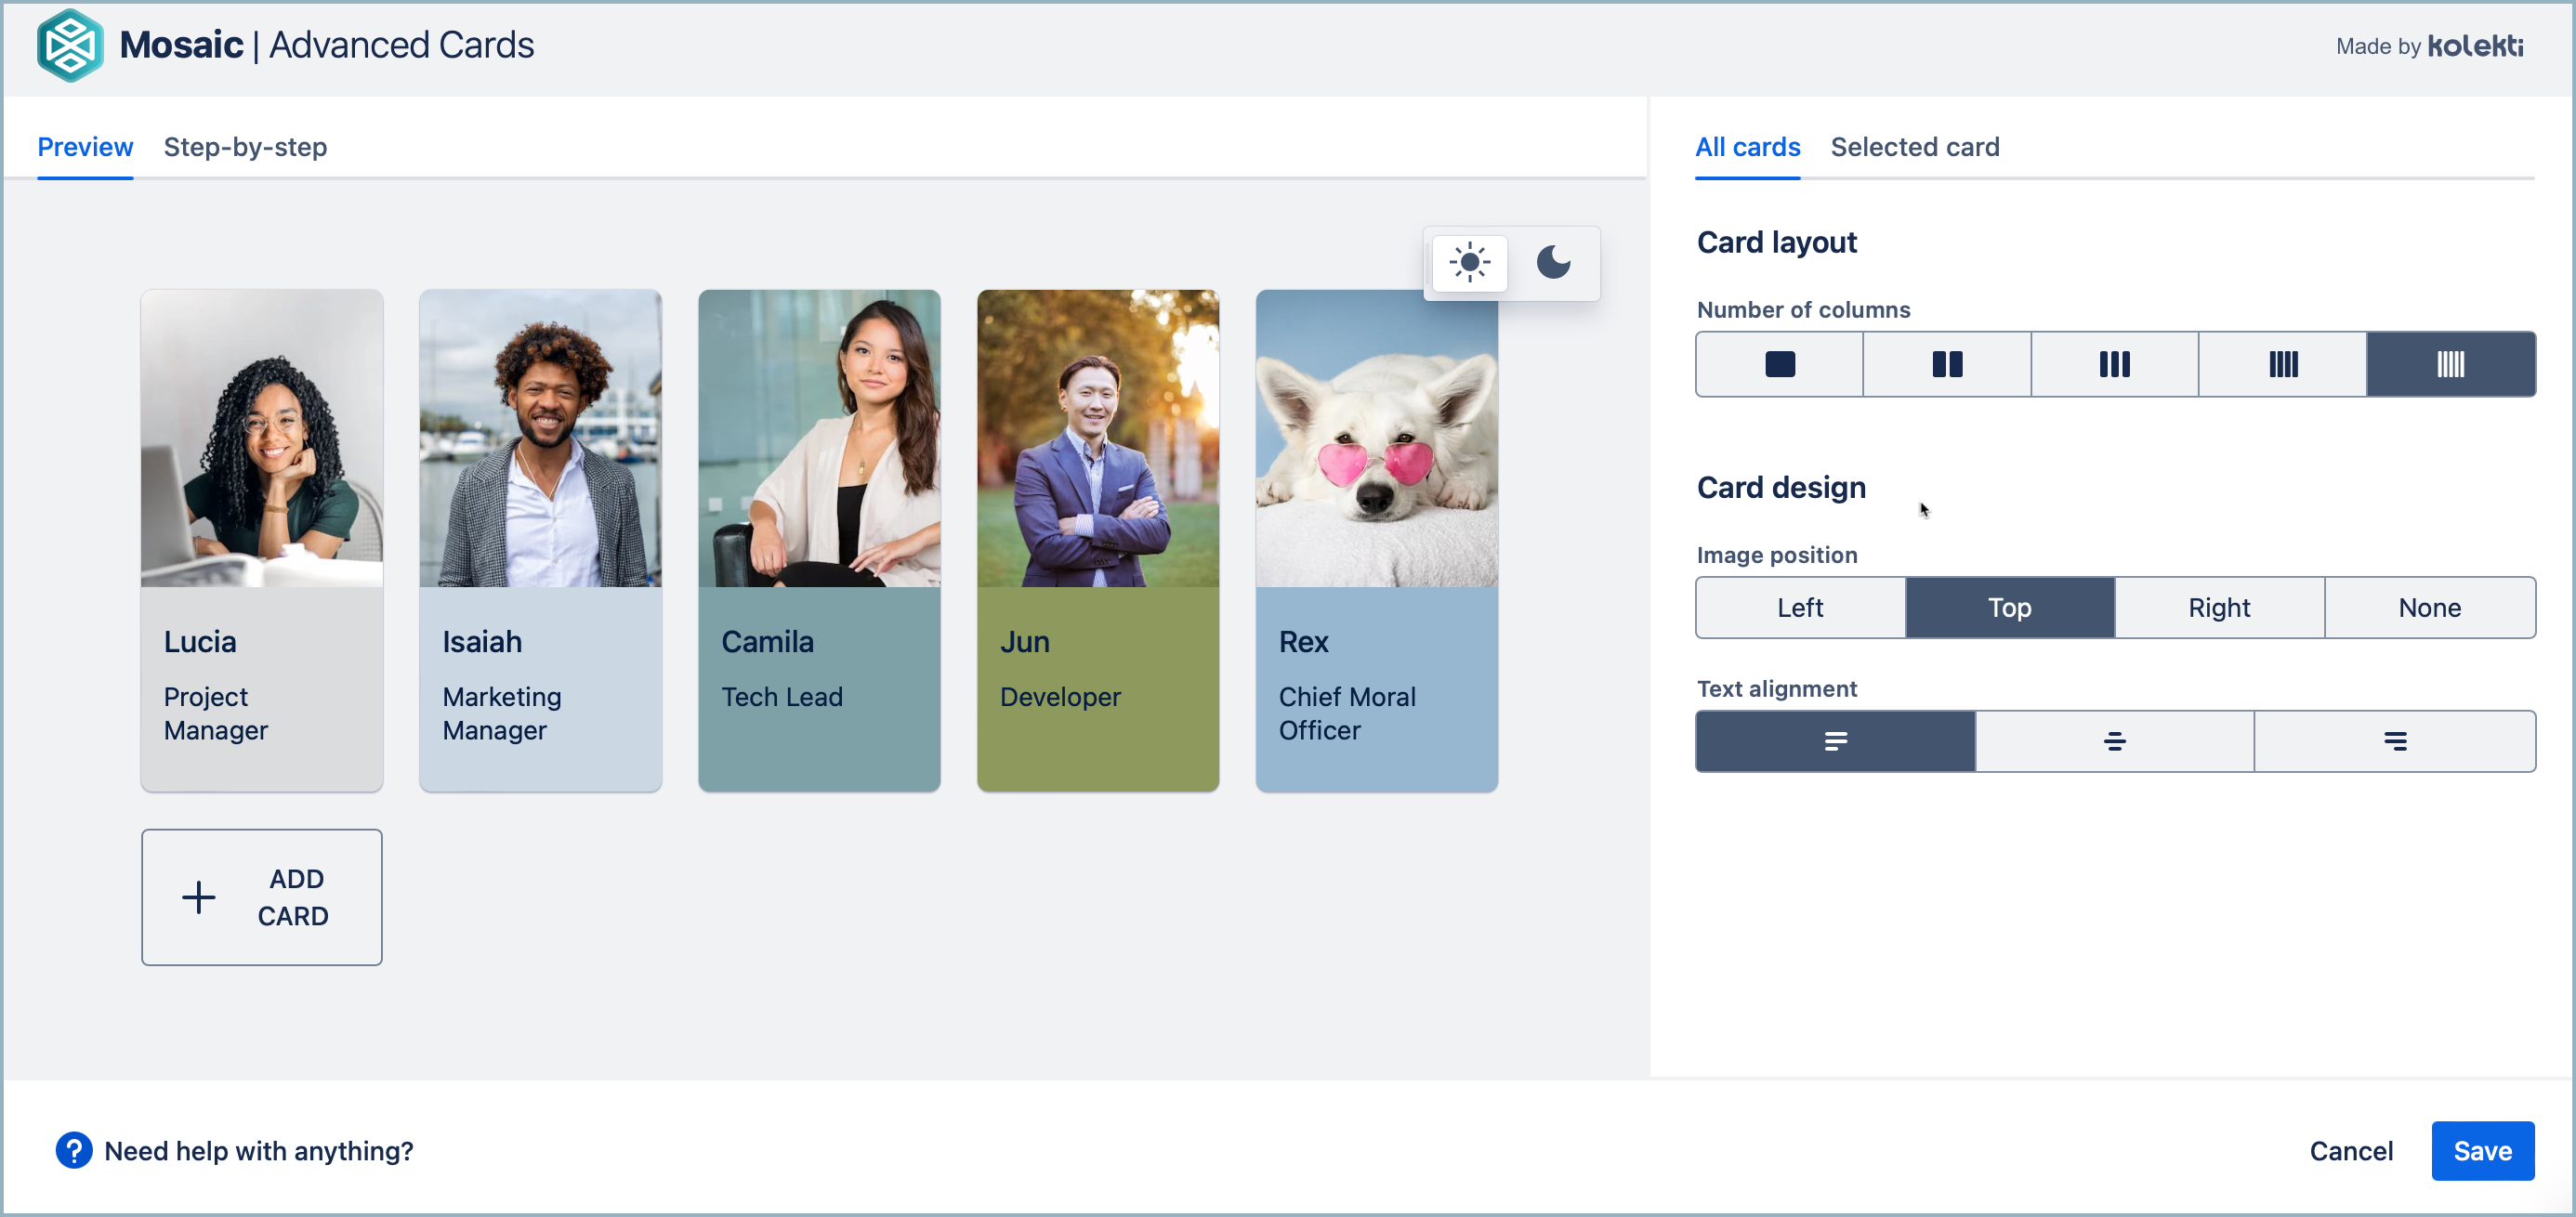
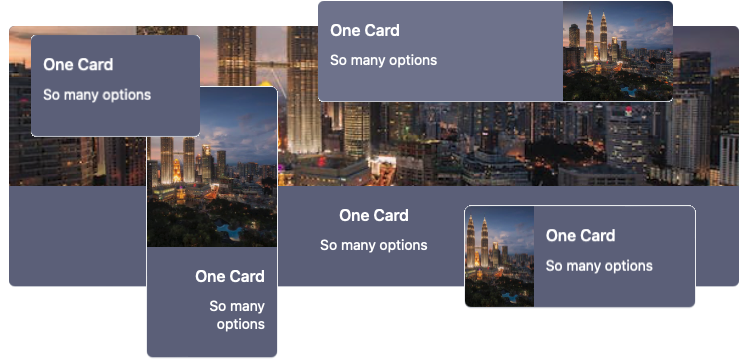
Increase the engagement of your users with the Advanced Cards macro. This clickable element can identify key highlights from a document, introduce your team, or add visual interest to a homepage index. You can create as many cards as you need in one go.
The Cards macro creates cards in a grid pattern. The grid can have a maximum of five columns. Customizing your cards with statement images and contrasting color schemes adds instant appeal to your Confluence page. You can do lots of amazing things with the Cards macro. What will you do next?
Add a Cards macro to your page
Navigate to the page you would like to edit.
Click the Edit icon in the top-right of the page, or press `
e` on your keyboard to display the page in Edit mode.Click the position where you want to display your cards.
- Type /Advanced Cards and select the Advanced Cards macro.
Customize the number, layout, images, color schemes, and links of your cards.
Select Save. A placeholder is shown on your page.
Select Publish to see the Cards macro in action.
Change the number of cards
You can add and delete cards inside the editor to have as many cards as you need.
Add a card
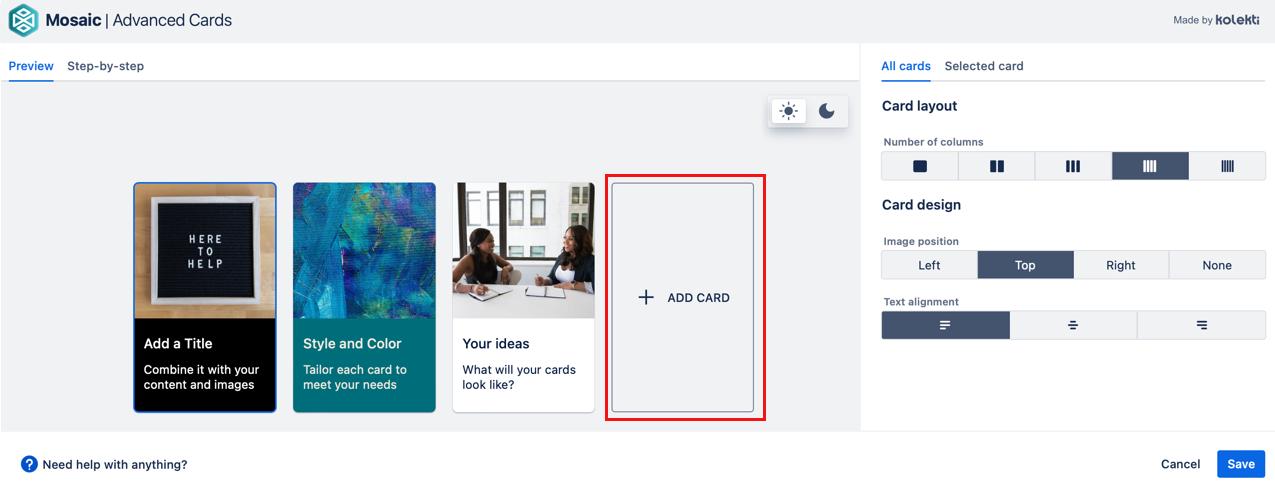
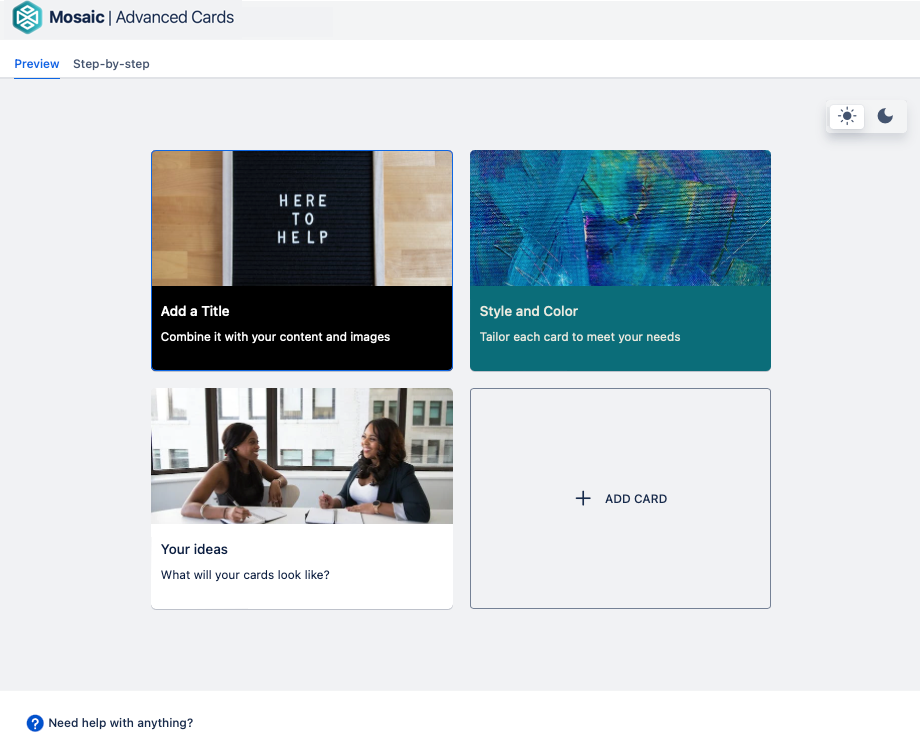
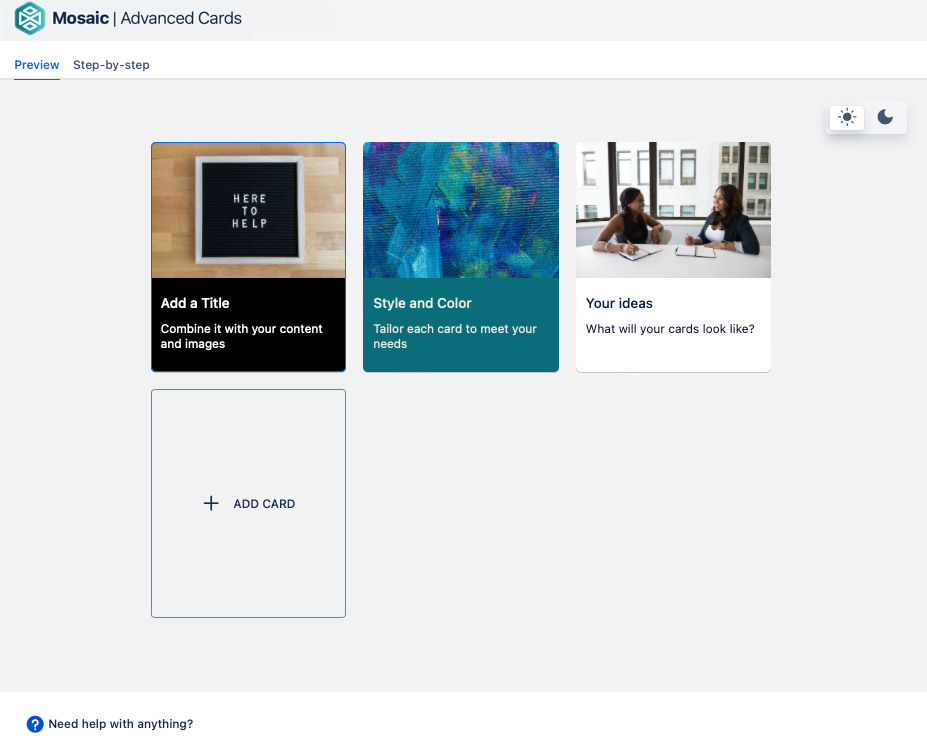
Select the + Add Card button in the preview section of the editor to add one more card. You can also add a new card by creating a copy of an existing one.
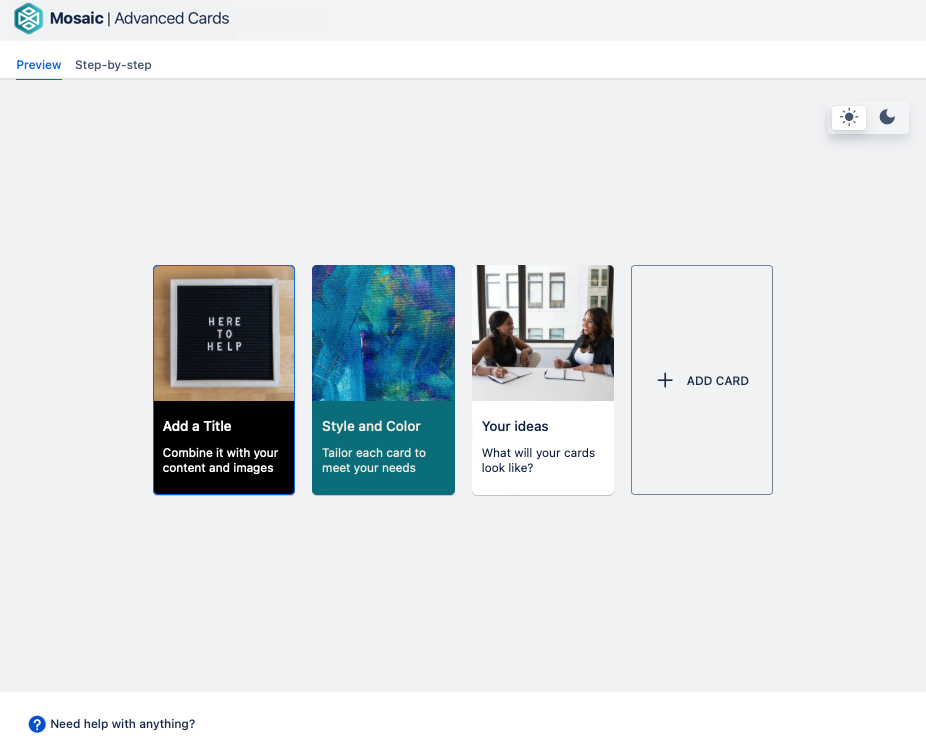
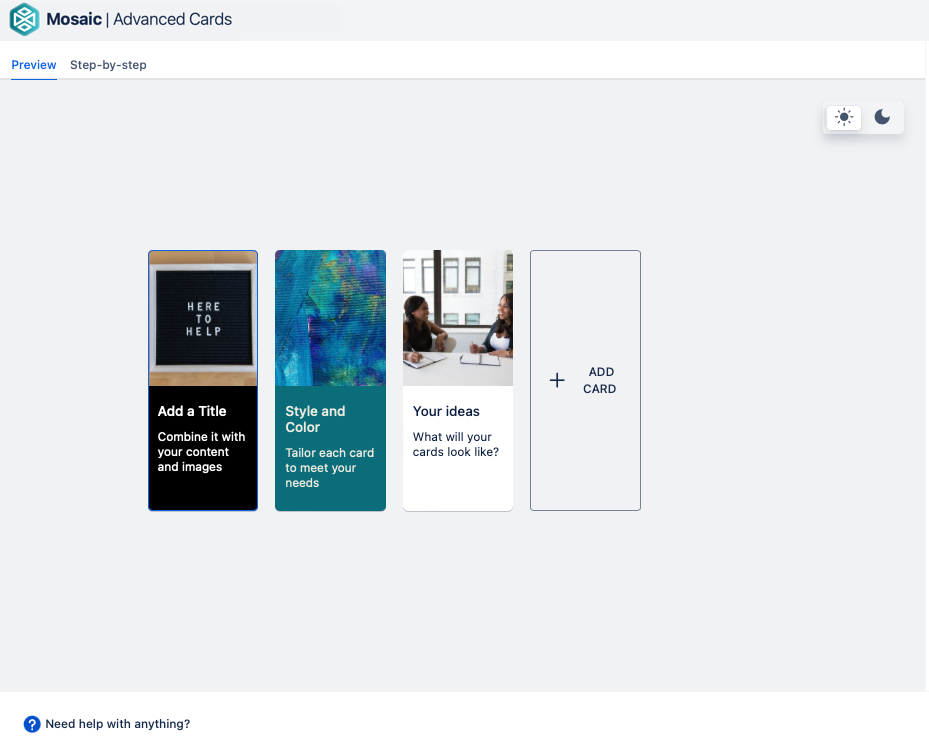
The button will be located in the position the new card will appear. So it will look a little different in different layouts
Delete a card
There are two ways to delete a card.
From the preview screen
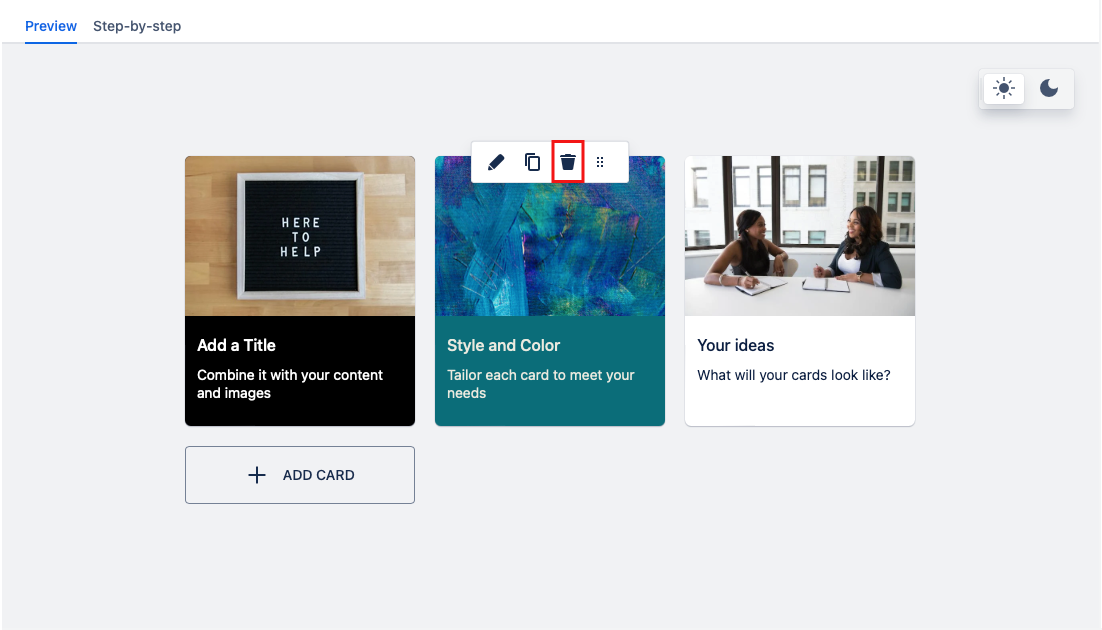
Hover over the card you want to remove, then select the Trash icon.
From the Selected card tab
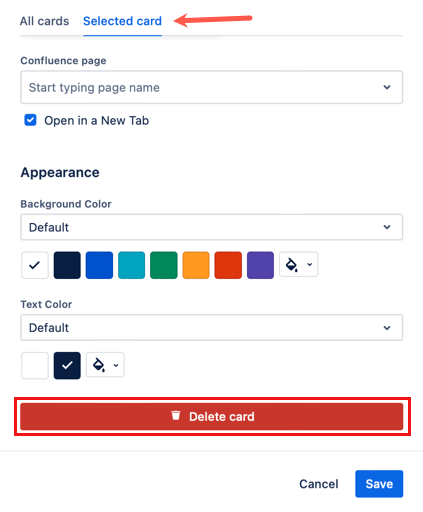
Select the card you want to delete. Scroll to the bottom of the Selected card tab, then select the Delete card button.
Copy a card
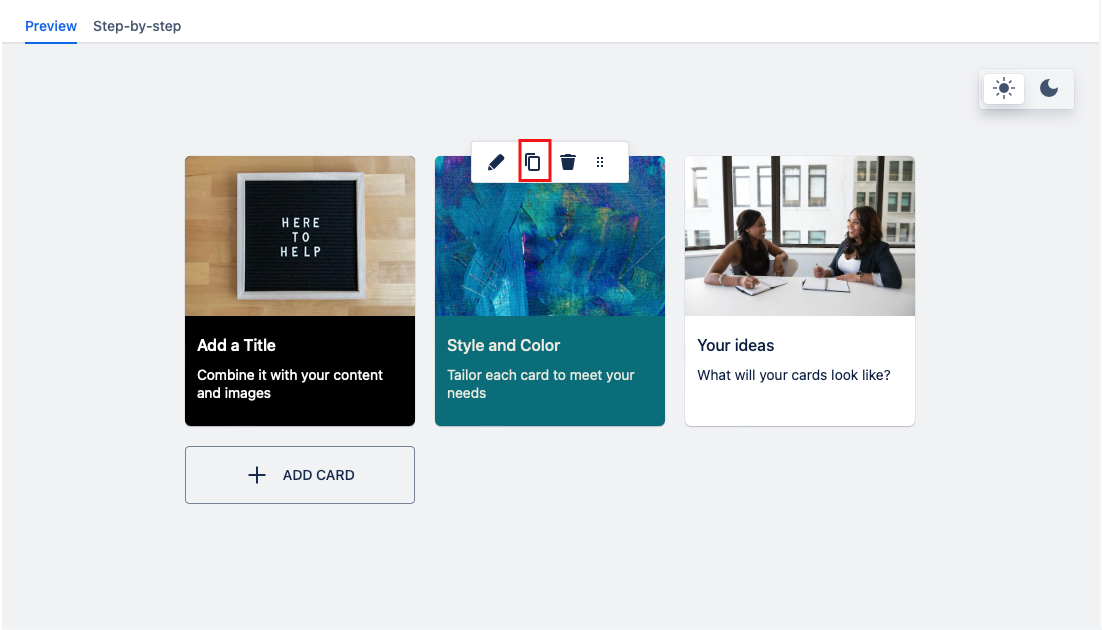
If you want to make many cards with the same design, you can use the copy button. Hover over the card you want to copy and select the copy button from the toolbar. A copy of the card is added to the grid next to the one you copied. You can then drag it to a new position if needed.
The toolbar will not appear if you have the card selected. To copy a card first select the All Cards tab, then hover over the card you want to copy.
Change the layout of the cards
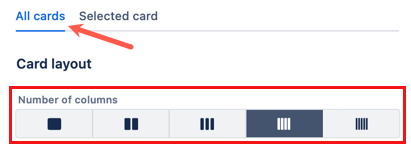
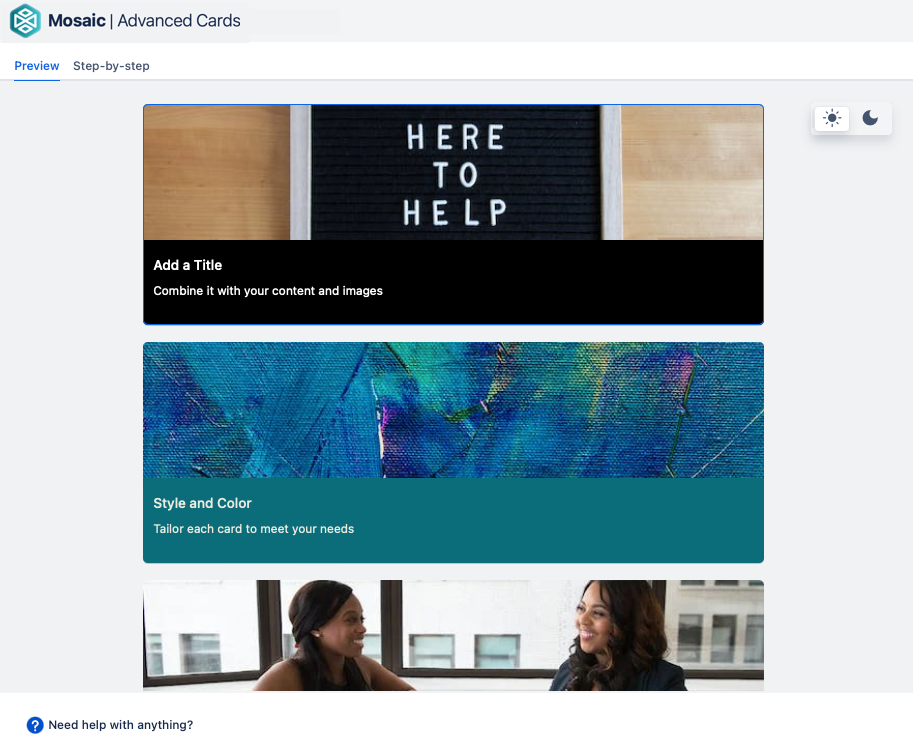
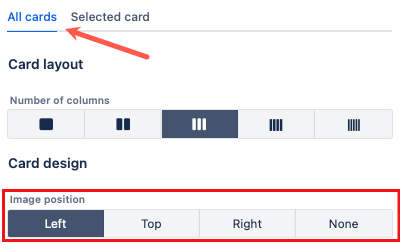
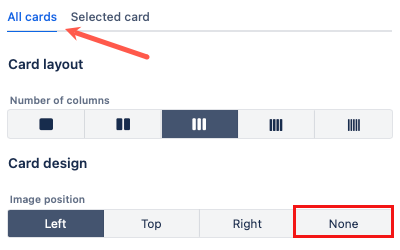
In the All cards tab, you can choose how many cards are in each column. This also changes the size of the cards.
Change the image position
In the All cards tab, you can choose the image position. This changes the position of the image on all of the cards.
Change the text alignment
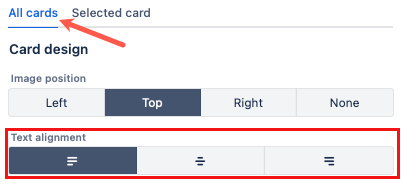
The same text alignment is applied to all cards. To change the setting, go to the All cards tab and select the Text alignment option you need.
Change the card images
Change an image
When cards are created, they have a placeholder image. There are two ways to change the image:
- Select the Pencil icon next to the image name. Then, add an image.
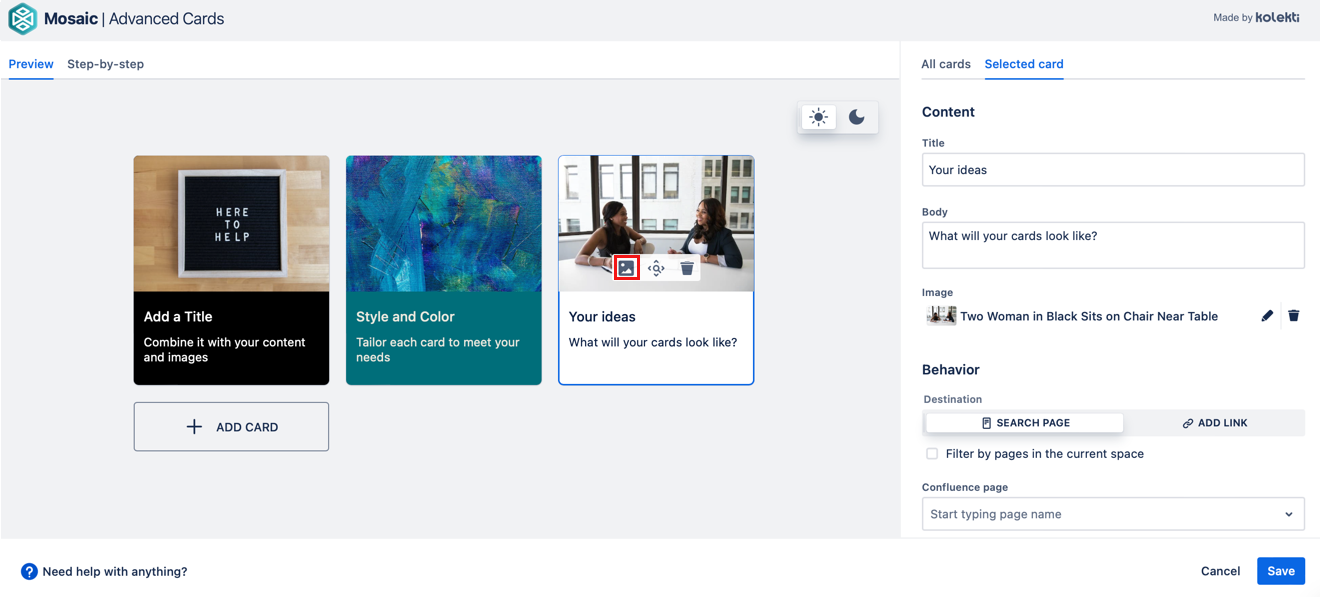
Hover over the image in the preview to reveal the image toolbar.
Currently, this image toolbar is only available when the image position top is selected.
Select the change image icon to open the add image menu.
Add an image
There are two ways to add a new image to your card.
a) Stock image. This option allows you to search for an image from our free image library. Select an image and check the preview to see how it looks on your card. When you are happy with the image, select the Back arrow button.
b) Upload. This option allows you to add your own image. You can drag and drop an image file into the macro window or click Upload image to select an image file from your local file storage.
Accepted image formats: JPEG, PNG, GIF, ICO BMP, and WEBP
Maximum file size: 15 MB
Reposition an Image
Currently, this image toolbar is only available when the image position top is selected.
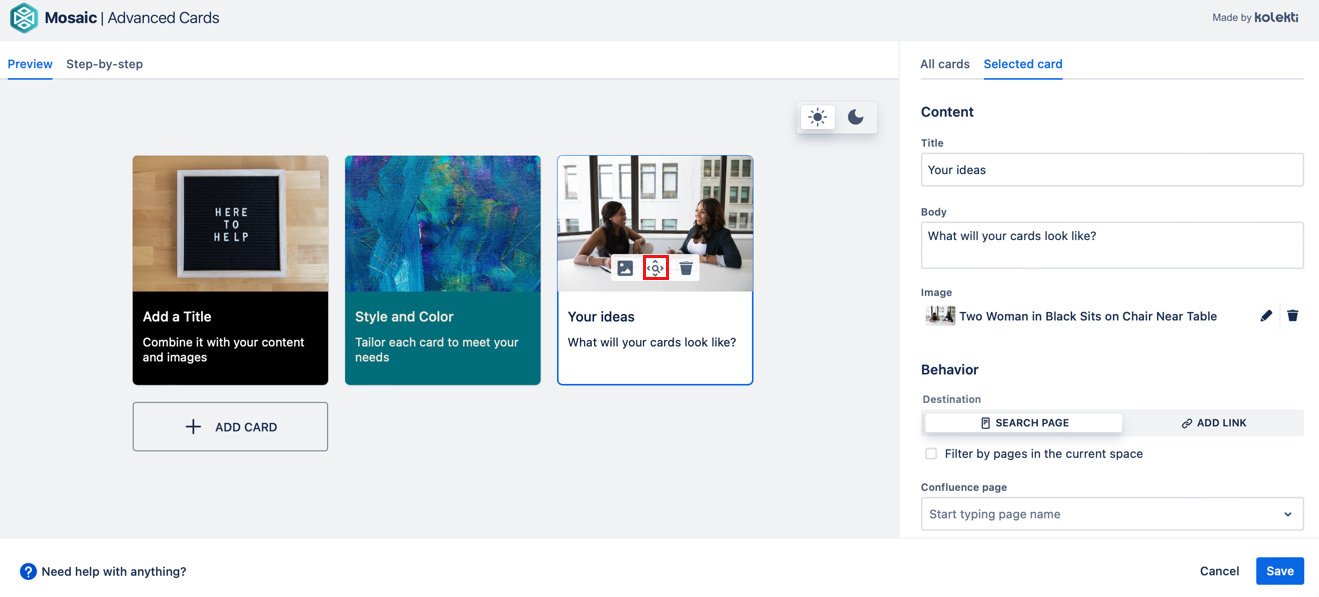
Once you have added an image to your card, you can change how it appears. You can zoom in so that only the part of the image you want is shown, and you can reposition it to have the focus exactly where you want it. To do this, you first need to hover over the image to reveal the image toolbar. Then select the Crop and reposition button.
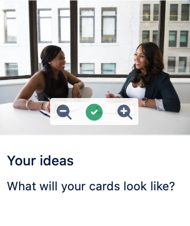
The buttons change to the editing options. Use the Plus and Minus buttons to zoom in or out. Drag and drop the image to change its position.
Select the green done button when you are happy with your changes.
You can re-edit an image over and over until you are happy with the results.
Make cards with no image
Cards with no images can be a clean option for some designs. You can choose to have no images on any cards in the group. An excellent way to highlight important information can be to have a mix of cards with images and without.
Remove images from all cards
To remove the images from all the cards go to the All cards tab and use the Image Position selector. Select None.
Remove an image from individual cards
To remove an image from an individual card, go to the Selected card tab for the card you want to edit.
You can open the Selected card tab for a specific card by hovering over the card in the preview area and then selecting the Edit icon. You can also get there by going to the Selected Card tab and then clicking on the card.
Scroll to the Image section and select the Trash icon.
Add a link to a card
There are two types of links you can add to a card.
Link to a Confluence page on your site
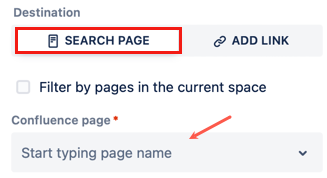
Select Search Page, then type in the Confluence page field. The field will search for matching Confluence pages, which you can select from the drop-down. Check the Filter by pages in the current space option to only see pages from the same space.
Link to a URL
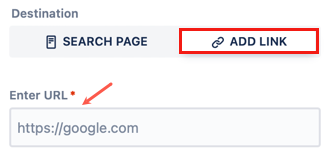
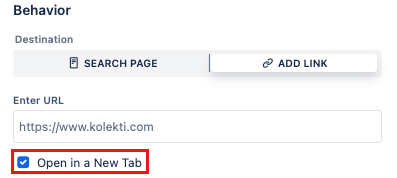
Select Add Link, then type the full web address in the Enter URL field.
Change the color scheme of your card
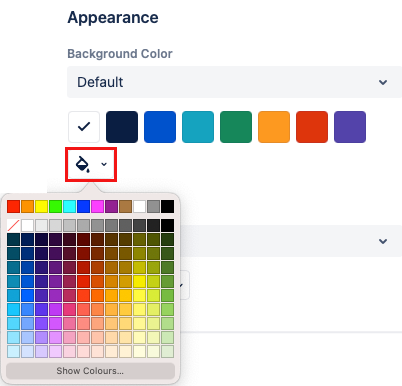
You can change your card's background and text color using the color palettes. You can use one of the options from the color palettes or select your own color with your browser's color picker. Open the color picker by selecting the paint bucket icon.
Change the color palette
Changing the color palette will change the presented options for Background Color and Text Color.
Add one card to a page
To add a single card, delete the extra cards.
You can use the number of columns option to change the size of the one card.
Rearrange your cards
If you have made your cards but realize that they would be more impactful in a different order you can easily rearrange them. With the editor open, drag and drop a card in the preview area to change the order. Select one and drag it to its new position.
Edit a Cards macro
To make changes to a card after publication, first display the page in Edit mode.
Select the card, then click the Edit icon.
Make your desired changes, then select Save.
Remove a Cards macro
To remove a card after it is published, first display the page in Edit mode.
Select the cards macro, then click the Trash icon.


