Macros
Mosaic is a set of macros that enable you to customize the look and feel of your Confluence Cloud content and improve user journeys.
Macros are elements that add formatting, navigation, or additional functionality to your pages. To learn more about each macro, see the individual macro pages in our documentation. The section below explains how to access and insert the macros on a page. To learn more about general macro use and the Confluence editor, please consult Atlassian’s Cloud macro documentation.
Migrating from Confluence Server/DataCenter to Cloud?
Our macros have been created to work with the latest Confluence Cloud editor and to support our macros migrated from Server/Data Center. See the Support for Migrated Content section of our documentation for a list of supported macros and more on what to expect when migrating content. If you are working with migrated content, you will initially be viewing your content in Confluence's Legacy editor. More on the differences between the Legacy and new Cloud editors can be found in Atlassian's knowledge base article.
Add a macro to a page
The methods for adding macros described below apply to Confluence’s new Cloud editor.
To add a Mosaic macro to a Confluence page, complete the following steps:
Navigate to the page you would like to edit.
Click the Edit icon in the top-right of the page, or press `
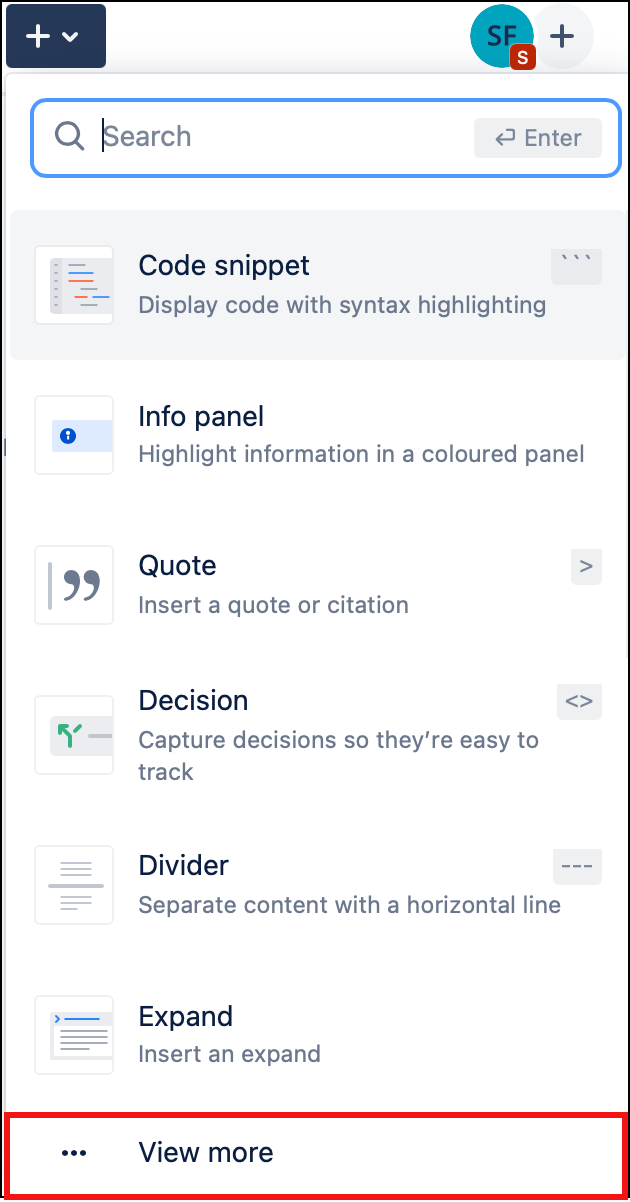
e`on your keypad.Select Insert > View More in the Confluence editor.
Alternatively, use the keyboard shortcut by typing
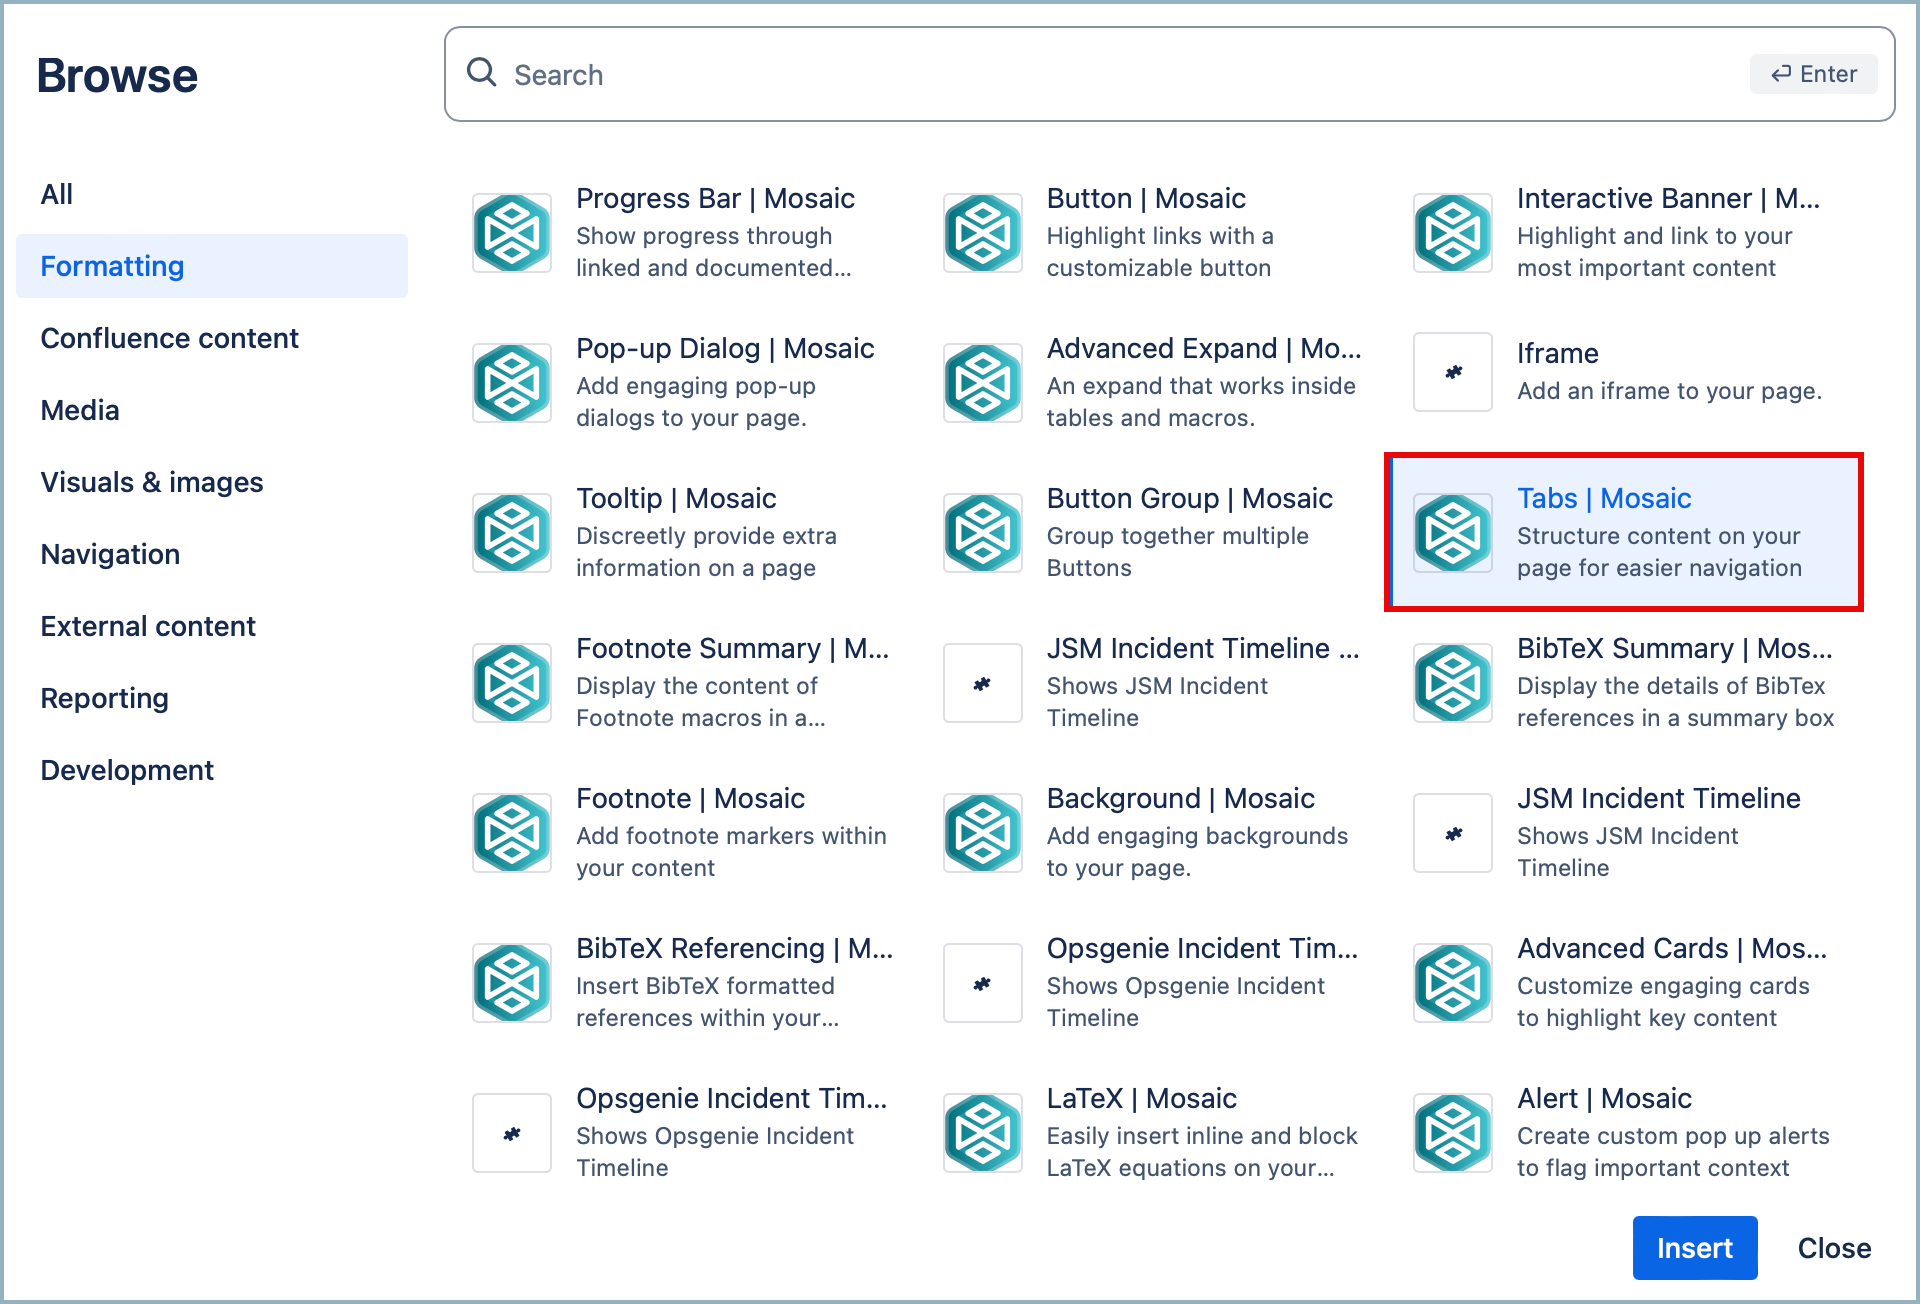
/and the beginning of the macro name to display a list of matching macro names, e.g./tabs. You can discover more Confluence Cloud keyboard shortcuts by selecting Keyboard Shortcuts from the Confluence Help menu.Locate and select the required macro in the Select Macro screen, e.g. select Tabs.
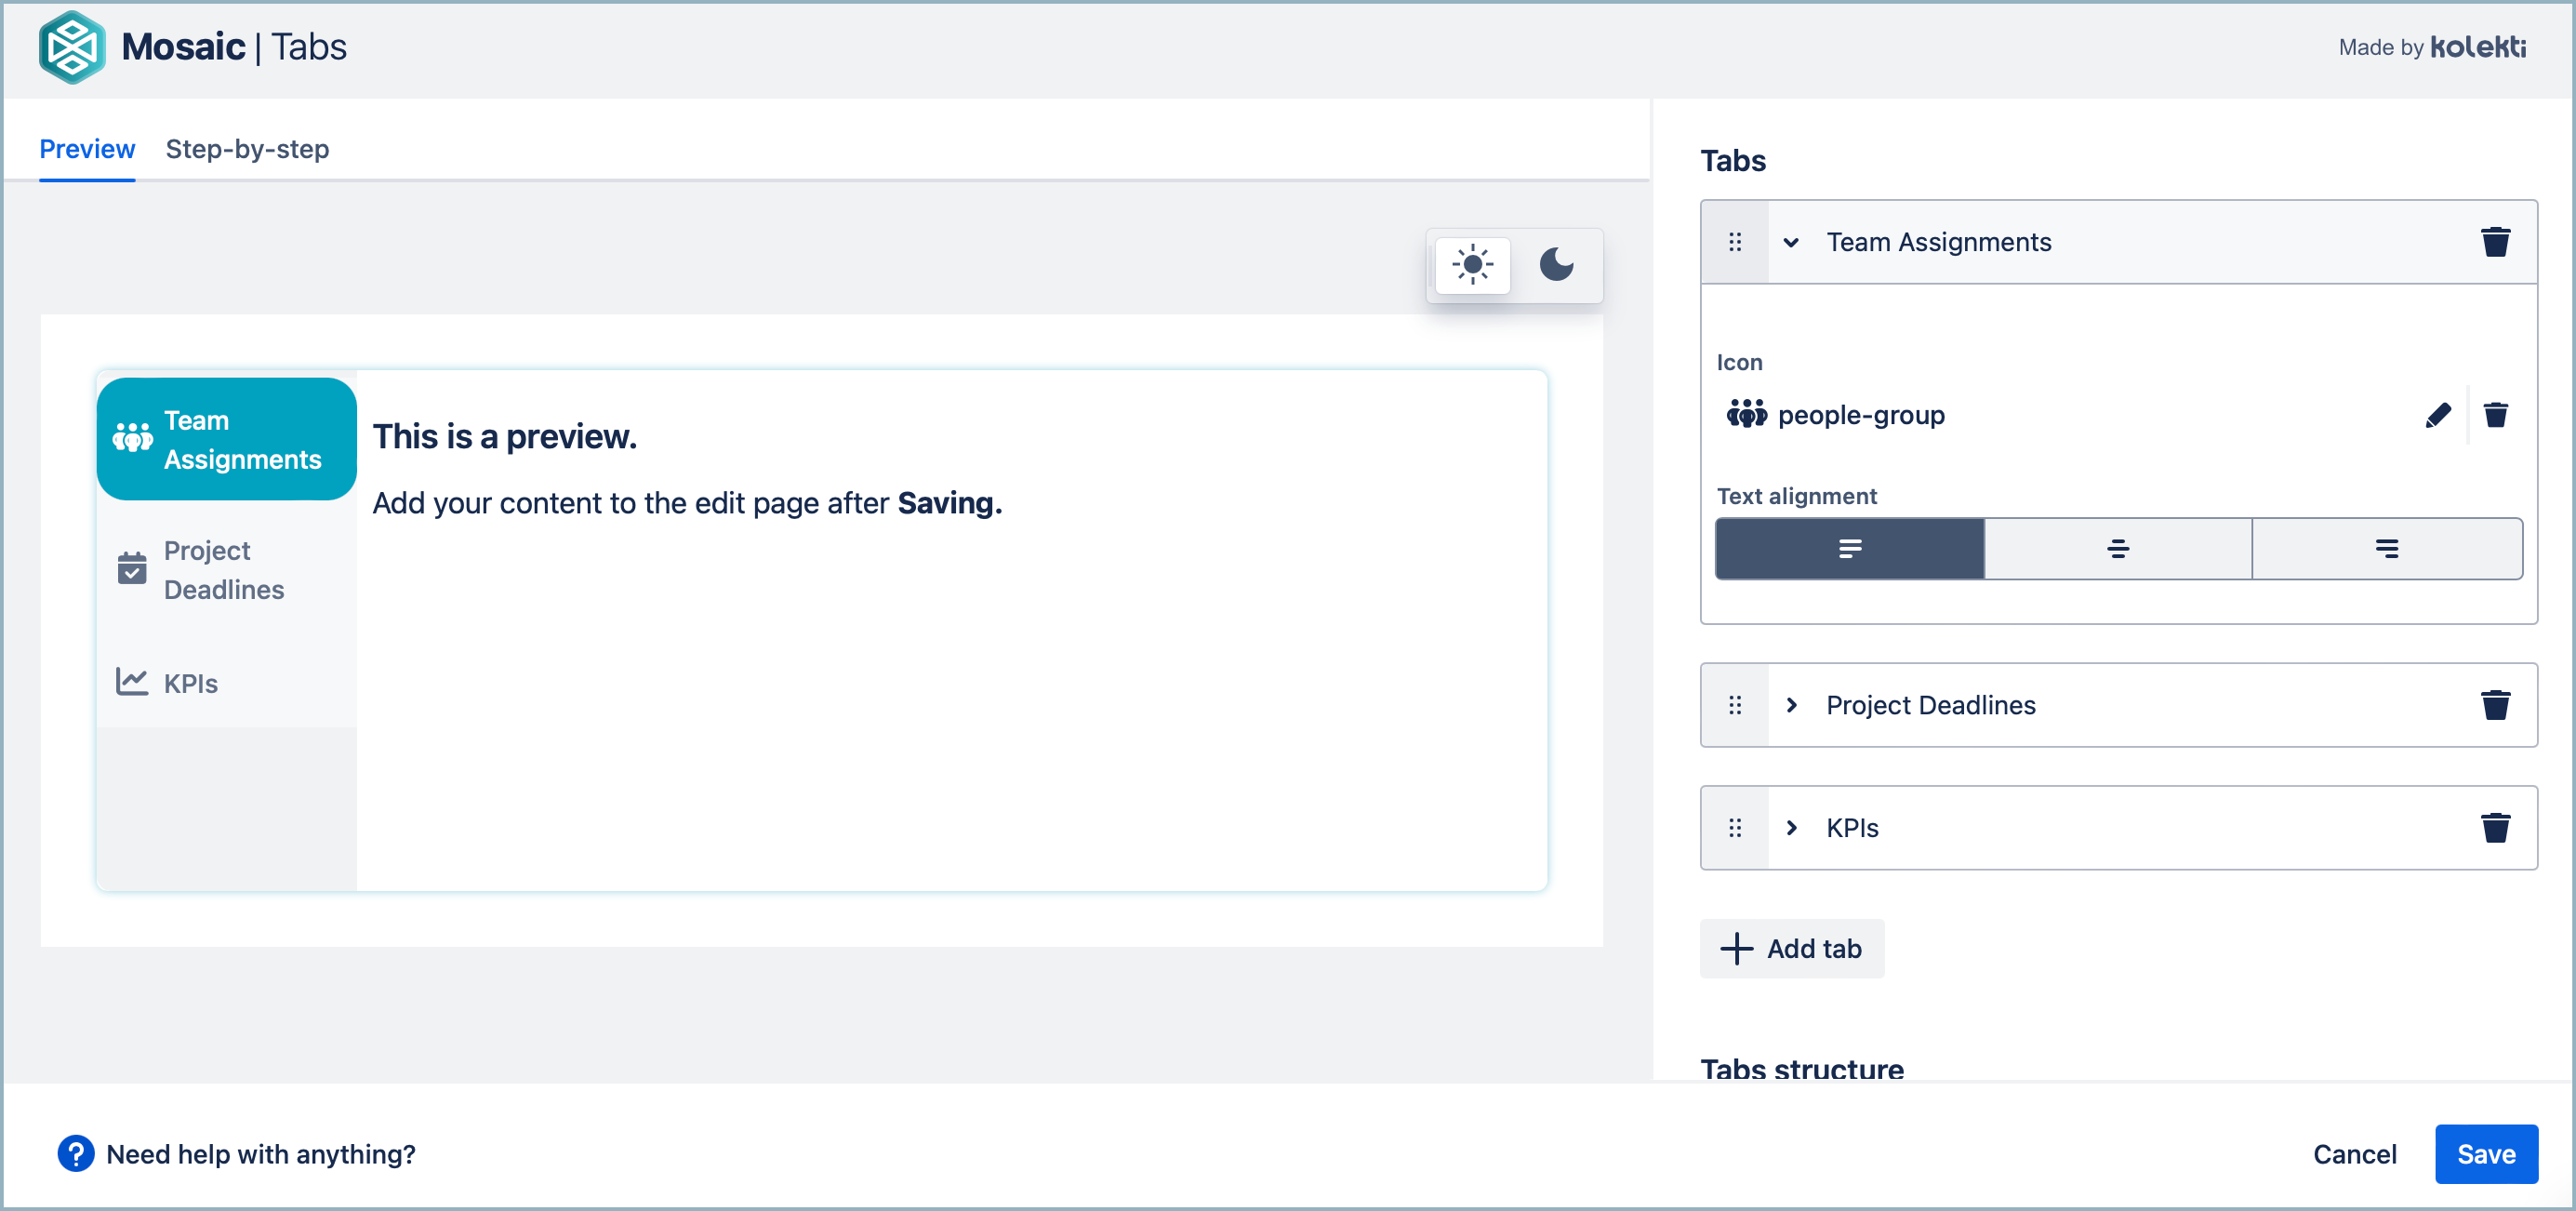
Customize your content using the macro editor.
A macro placeholder displays on the page.
Add your content to the macro body.
For macros like Advanced Cards you enter all the content inside the macro editor.
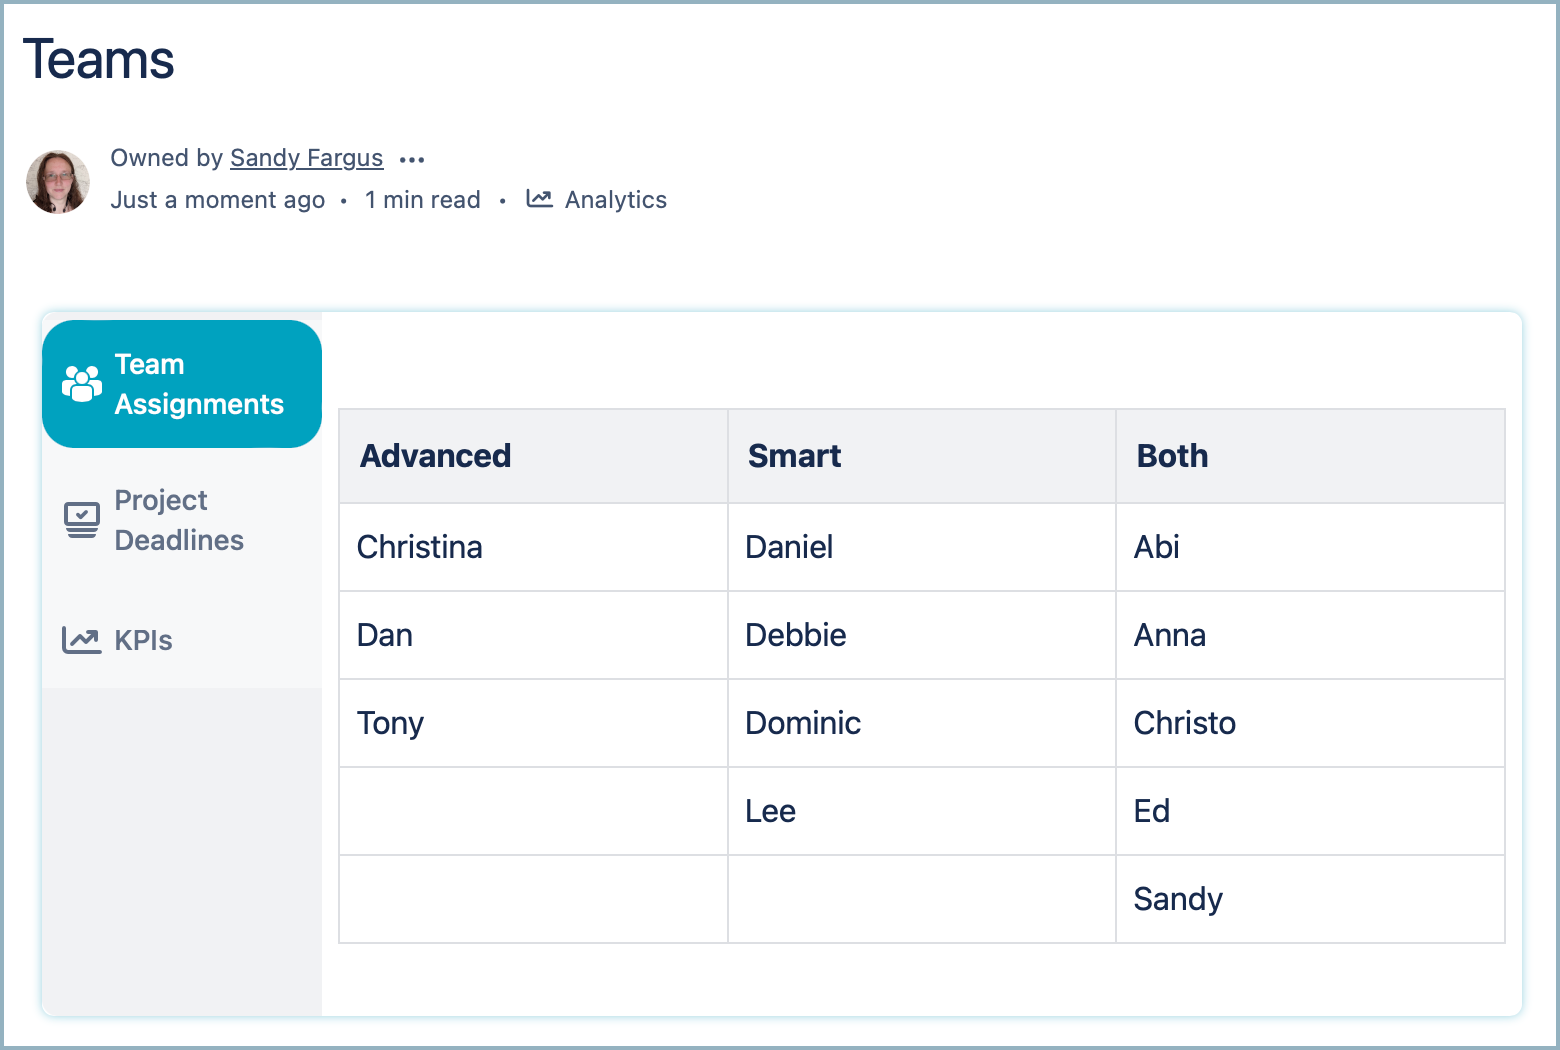
Click Publish to see the macro rendered on the page.
Edit a macro
To edit a macro, complete the following steps:
Navigate to the page you would like to edit.
Click the Edit icon in the top right of the page to display the page in Edit mode.
Click the macro placeholder, then click the Edit icon. The Edit Macro screen displays.
Make the required changes.
Delete a macro
To remove a macro from a page, click the macro placeholder, then click the Trash icon.
Use the Image Library
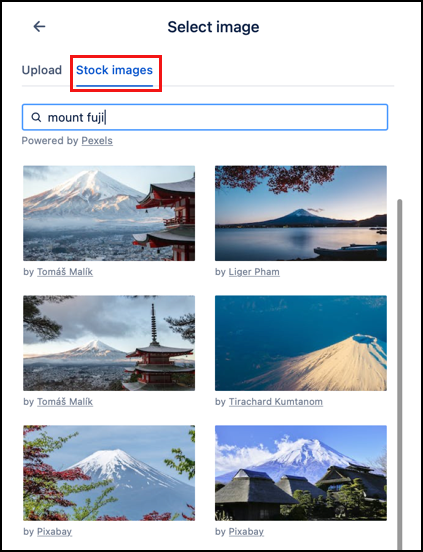
Adding images to your confluence page can make it more engaging for your readers and guide their attention where you want it. But if you don't have the right image on hand, it can be frustrating to find one. To solve this problem, you can use the image library inside a number of our macros. When you select the image button in a macro, you have the option to upload your own image, or you can select Stock images. From this tab, you can search the library of free images to find the perfect one for your page.


