

Authenticating with a Jira Server or DC Instance
Once you've created an app link, it's time to authenticate Workflow Steps for Jira with your Jira Server/DC instance.
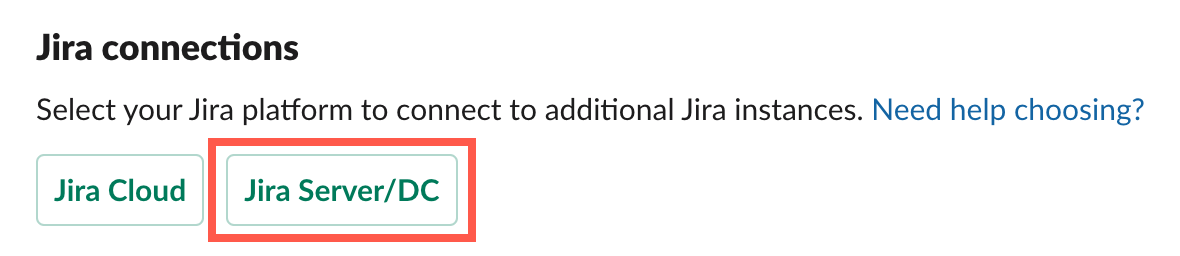
- On the app home page, click Jira Server/DC.
- Click Connect to Jira.

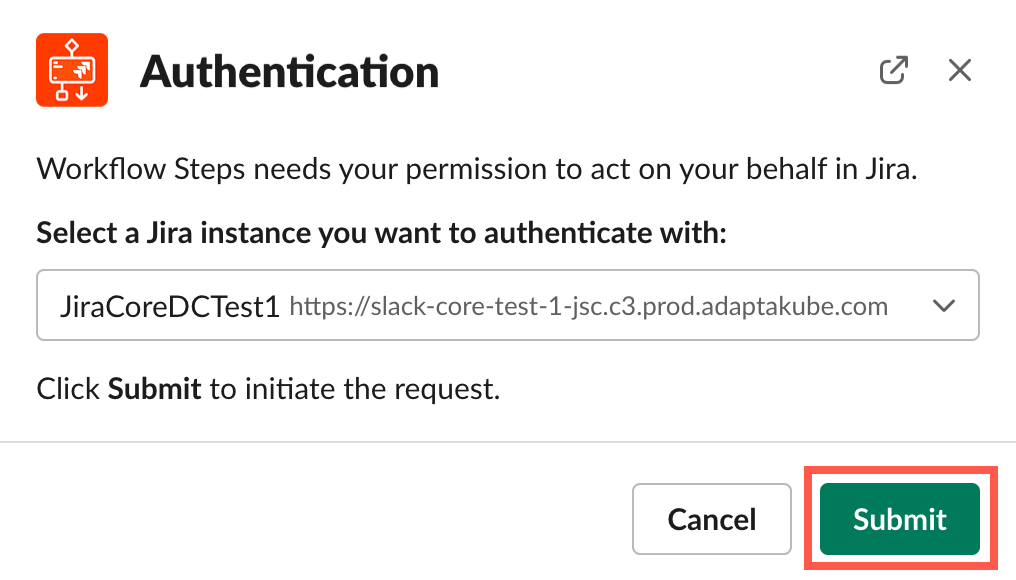
The Authentication wizard opens. - Select the Jira instance you want to authenticate with from the dropdown, then click Submit to initiate the request.
The authentication request is sent to Jira. - Click Authenticate to open Jira and finish the setup there.

Jira opens in a new browser tab. You must be signed in to continue the authentication process. Click Allow in Jira when prompted to give read and write access to Workflow Steps for Jira.
This permission allows workflows automated by the app to use your credentials as Jira interactions occur. Curious about how the app uses and stores your Jira data? Check out How We Use Your Data for more information.
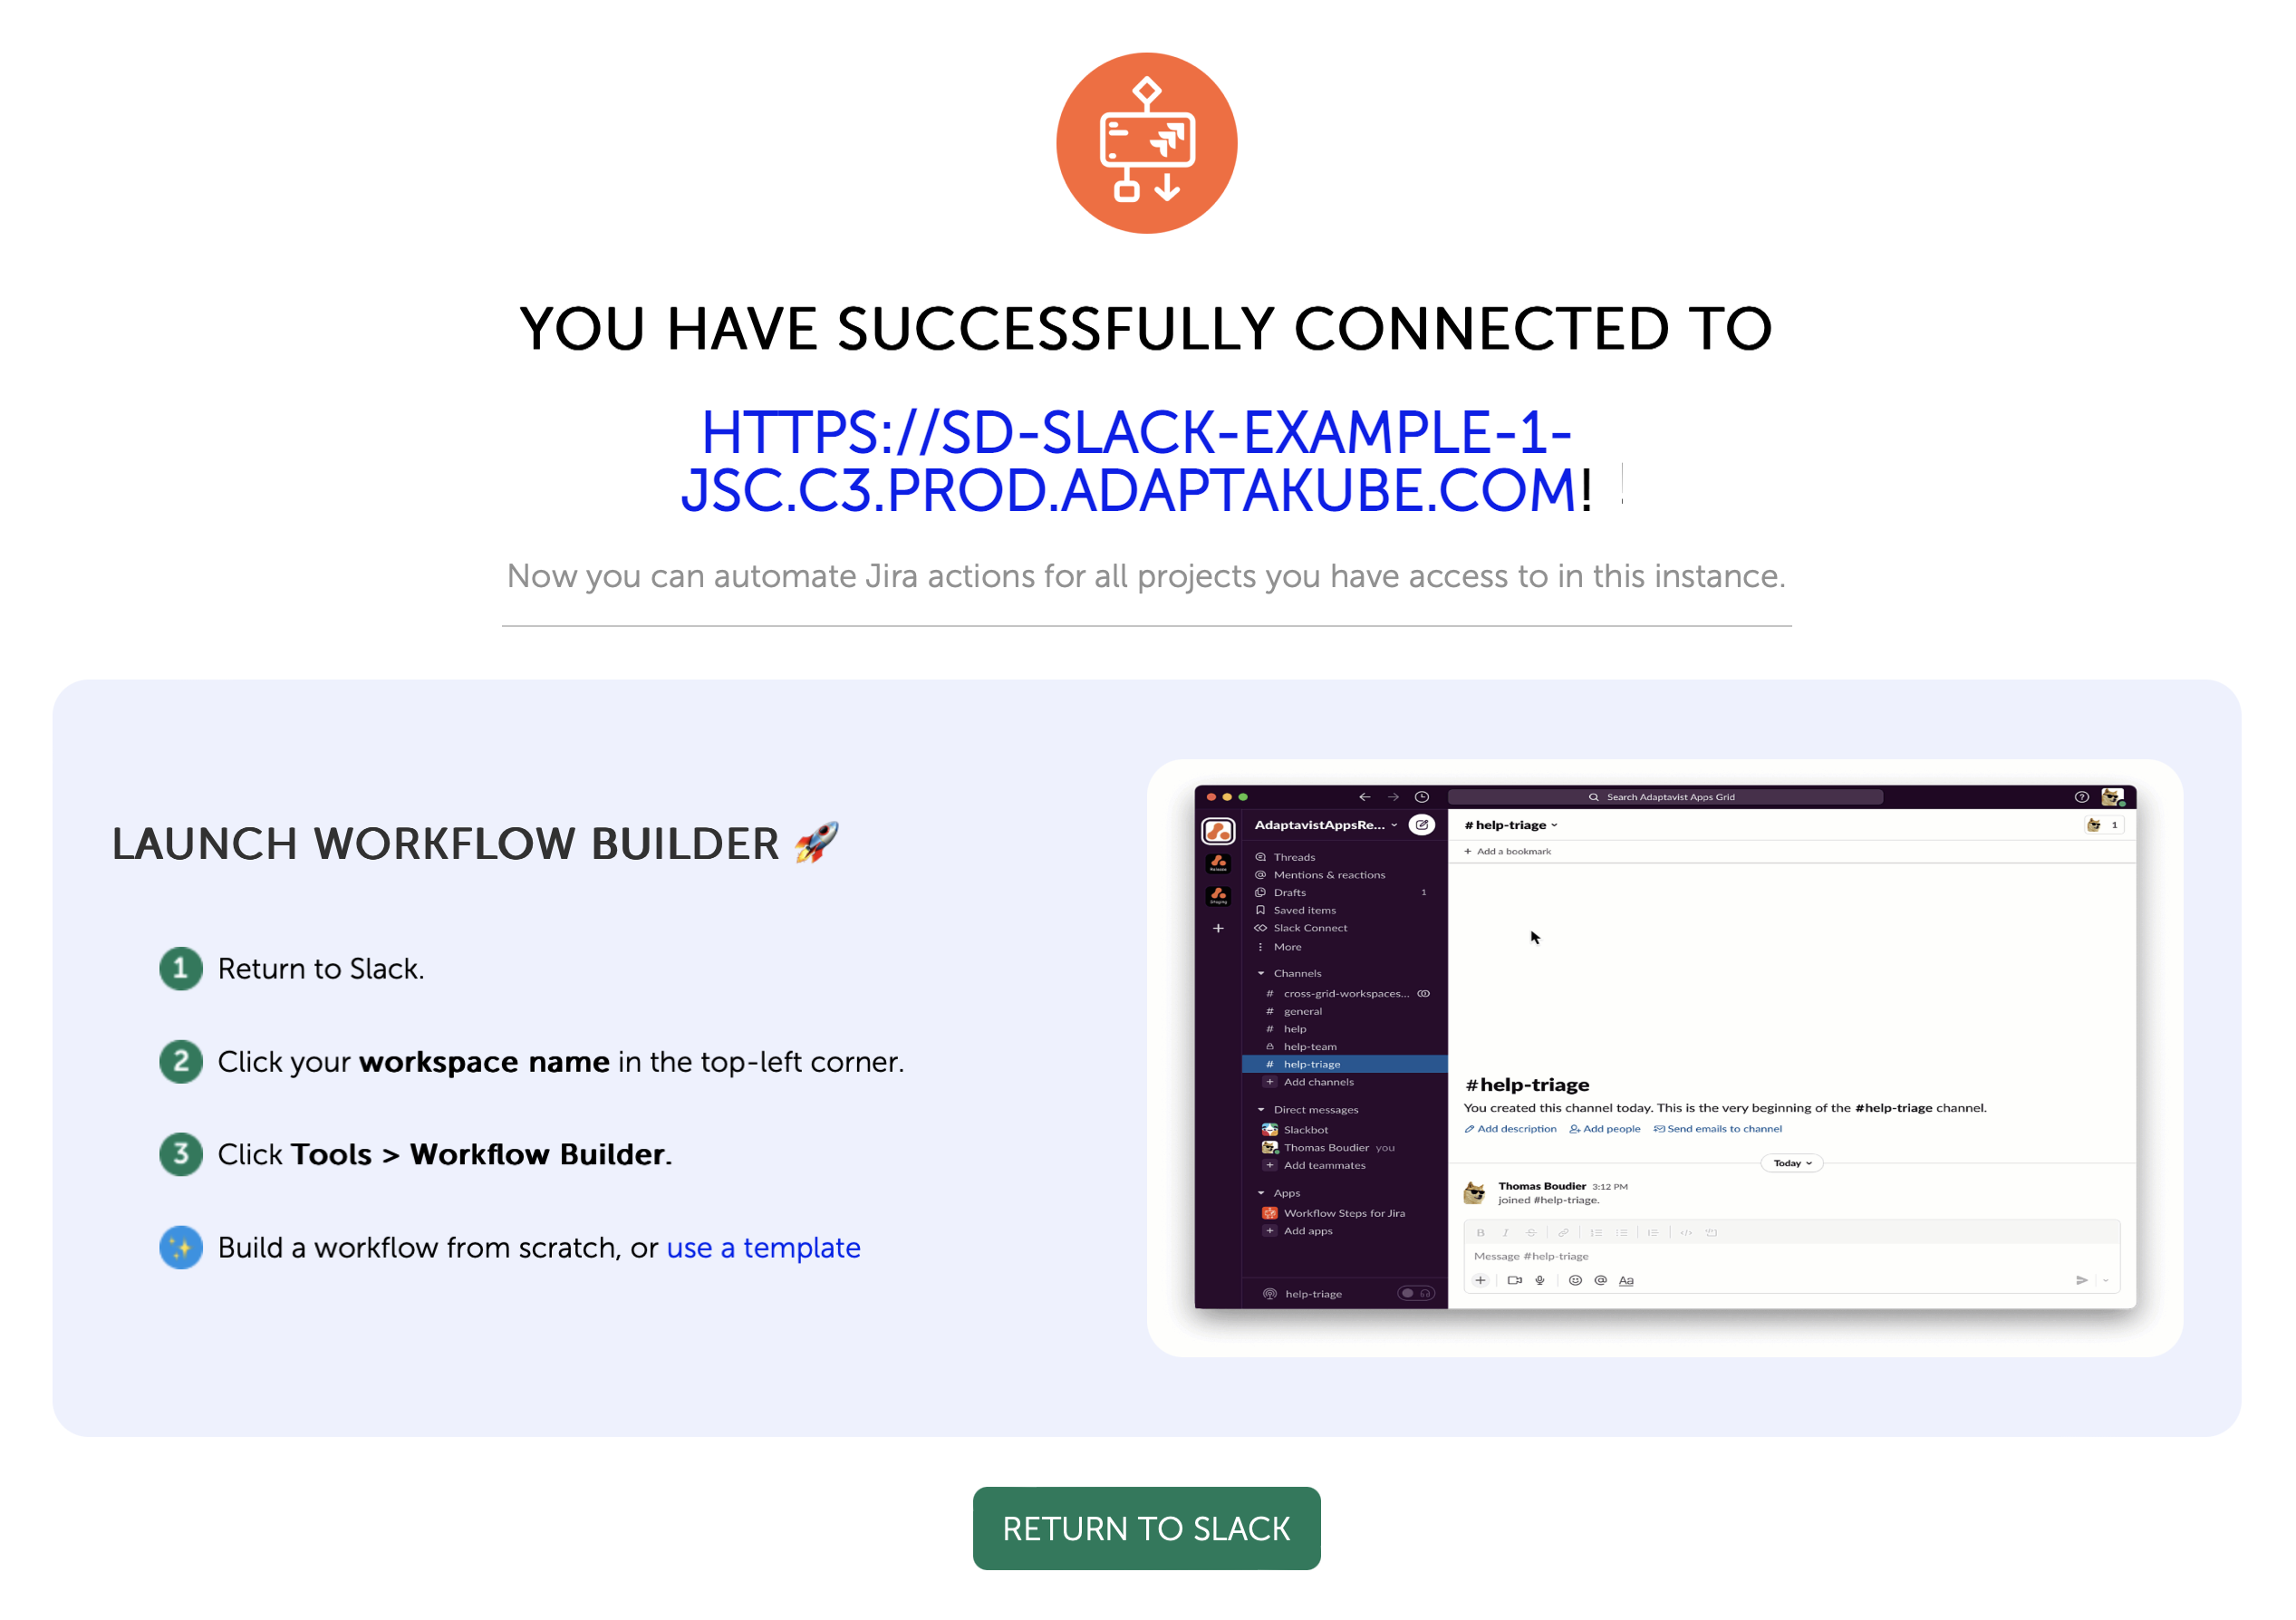
A success message appears in the browser once the authentication is complete.
Return to the Workflow Steps for Jira app in Slack. A congratulatory message awaits you on the app home.
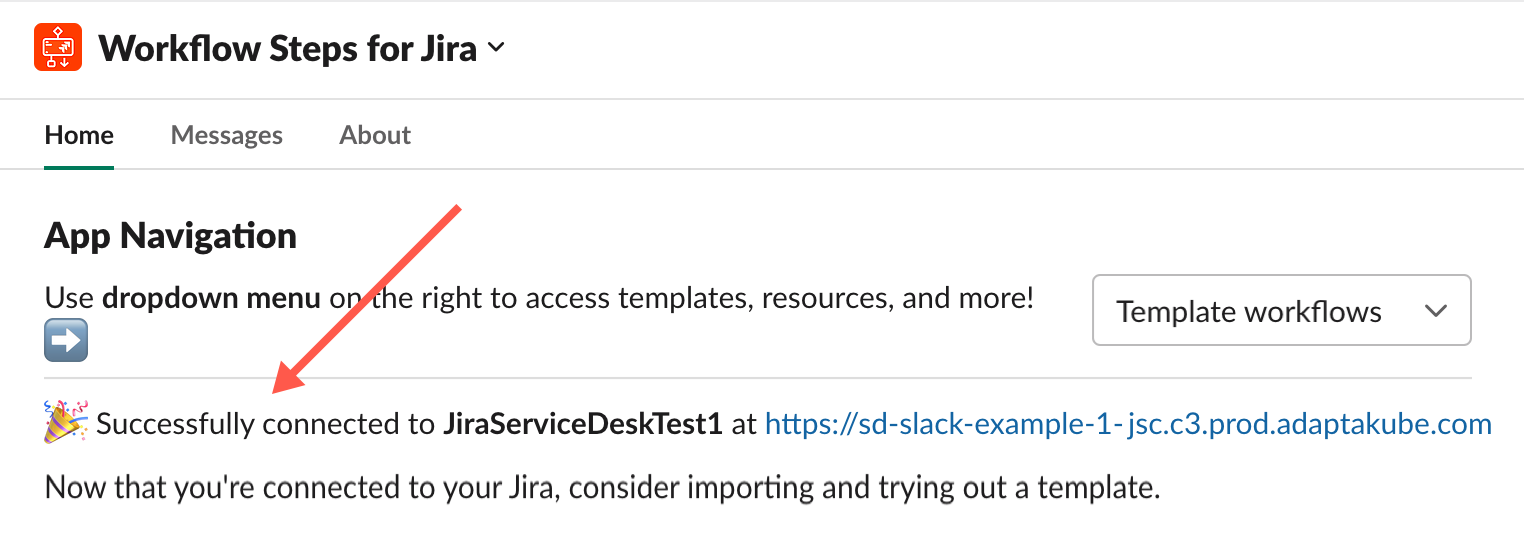
The new authenticated Jira instance appears in your Jira Connections list.
What's Next?
Check out our Templates page to download and import our ready-made workflows.