

Creating an App Link for Jira Server and DC
Once you've added the Workflow Steps for Jira app to your workspace and you want to connect to a Jira Server or Data Center instance, you first need to set up an application link with your Jira instance. Remember, you must have admin access in your Jira instance to set up an app link!
For Users of Jira 8.22 and Jira 9.X
From Slack, click Workflow Steps for Jira in the Apps section.
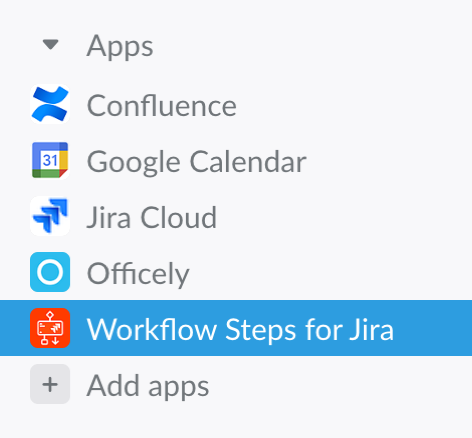
The app opens to the Home tab.If the app isn't in your list of apps, click Add apps and search for it by name.
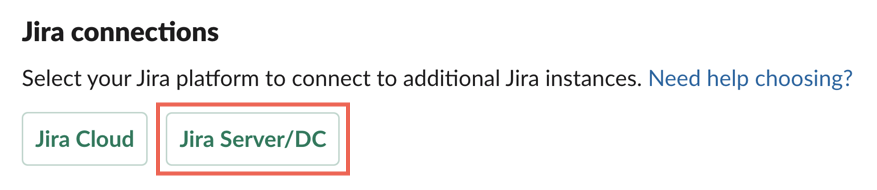
On the app Home tab, click Jira Server/DC.
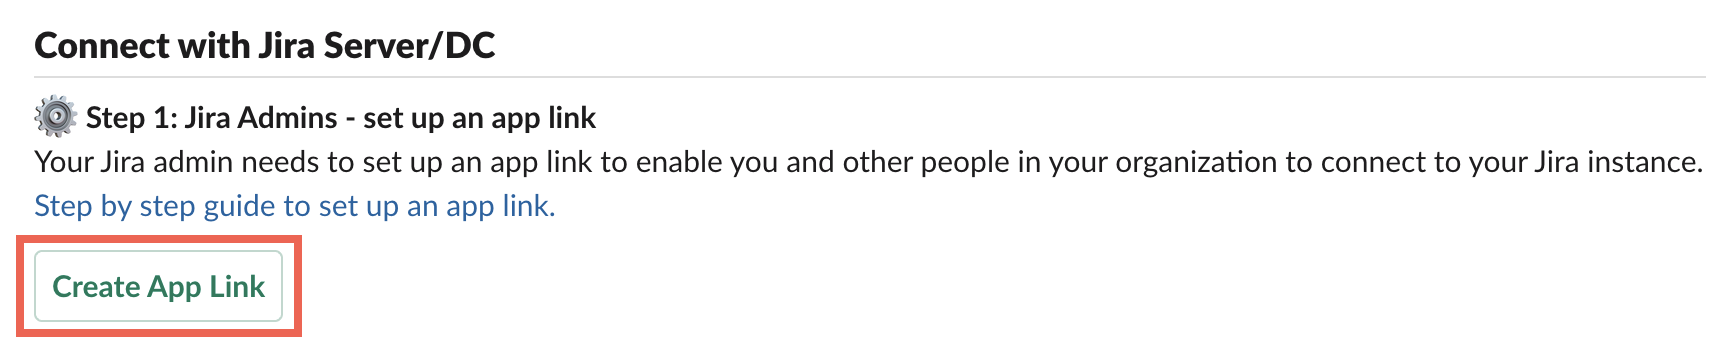
- Click Create App Link (or, if you already have an existing Jira connection, click Add New Instance).
The Configure New Instance wizard opens. - Wizard Step 1:
- Enter a Jira instance name.
Enter the base URL for the Jira instance you want to connect to your Slack workspace.
While base URLs usually end in.com, yours may extend beyond that.- Click Next.
- Wizard Step 2:
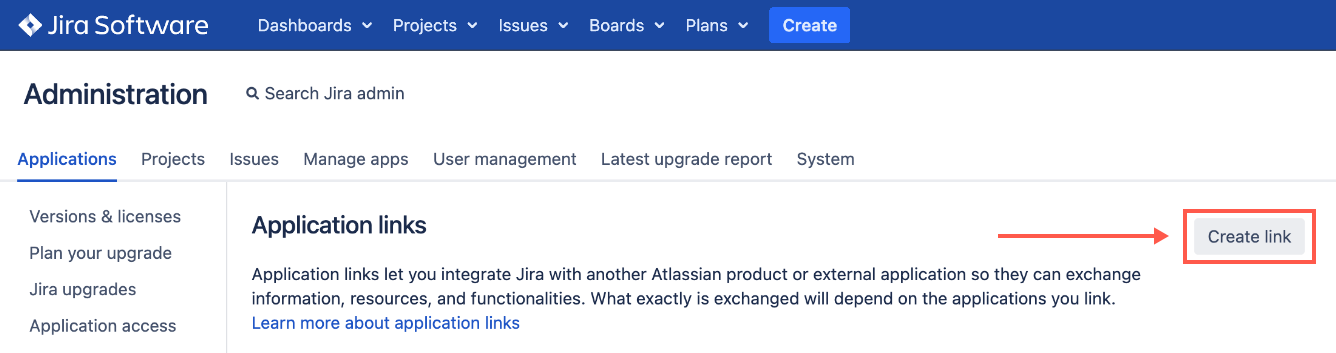
- Click Application Links.
A new browser tab opens to a Jira Administration page. (You may have to log in to your Jira instance.) - In Jira, click Create Link.
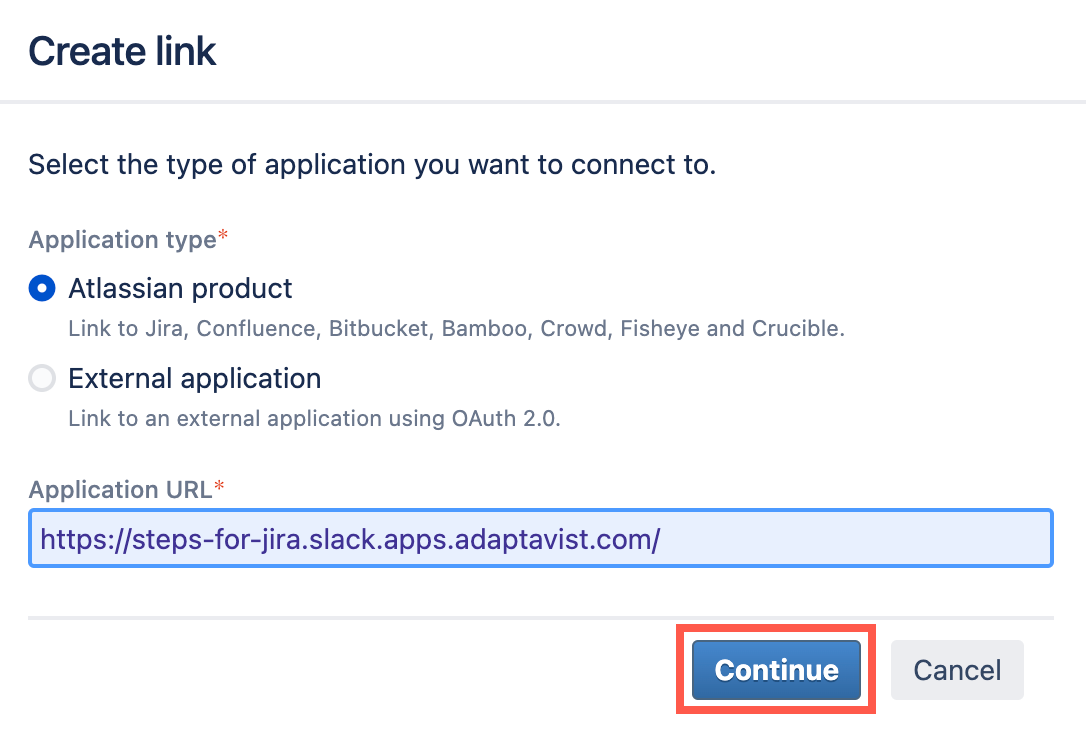
The Create Link dialog appears. - Ensure Atlassian Product is selected for the application type.
- Enter
https://steps-for-jira.slack.apps.adaptavist.comfor the Application URL. - Click Continue.
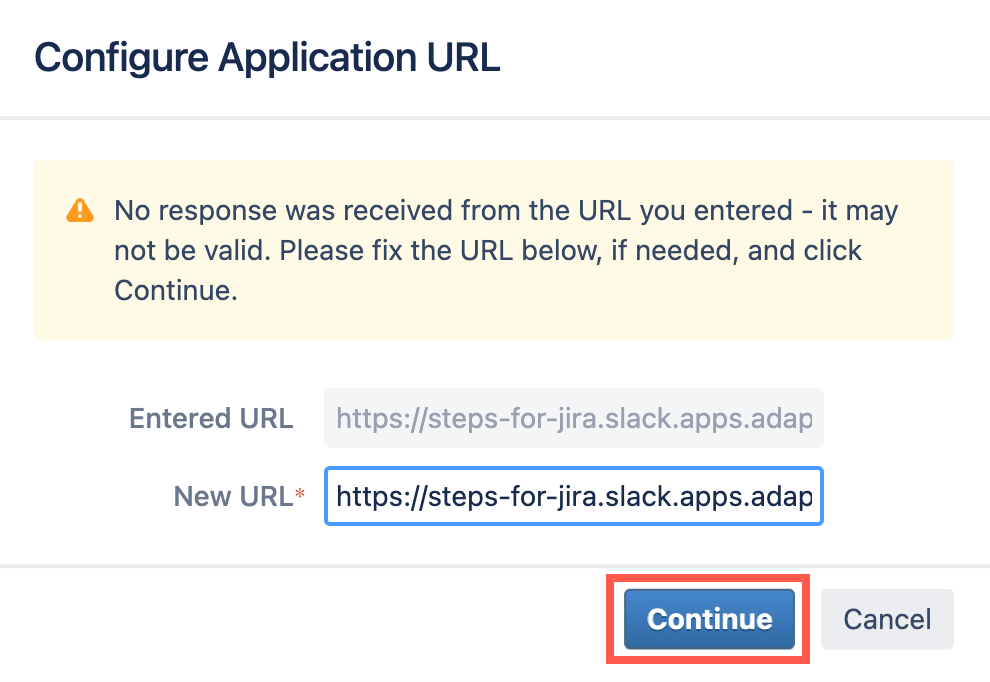
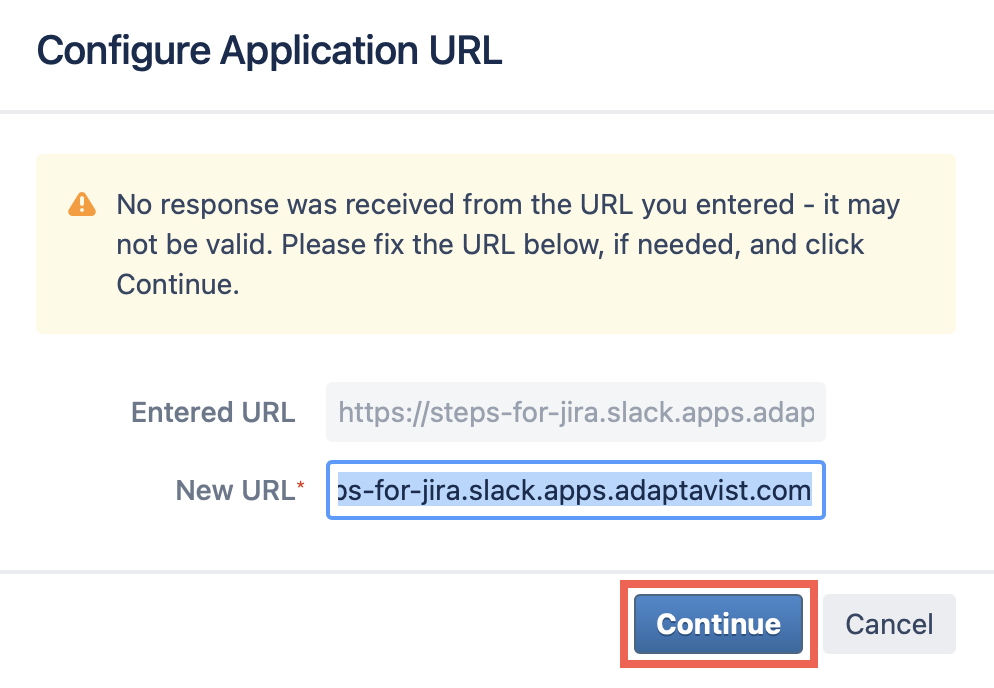
The Configure Application URL dialog appears.
- Click Application Links.
- Wizard Step 3:
- Click Continue when the "No response was received from the URL entered" message appears.
The Link Applications dialog appears. - Enter
Workflow Steps for Jirain the Application Name field, check the Create incoming link checkbox, and click Continue.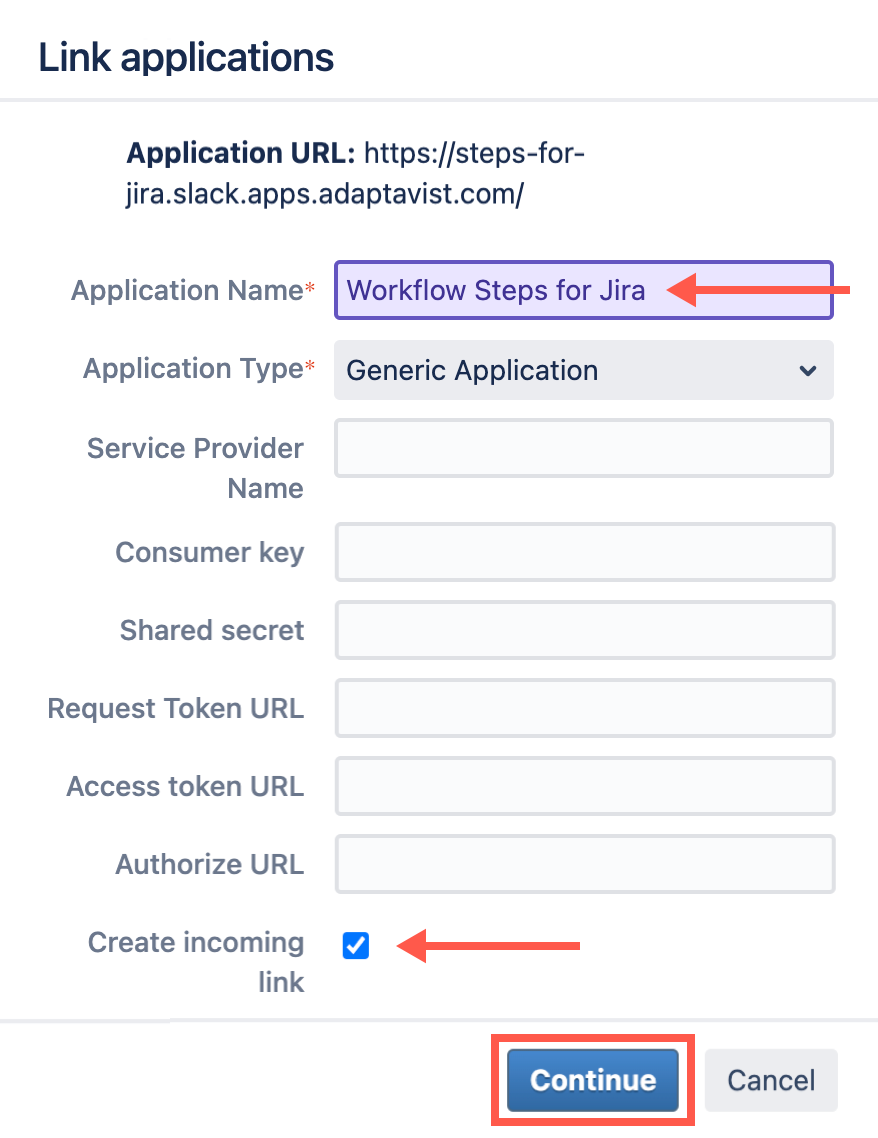
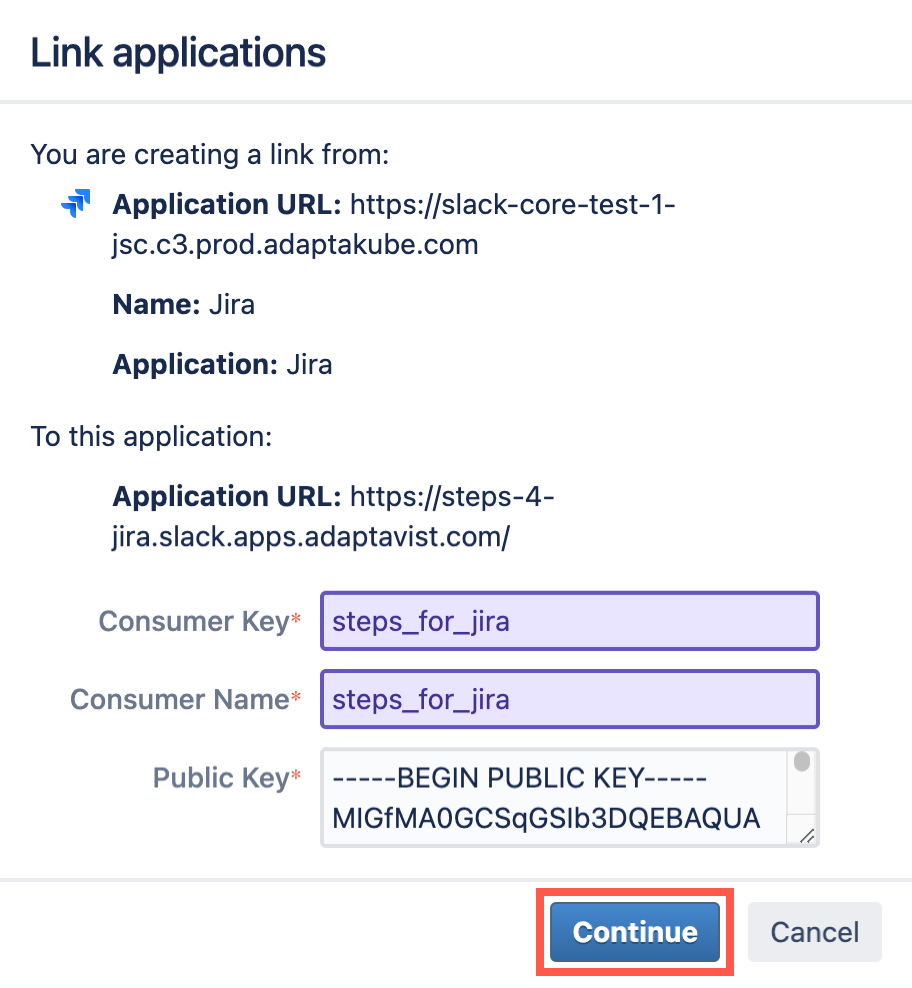
The second Link Applications dialog appears. - Return to the wizard and click Next.
- Click Continue when the "No response was received from the URL entered" message appears.
- Wizard Step 4:
- On the second Link Applications dialog:
- Type
steps_for_jirain the Consumer Key field. - Type
steps_for_jirain the Consumer Name field. - Copy/paste the public key text from Step 4 of the wizard into the Public Key field, including the begin/end public key text.
- Click Continue.
A successfully configured app link looks similar to this. You can ignore and dismiss the warning message about the app being offline.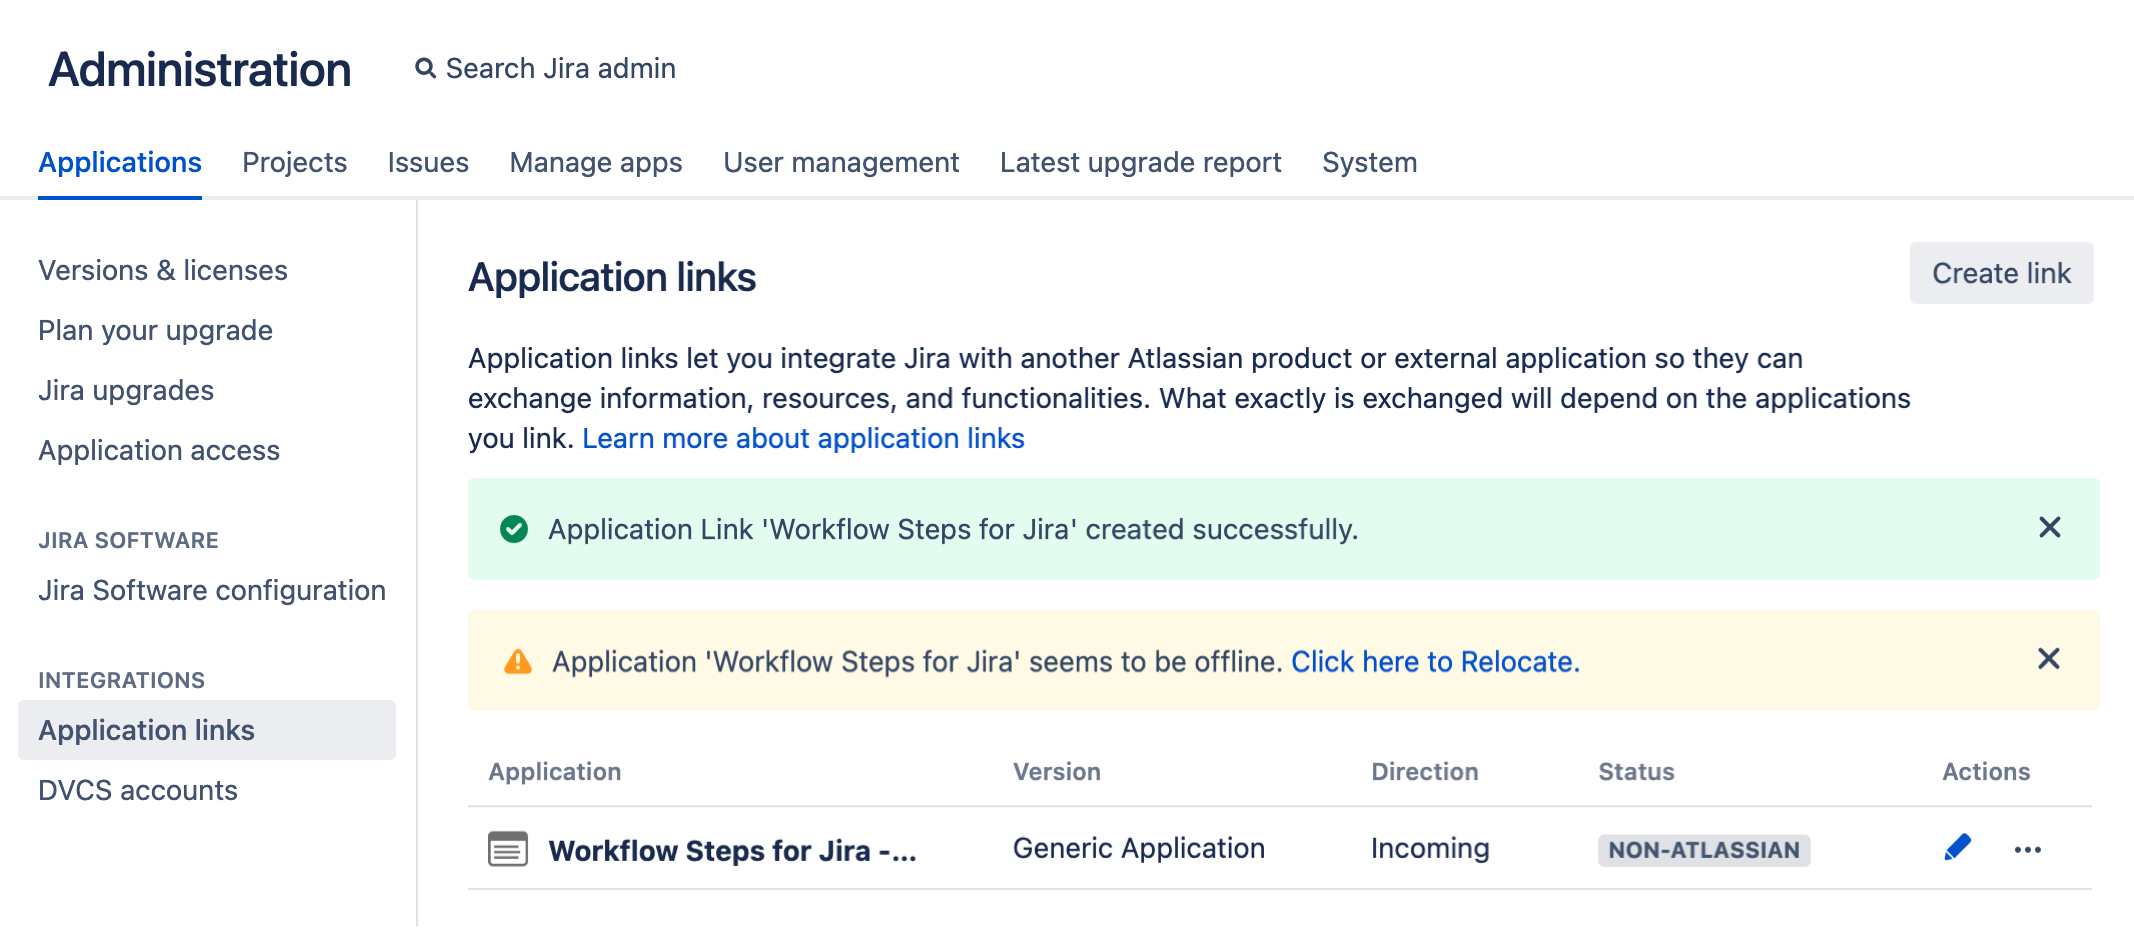
- Type
- Return to the wizard and click Finish.
A congratulatory message appears—and deservedly so!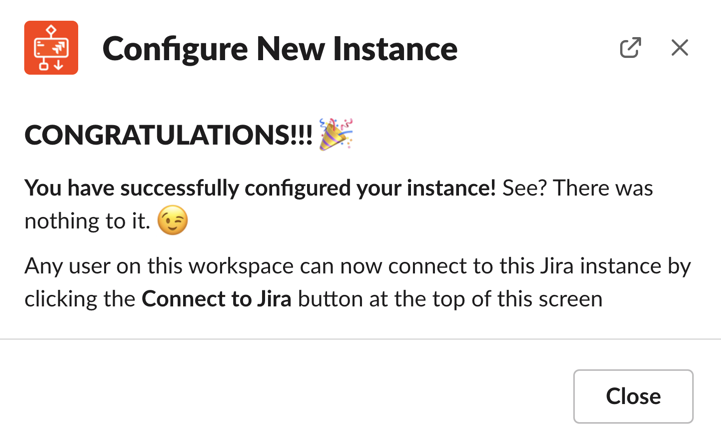
- On the second Link Applications dialog:
What's Next? ➡️
Finished creating a new app link? Sounds like it's time to authenticate with your Jira instance.
Having issues? 🔧
See our tips at Troubleshoot Connections.
For Users of Jira 8.21 and Older
From Slack, click Workflow Steps for Jira in the Apps section.
The app opens to the Home tab.If the app isn't in your list of apps, click Add apps and search for it by name.- On the app Home tab, click Jira Server/DC.
- Click Create App Link (or, if you already have an existing Jira connection, click Add New Instance).
The Configure New Instance wizard opens. - Wizard Step 1:
- Enter a Jira instance name.
Enter the base URL for the Jira instance you want to connect to your Slack workspace.
While base URLs usually end in.com, yours may extend beyond that.- Click Next.
- Wizard Step 2:
- Click Application Links.
A new browser tab opens to a Jira Administration page. (You may have to log in to your Jira instance.) - Enter
https://steps-for-jira.slack.apps.adaptavist.cominto the text field, then click Create New Link.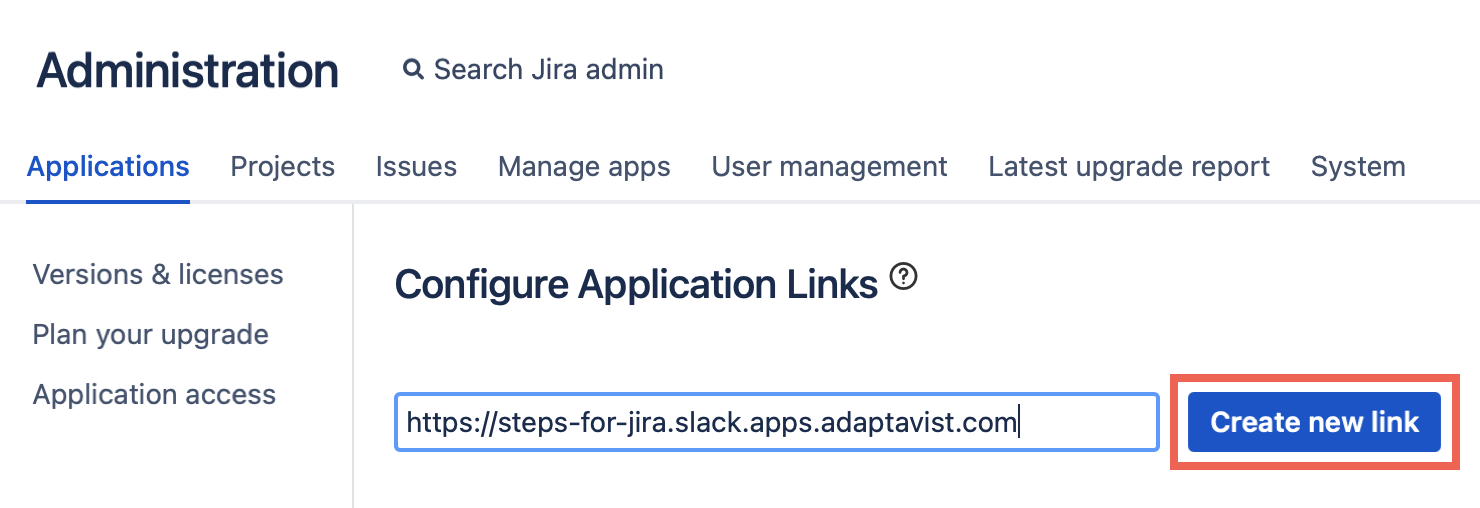
- Return to the wizard and click Next.
- Click Application Links.
- Wizard Step 3:
- On the Jira browser tab, click Continue when the "No response was received from the URL entered" message appears.
The Link Applications dialog appears. - Enter
Workflow Steps for Jirain the Application Name field, check the Create incoming link checkbox, and click Continue.
The second Link Applications dialog appears. - Return to the wizard and click Next.
- On the Jira browser tab, click Continue when the "No response was received from the URL entered" message appears.
- Wizard Step 4:
- On the second Link Applications dialog:
- Type
steps_for_jirain the Consumer Key field. - Type
steps_for_jirain the Consumer Name field. - Copy/paste the public key text from Step 4 of the wizard into the Public Key field, including the begin/end public key text.
- Click Continue.
A successfully configured app link looks similar to this: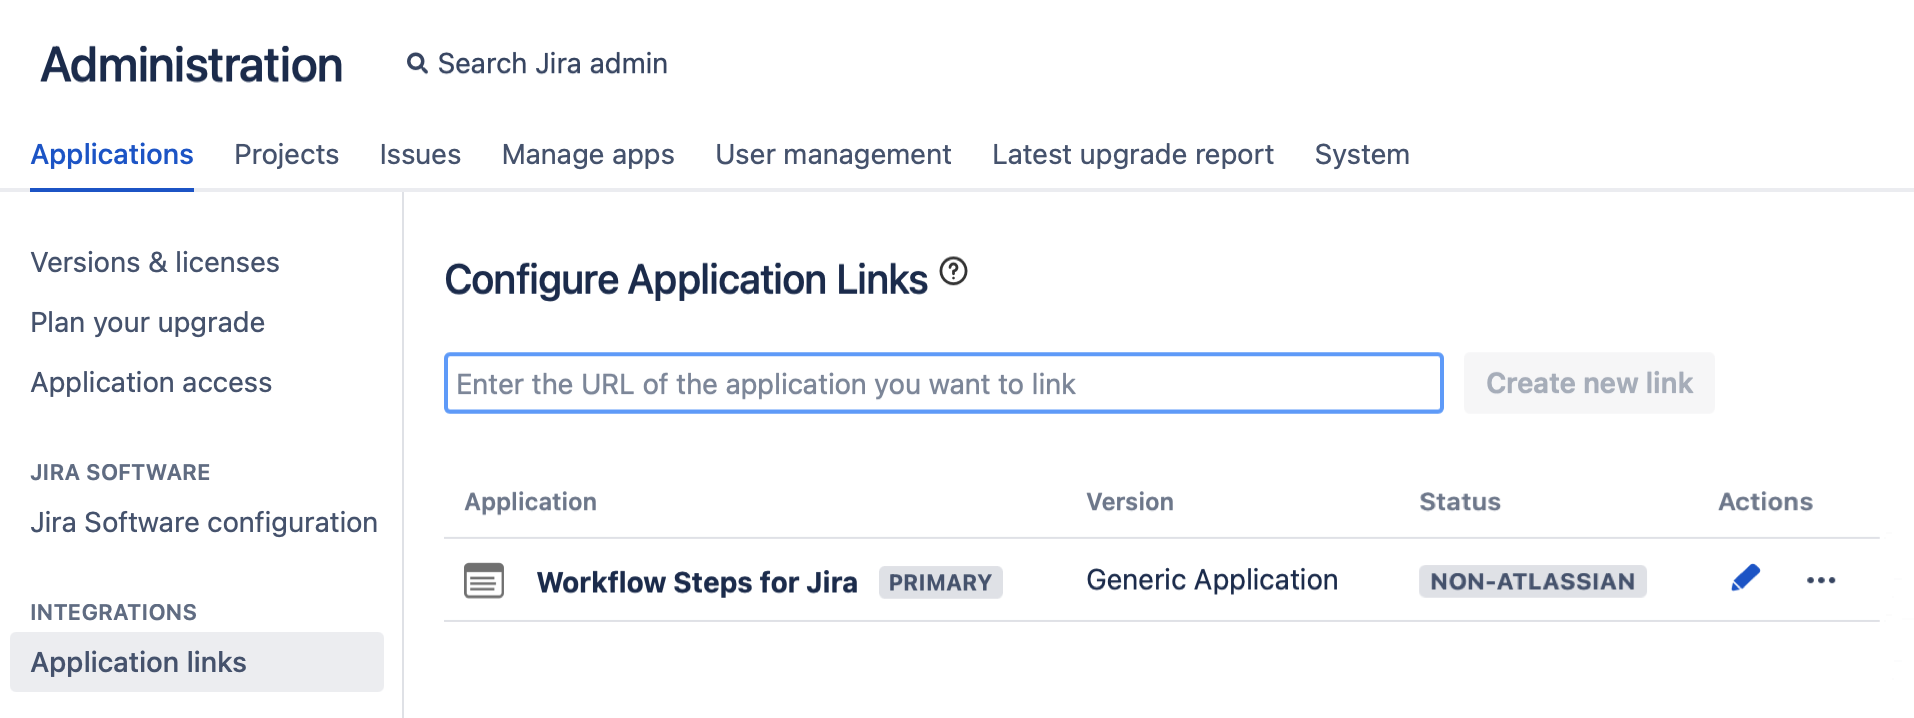
- Type
- Return to the wizard and click Finish.
A congratulatory message appears—and deservedly so!
- On the second Link Applications dialog:
What's Next? ➡️
Finished creating a new app link? Sounds like it's time to authenticate with your Jira instance.
Having issues? 🔧
See our tips at Troubleshoot Connections.