

Authenticating with a Jira Cloud Instance
The authentication process is simple for Jira Cloud customers. Just follow these steps!
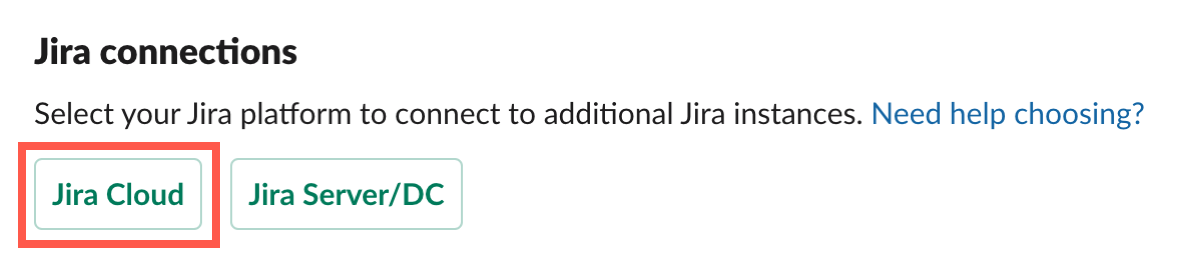
- On the app home page, click Jira Cloud.
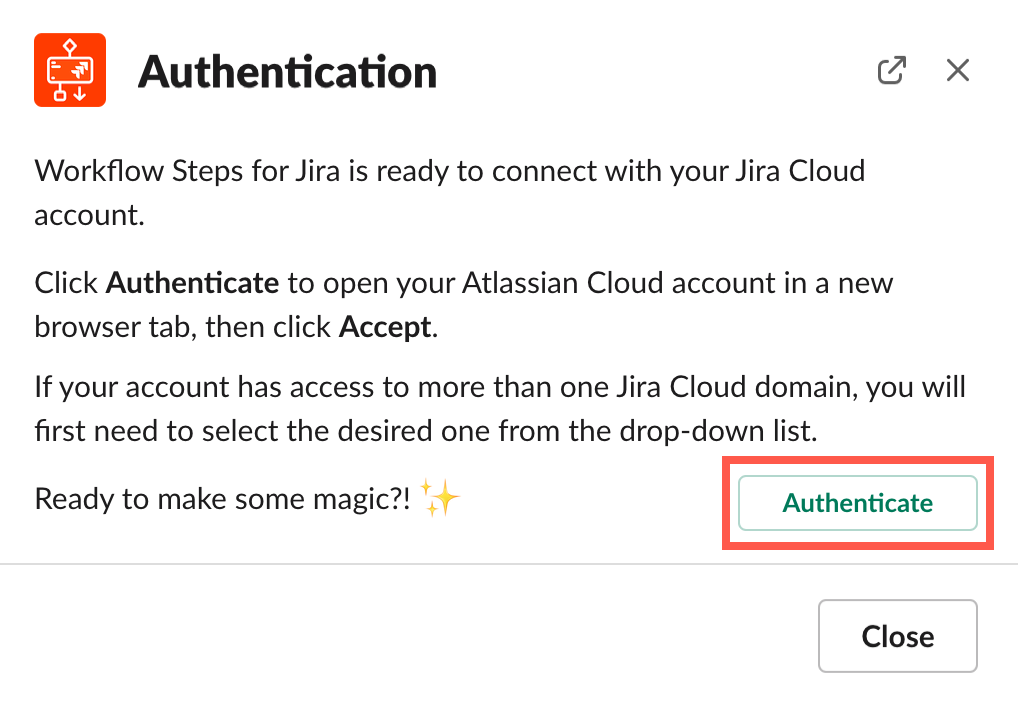
The Authentication wizard opens. Click Authenticate to open your Atlassian Cloud account in a new browser tab.
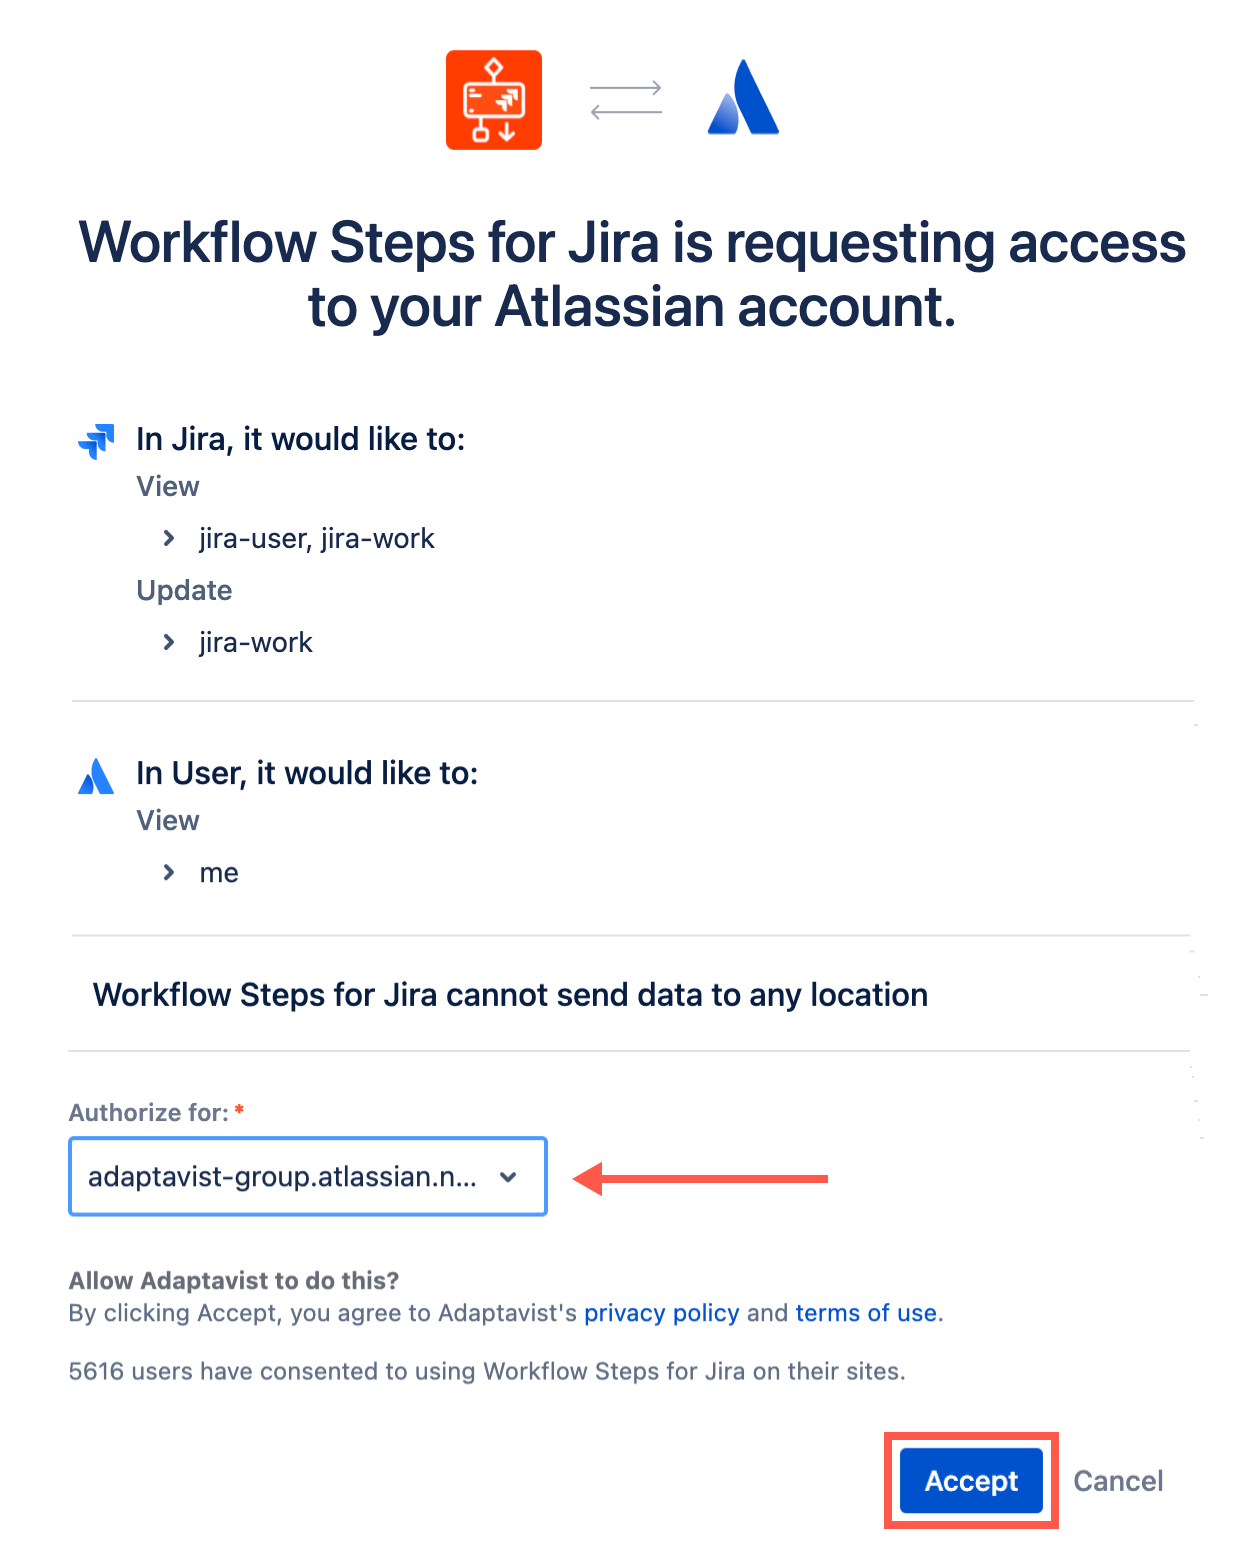
A new browser tab opens.Curious about how the app uses and stores your Jira data? Check out How We Use Your Data for even more information.Use the Authorize For dropdown to select the Jira Cloud instance you want to connect with Workflow Steps for Jira, then click Accept.
Authentication blocker 🛑
Is Accept grayed out? Read this.
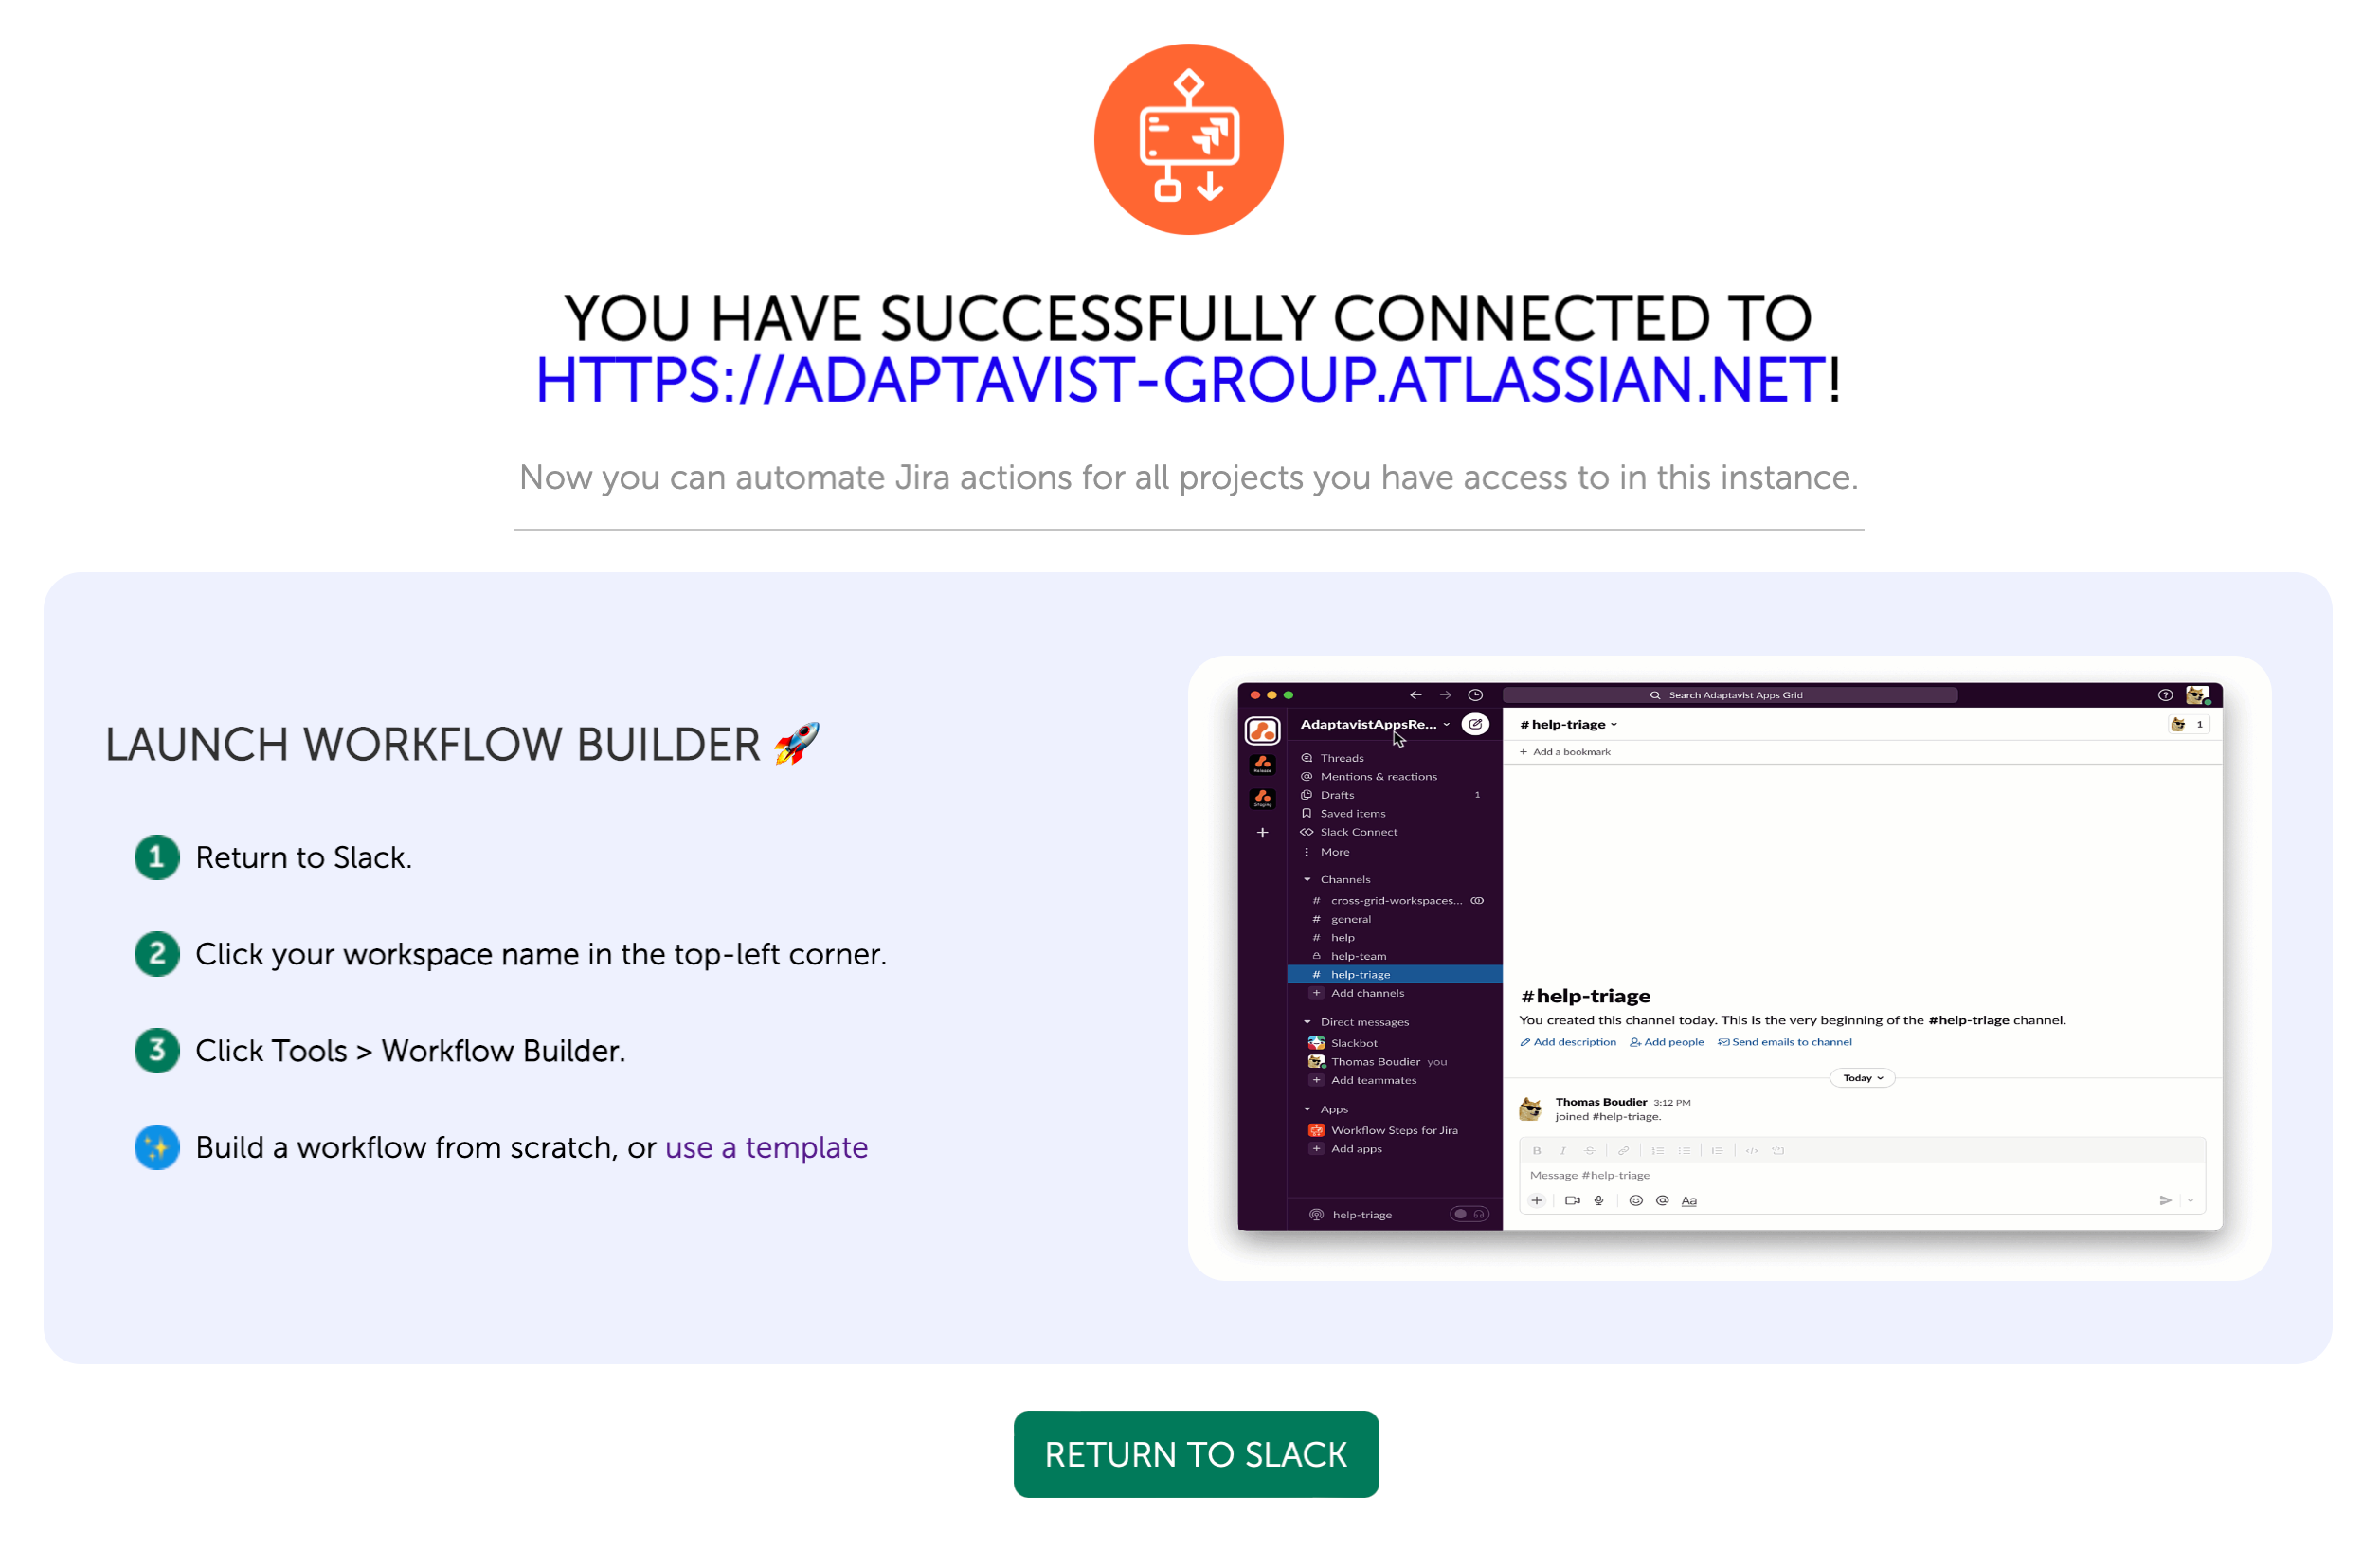
A success message appears in the browser once the authentication is complete.
Return to the Workflow Steps for Jira app in Slack.
A congratulatory message awaits you on the app home.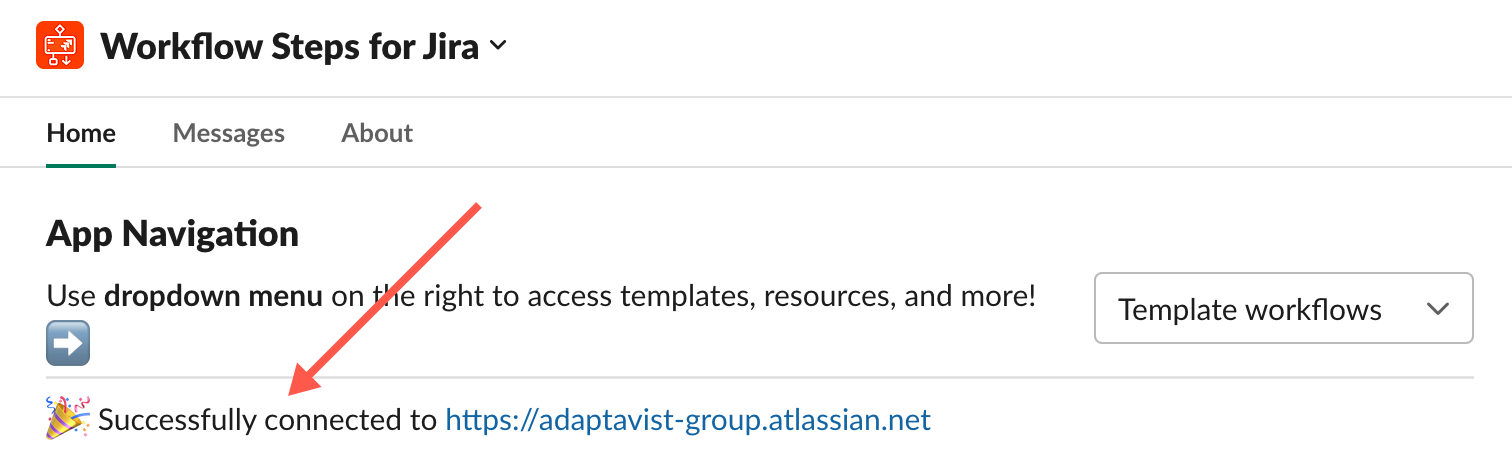
The new authenticated Jira instance appears in your Jira Connections list.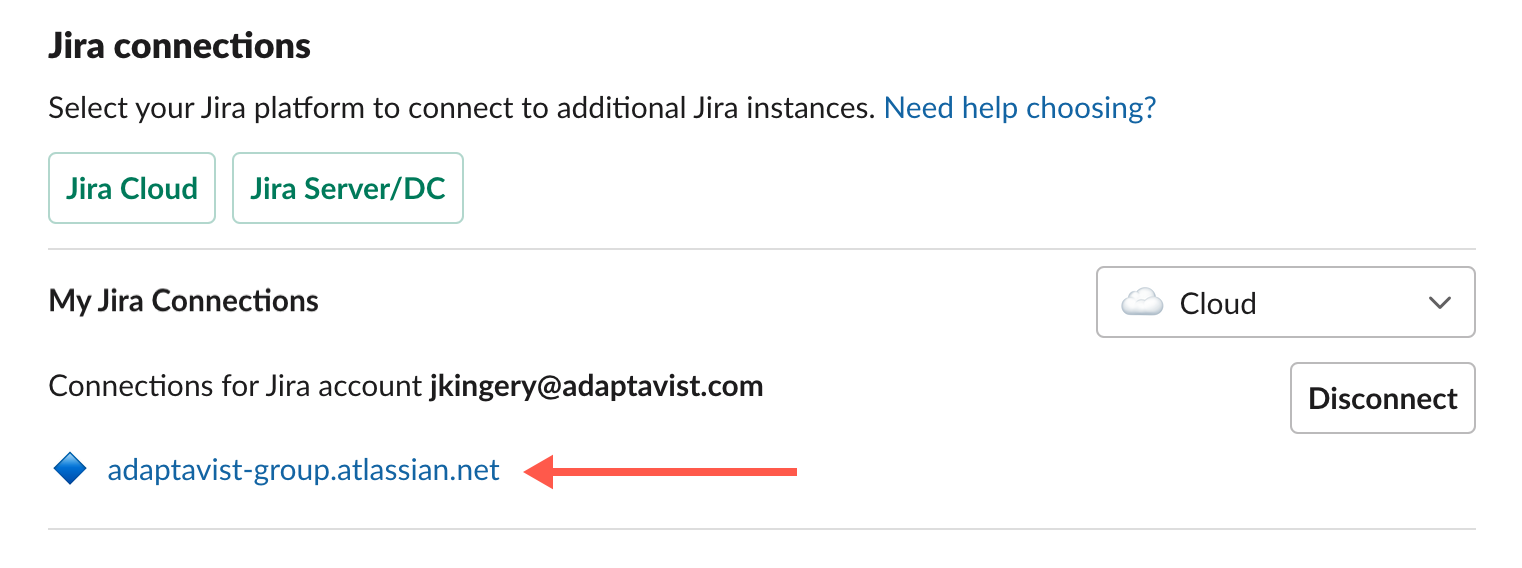
What's Next?
Check out our Templates page to download and import our ready-made workflows.