Restricting Priority and Resolution
You can use Behaviours to easily restrict priority and resolution values by workflow transition, project and/or issue type, user groups, user roles, and more.
For example, to optimize workflows, you may want to restrict resolutions based on the workflow transition being completed. As another example, you may want to restrict certain priorities and resolutions to certain roles to make sure some users can't create high-priority issues.
When restricting resolutions, you can modify your workflow to use the jira.field.resolution.include property. However this doesn’t scale well when you have very many workflows. If you do, you should seriously consider writing a script to update all your workflows.
Restrict by workflow action
You can use Behaviours to restrict what resolutions display based on the workflow transition being completed. In the following example, we have a transition called Terminate and we only want users to be able to use the Won't Fix, Incomplete, and Cannot Reproduce resolutions when completing this transition.
- From ScriptRunner, navigate to Behaviours.
- Select Create Behaviour.
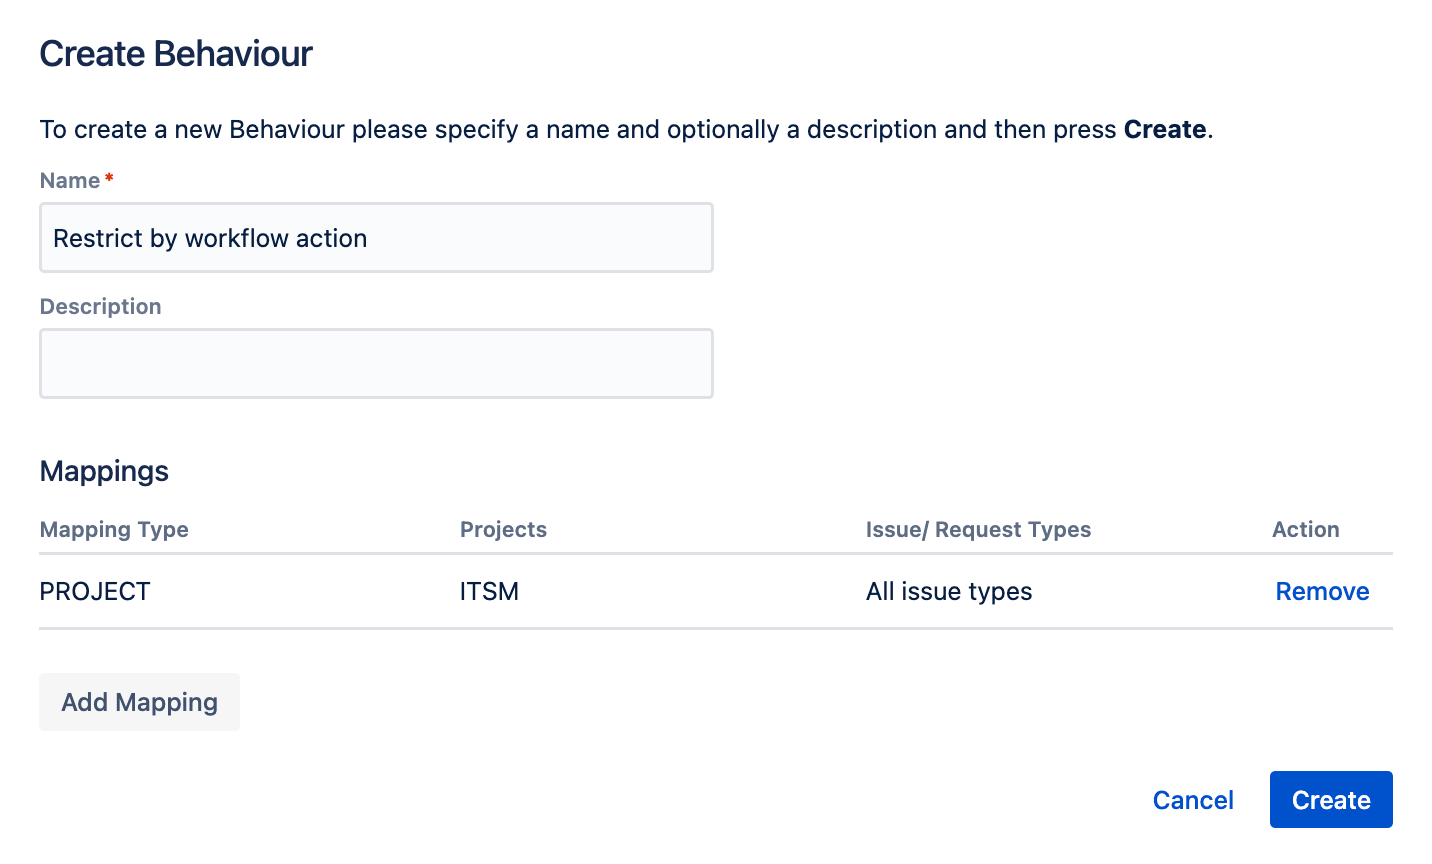
- Enter a name for the behaviour. In this example we enter
Restricting by workflow action. - Optional: Enter a description for the behaviour.
- Select Create Mapping.
- Select the project and issue type(s) to map this behaviour to.
- Select Add Mapping to confirm the mapping.
- Select Create to create the behaviour.
You're taken to the Edit Behaviour screen where you can configure the behaviour further. Scroll to the Initialiser field and select Create Script.
Copy the following code into the inline script editor:
import static com.atlassian.jira.issue.IssueFieldConstants.RESOLUTION if (getActionName() == "Terminate") { getFieldById(RESOLUTION).setFieldOptions(["Won't Fix", "Incomplete", "Cannot Reproduce"]) }setFieldOptionsaccepts two types of input:Iterable(preferred): pass a List (or any Iterable) containing the display names of the options to allow. See API docs (setFormValue) for more information.Map: pass a Map object, where the keys are the IDs of the priority or resolution (or priority, version, custom field option, etc), and the values are the strings that will be displayed in the UI.
Select Save Changes.
You can test to see if this behaviour works by using the Terminate (or equivalent) transition.
Restrict Priorities by Group
You use Behaviours to restrict priorities by group. In the following example, we restrict users so only those in the jira-developers group can use the two highest priorities.
- From ScriptRunner, navigate to Behaviours.
- Select Create Behaviour.
- Enter a name for the behaviour. In this example we enter
Restrict priorities for none jira-developers. - Optional: Enter a description for the behaviour.
- Select Create Mapping.
- Select the project and issue type(s) to map this behaviour to.
- Select Add Mapping to confirm the mapping.
- Select Create to create the behaviour.
You're taken to the Edit Behaviour screen where you can configure the behaviour further. Scroll to the Initialiser field and select Create Script.
Copy the following code into the inline script editor:
import com.atlassian.jira.component.ComponentAccessor
import com.atlassian.jira.issue.fields.config.manager.PrioritySchemeManager

import static com.atlassian.jira.issue.IssueFieldConstants.PRIORITY

def prioritySchemeManager = ComponentAccessor.getComponent(PrioritySchemeManager)

def userUtil = ComponentAccessor.getUserUtil()

def currentUser = ComponentAccessor.jiraAuthenticationContext.getLoggedInUser()
if (!userUtil.getGroupNamesForUser(currentUser.name).contains("jira-developers")) {

    def allowedPriorities = prioritySchemeManager.getOptions(issueContext).findAll {
        it.toInteger() > 2
    }

    getFieldById(PRIORITY).setFieldOptions(prioritySchemeManager.getPrioritiesFromIds(allowedPriorities))
}
Select Save Changes.
Test this behaviour by trying to create an issue as a user who is not a member of the jira-developer group. You may need to use the switch user function.


