
Technical Background
When using ScriptRunner for Jira Cloud, it's worth establishing some good practices from the outset.
- Scripts should always be tested in the Script Console on a sandbox instance. This will avoid disrupting live users and means scripts are used and tested in the sandbox before being used for creating customizations in your live Jira Cloud instance.
- It is beneficial when working in ScriptRunner to use a version control system, such as Git, to save scripts along with their versions. This ensures you can access those differing code versions if you encounter problems immediately.
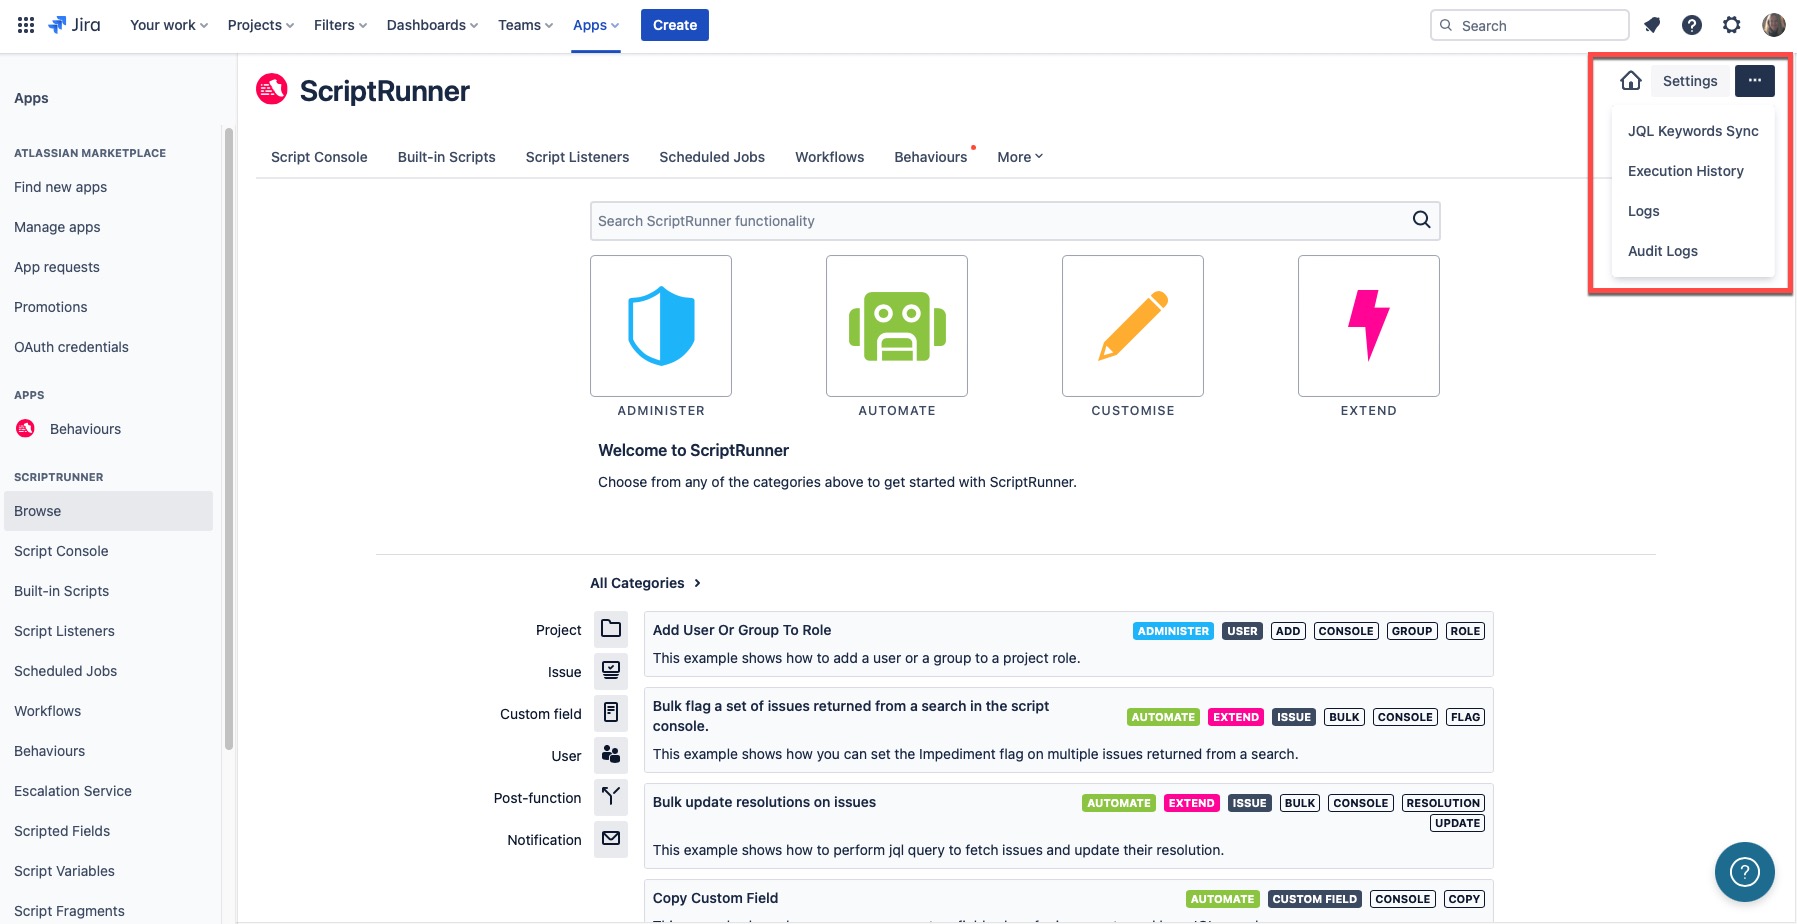
- Understanding how to verify scripts, review event logs and check analyses are also beneficial. You can access these elements of ScriptRunner for Jira Cloud via the Ellipsis icon next to the Settings button, or if preferred, via the left hand menu.
Write Code
When writing code, you can refer to this page if you want to understand the fundamental features of ScriptRunner for Jira Cloud that are not necessarily visible on the UI but instead run in the background.
Static Type Checking
Static type checking (STC) provides information about whether your script is correctly written.
Groovy is a dynamic language, which means that method and property names are looked up when your code is run, not when it’s compiled (like Java).
Let’s look at the following simple, but complete, script:
groovyfoo.bar()
We call the method bar() on the object foo. This script compiles without errors, but you get a MissingPropertyExceptionwhen you run the script because foo hasn’t been defined. This behaviour is useful because there are circumstances that could make this code execute successfully, like an object called foo or a closure getFoo() being passed to the script’s binding.
Although Groovy is a dynamic language, we can compile scripts in a manner that checks method and property references at compilation. The STC feature shows you problems in your scripts when you are writing them, as opposed to when they execute.
When your scripts are executed, they are always compiled dynamically. When they are compiled for the STC, the resulting generated bytecode is thrown away.
Limitations
There are limitations to the type checker. It is possible to write code that shows errors, but it is valid and executes fine. Some of these situations are:
Using certain builders
Using closures where the parameter types can’t be inferred
However, if you write code like this, you probably use an IDE, which does not work with the STC.
Additionally, your code could have runtime errors that won’t be found until the code executes.
Example
If we were writing a condition where we wanted to check the number of issues returned from a search is zero, we might inadvertently write:
groovyboolean empty = isssues.total = 0
STC is telling us that we are trying to set the total, rather than retrieve it. We meant to use the equality operator:
groovyboolean empty = isssues.total == 0
Code areas will show a green dot, which tells us that the code is syntactically correct, and the methods and properties have been checked.
STC in the cloud will provide additional help for the script context, ensuring that properties access matches the JSON Schema provided by Atlassian.
Asynchronous execution
Asynchronous execution is at the heart of the Atlassian Connect Framework that ScriptRunner must use to extend Jira Cloud.
Jira fires webhooks when events and transitions occur and any user interface elements are loaded in iframes. It is not possible to veto, cancel or otherwise prevent Jira performing an action using ScriptRunner.
Scripts are written synchronously, that is, REST API calls are made in a blocking style (although async methods are provided too). For more information, you can refer to the About Jira Cloud Platform documentation which provides you with an excellent introduction to the Atlassian Connect framework.
Isolated Execution
All user provided code is executed in an isolated container. ScriptRunner for Jira Cloud is a service that is shared by many customers so isolation is very important when executing scripts. Isolation is a goal that has been core to the design of ScriptRunner for Jira from its inception.
Each customer has a container that exclusively belongs to them. It is not possible for the code of one customer to have been run in the container of another. Containers are also designed to be single use, however, it is possible that containers will be re-used for execution on occasion, but script writers should not rely on this. Disk storage in these containers is short-lived, therefore, any changes written to the disk will be discarded.
Scopes
When installing the add-on a list of permissions, or scopes, are presented that ScriptRunner for JIRA Cloud requires in order to run successfully. A list of the scopes required for each REST API endpoint that JIRA Cloud provides can be found here. Below is a detailed explanation of why we need each of those scopes:
| Scope | Description |
|---|---|
Act on a JIRA user’s behalf, even when the user is offline | Scripts can be configured to execute as either the add-on, or as the user who initiated that script. For example, if a user transitions an issue, then the Workflow Post Function will be initiated by that user, so it makes sense to execute the Post Function as the user who transitioned the issue. This ensures that each user’s permissions are respected, and provides a much clearer history of who’s made changes to the issues in your system. |
Administer JIRA | This scope allows for the creation, update and deletion of issue types and issue link types, as well as for creating custom fields when running a script as the ScriptRunner Add-on user. |
Administer JIRA projects | This allows you to write scripts that execute as the ScriptRunner Add-on user for creating, updating or removing Projects, Components and Versions so that you don’t need to grant those permissions to the rest of your user base. |
Delete JIRA data | This scope is required in order to delete issues, comments, worklogs, issuelinks etc while running a script as the ScriptRunner Add-on user. |
Write data to JIRA | This scope is required in order to create issues, comments, worklogs etc while running a script as the ScriptRunner Add-on user. |
Read JIRA data | This scope is required in order to view issues, comments, worklogs etc while running a script as the ScriptRunner Add-on user. |
REST APIs
All interaction with Jira must be through the REST APIs provided. Atlassian provides comprehensive documentation including the JSON Schema for responses and request bodies which describe the shape of the JSON. For effective usage of ScriptRunner it is important to have an understanding of how to interact with Jira using the REST API.
Authentication and Authorization
All REST requests made from ScriptRunner are performed as either the ScriptRunner user or as the user that initiated the action. The initiating user is the current user of the Script Console, the user that performed the action to cause an event to fire or the user that performed a workflow transition that caused a Post Function to run. Atlassian Connect Add-ons must also register for API scopes. These work in a similar way to the permissions that are granted to iOS or Android apps. When installing, the Jira Administrator can see the scopes that any given add-on is requesting. ScriptRunner requests all scopes as it is not known beforehand what any given user will want to do. Even given this, there are restrictions on the APIs that are available to ScriptRunner.
No private APIs are available, only those specifically white-listed by Atlassian
Scopes are documented for
It is possible for Project Administrators to remove access to a particular add-on by modifying the permissions for a project.
Authentication from user scripts is handled by an authentication proxy builtin to ScriptRunner. Each script invocation is given a temporary authentication token to use to make requests into this proxy which will then perform the necessary request signing to make the authenticated request to your Jira instance. In this way authenticated requests happen transparently. Tokens that are handed to scripts are only valid for two minutes. Responses that come through the proxy have URLs modified to go through the proxy so that URLs in the JSON response can be used directly without manipulation. For example the following code shows how to fetch a project from an issue get.
groovyString projectUrl = get("/rest/api/2/issue/EX-1").asObject(Map).body['fields']['project']['self']

get(projectUrl).asObject(Map).body.name
Unirest
The HTTP library provided by ScriptRunner is Unirest. Unirest is a simple, lightweight library that makes interacting with REST APIs simple and straightforward. It was chosen due to the minimal dependencies (based on Apache HTTP Client 4.5), flexibility (JSON mapping support is built in and object mapping provided by Jackson) and the clarity of API.
Unirest, Unirest.get, Unirest.post, Unirest.put, Unirest.head and Unirest.options are included in all scripts as import static which means no imports are needed in order to make HTTP requests. The base url to the ScriptRunner authentication proxy is filled in along with the authentication headers so making REST calls is as simple as copying and pasting from the Jira REST documentation.
Examples
Get issue types:
groovyget('/rest/api/2/issuetype').asString().body

Create an issue:

def projectKey = 'TP'
def taskType = get('/rest/api/2/issuetype').asObject(List).body.find { it['name'] == 'Task' }['id']

post('/rest/api/2/issue')
        .header('Content-Type', 'application/json')
        .body(
        [
                fields: [
                        summary    : 'Task Summary',
                        description: "Don't forget to do this!.",
                        project    : [
                                key: projectKey
                        ],
                        issuetype  : [
                                id: taskType
                        ]
                ]
        ])
        .asString().body
Line 6: Use the issuetype REST endpoint to get all issuetypes, parse into a list, and find the type with name Task, then take the id of that type.
Line 8: Make the post request to create the issue in the specified project with the specified issuetype.
Line 23: It is important to note that the request is only made when one of the as* methods are called. asString() takes response and makes it available in .body as a String. asObject(Object) will use Jackson to parse the response from JSON
Update an issue:
groovydef issueKey = 'TP-1'
def newSummary = 'Updated by a script'

def result = put("/rest/api/2/issue/${issueKey}")
    //.queryString("overrideScreenSecurity", Boolean.TRUE)
    .header('Content-Type', 'application/json')
    .body([
        fields: [
                summary: newSummary
        ]
    ])
    .asString()

if (result.status == 204) {
    return 'Success'
} else {
    return "${result.status}: ${result.body}"
}
Line 1: Issue key and new summary to set.
Line 4: Create the rest PUT request - see documentation.
Line 5: You must pass overrideScreenSecurity=true if you are trying to amend fields that are not visible on the screen - Note you must use the Add-on user when setting overrideScreenSecurity=true.
Line 6: Important to set the content type of the PUT, and then the body content as a Groovy Map.
Line 12: Calling .asString() executes the put and parses the result as a string.
Line 14: The REST request responds with a 204 (no content) so there is no point reading the body.
It is really important to pass overrideScreenSecurity in request url, if your request wants to change fields that are not visible on the screen. If you don’t, request response will be 403 with message that you don’t have permission to do that.