

Creating a Jira Workflow
You can use Workflow Steps for Jira with Slack's Workflow Builder to create all kinds of automations to make work-life easier. We created workflow templates to get you started, but these steps walk you through the process of creating a workflow from scratch.
The first step to building Jira automations in Slack is to create a new workflow using Slack's Workflow Builder.
As we build the workflow, you can choose which Jira steps you want to use.
Click the workspace drop-down menu in the upper-left corner of Slack, and select Tools > Workflow Builder.
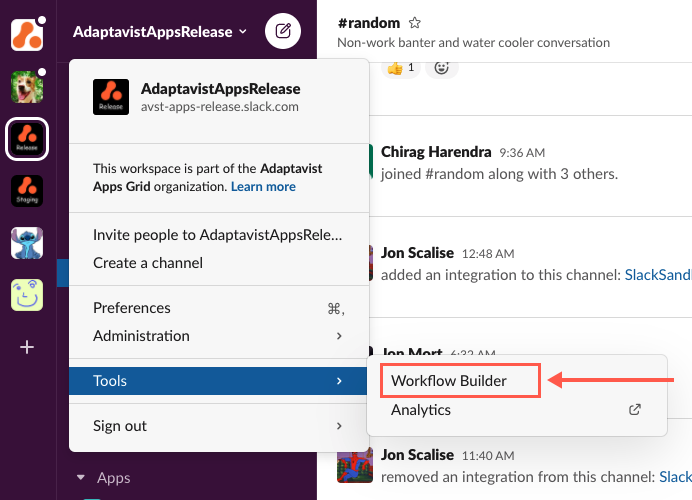
Workflow Builder opens in a new window.Click Create.
The workflow wizard appears.You can also click the Templates tab to see what Slack offers out of the box, then click Set Up in the tile that you think fits your needs best. Once you select a Slack template, you can click Add Step to add Jira steps to your workflow.
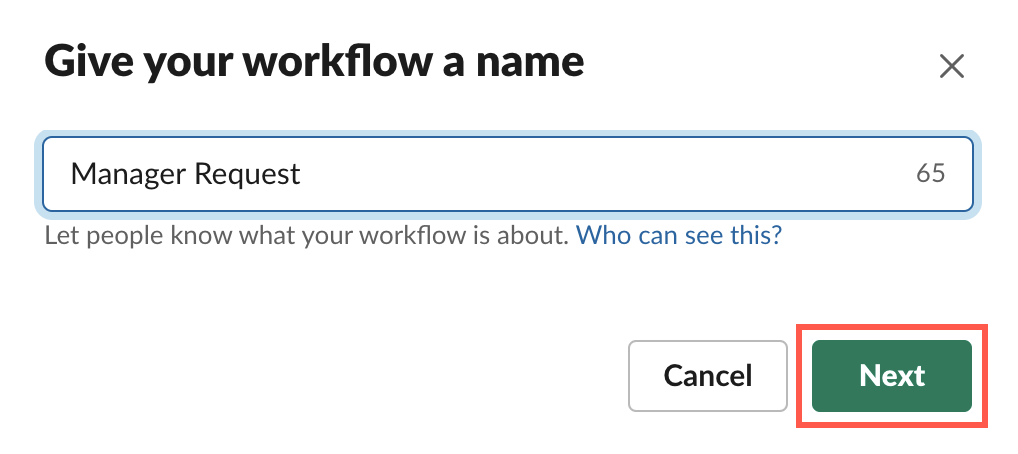
- Give the workflow a name, then click Next.
A list of event types appears. These event types initiate the workflow you're creating. - Click Select next to the event type you want to use to initiate the workflow.
Event options are:
Shortcut, which allows channel members to manually start the workflow from the channel by clicking a button
New channel member, which kicks off the workflow when a new member is added to the channel
Emoji reaction, which kicks off the workflow when a specific emoji reaction is used in the channel
Scheduled date & time, which kicks off a workflow at a specified date and time (single-use or recurring)
Webhook, which kicks off the workflow when an app or service sends a web request
Once you click an event type, the event customization dialog appears. - Fill out the prompt fields.
These fields, depending on the event type you selected, define in which channel the workflow occurs and other event-specific details (such as which emoji kicks off the event or at what date/time the event occurs). - Click Next.
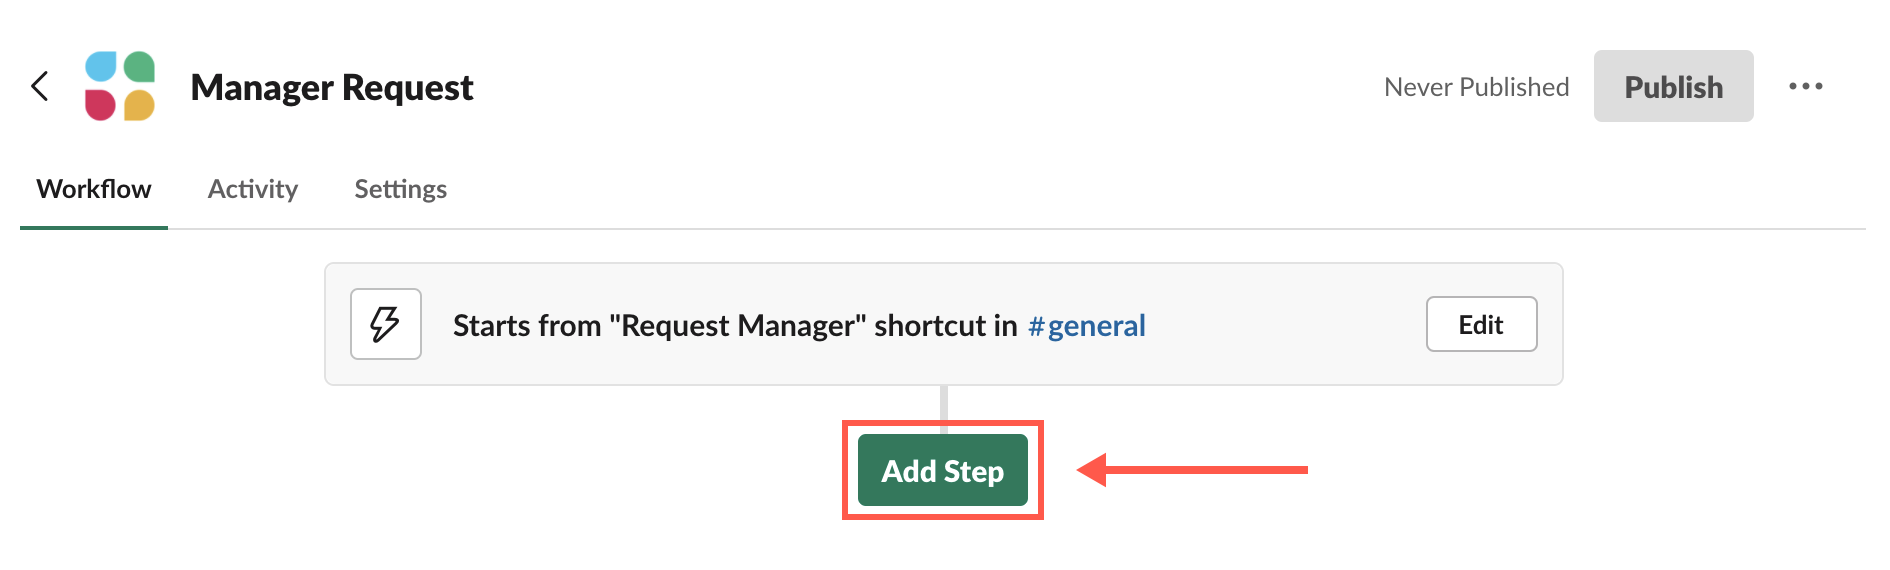
The workflow saves to the Workflow tab, where you can add steps, remove steps, and edit your workflow fields. - Click Add Step.
The Add a workflow step dialog appears. Click Workflow Steps for Jira in the Apps section.
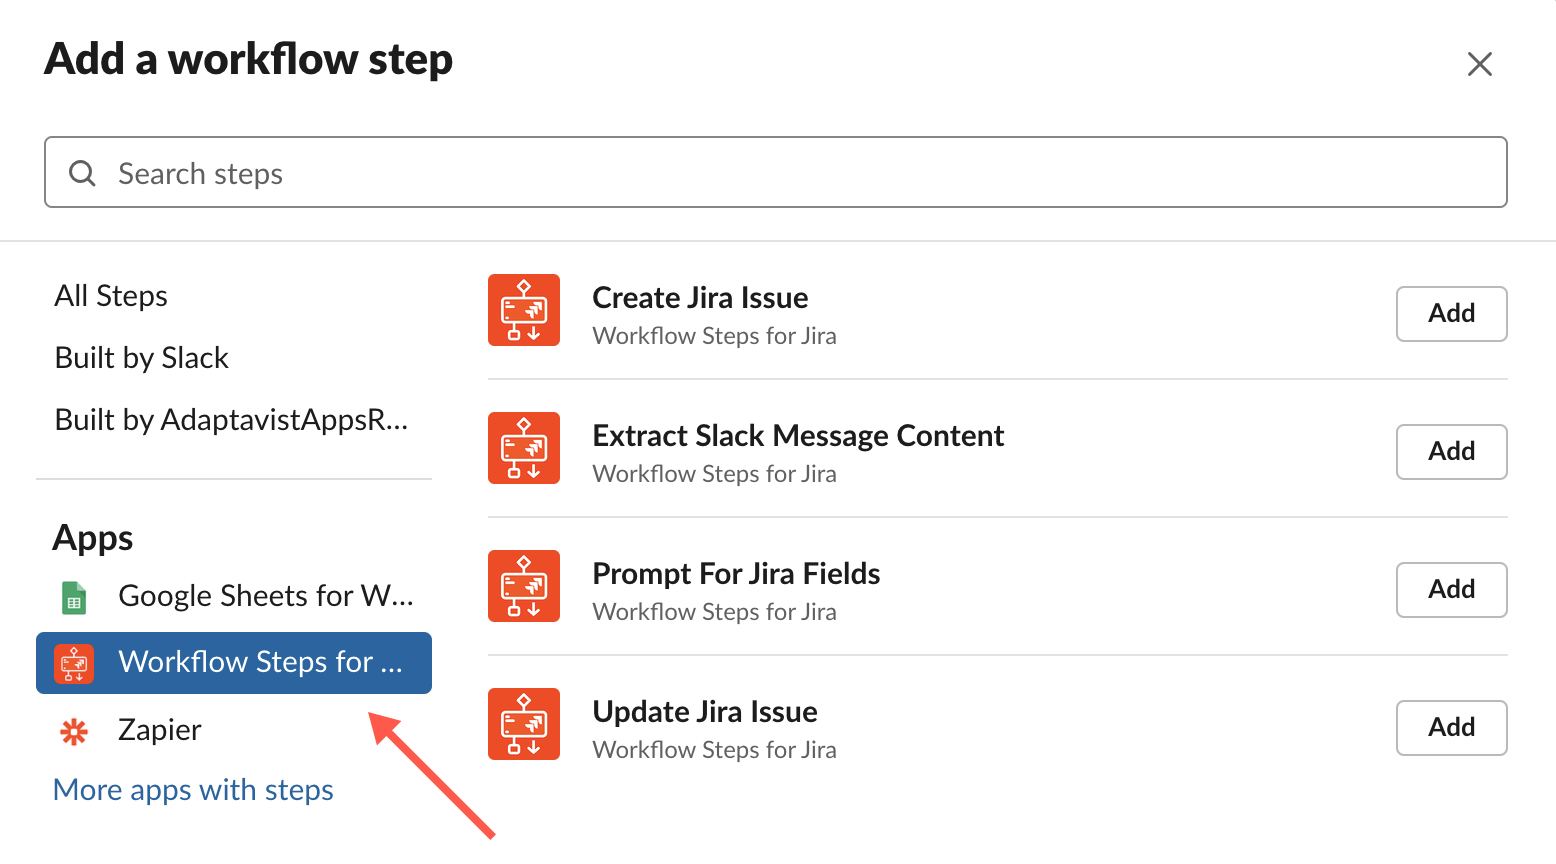
If Workflow Steps for Jira isn't an option, visit the Slack marketplace and ensure that you've added the app to your Slack.
The step options appear in the dialog.- Click Add next to the Jira step you want to introduce to your workflow.
The options are:
Create Jira Issue, which creates a new Jira issue
Extract Slack Message Content, which defines the Slack comment that Jira is to extract and use in a Jira issue
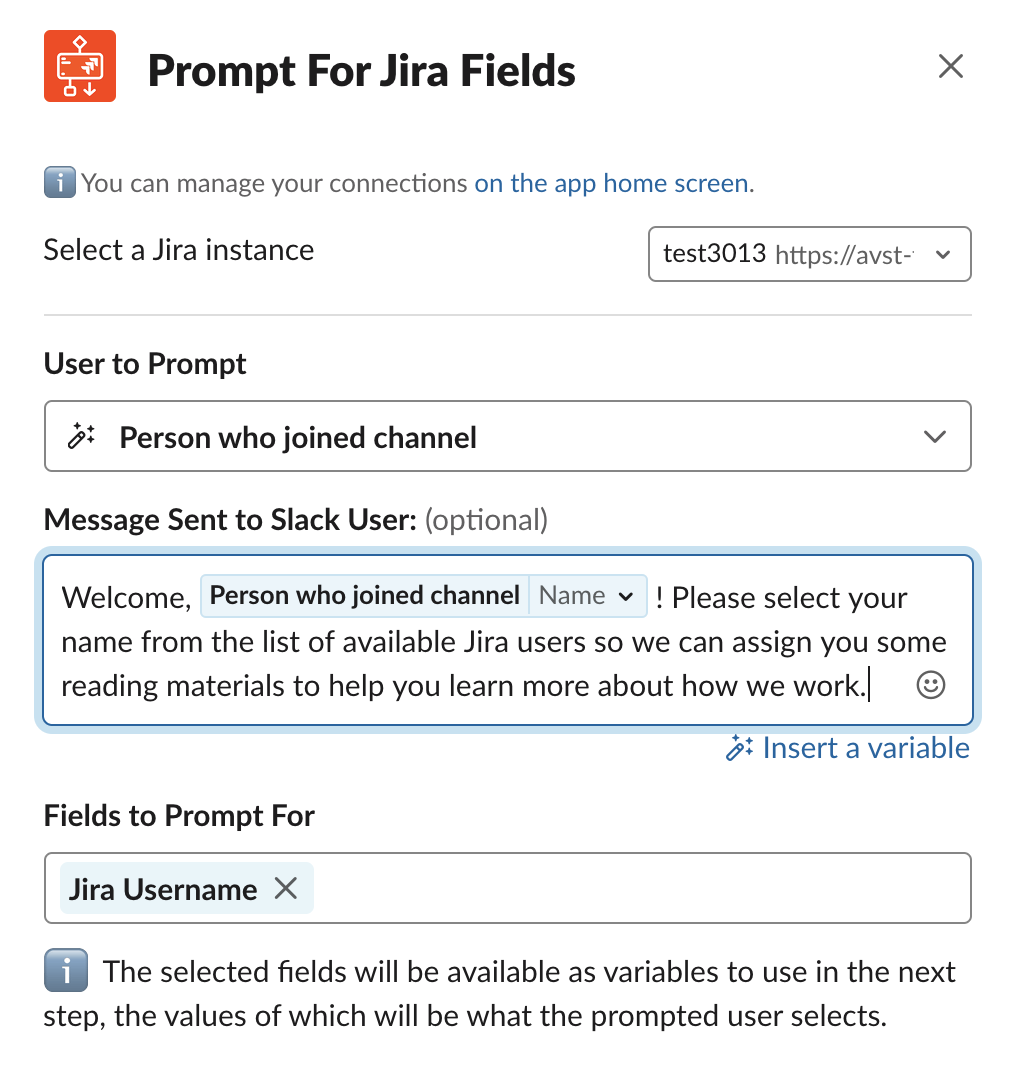
Prompt for Jira Fields, which allows you to select and share fields between Slack and Jira
Update Jira Issue, which updates an existing Jira issue Customize your Jira step.
Each of the options requires different information, but here you're prompted to define details such as the Jira instance you want to interact with, users to prompt, message content to send to users, etc.
Some fields may be marked "optional," while fields that are unmarked are required.Use variables to make your workflows unique and personalized to each user and situation.
Click Insert a variable to see the options, which vary by field.
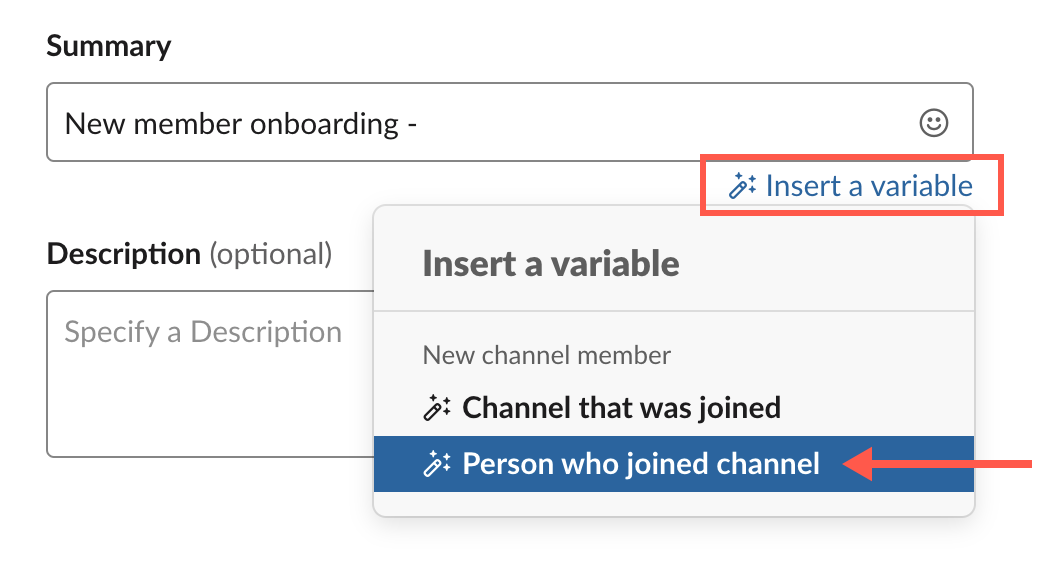
You can use text around a variable to personalize messaging both in Slack or on a Jira ticket.
You can even use multiple variables within a single messaging dialog box!
- Click Save.
Your workflow saves and to the Your Workflows tab.
To put the workflow into action, it has to be published. - To publish a workflow and make it live in the Slack channel, select the workflow from the Your Workflows tab, then click Publish.
Return to the Your Workflows tab to edit, duplicate, download, or delete the workflow at any time.
Struggling to get your workflow off the ground? Email us the details at slacksupport@adaptavist.com, and we'll try to help you out!