Customize Panel Content - Footer Example
Create New Panels to Customize Content
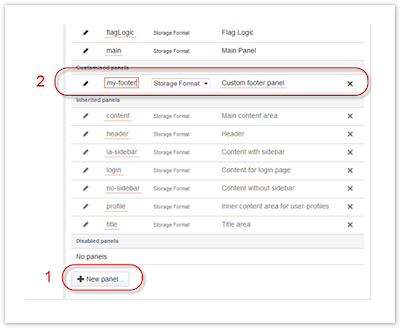
Click New Panel at the bottom of the Skin Editor, and a new panel will appear in the Customized Panels list.
When text in the panel list is underlined in red, it may be edited.
Click the new Panel ID and Description to change them to more appropriate content.
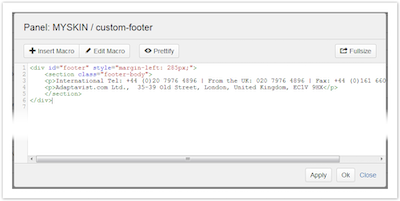
Click the Pencil icon to open the Panel Editor.
By wrapping the custom content in the same HTML used by Confluence 5, you can ensure that the new footer displays in the same place, with the same styling.
<div id="footer" style="margin-left: 285px;">
<section class="footer-body">
<p>International Tel: +44 (0)20 7976 4896 | From the UK: 020 7976 4896 | Fax: +44 (0)161 660 8668</p>
<p>Adaptavist.com Ltd.,  35-39 Old Street, London, United Kingdom, EC1V 9HX</p>
</section>
</div>
You have a blank panel to work with and add content in storage format, wiki markup, or plain HTML. Change these options using the dropdown in the Skin Editor between the Panel ID and Description.
Click Apply to save your changes.
To make this new panel show on a page, it will need to be included in an existing panel. You will need to replace the Panel Element macro that displays the default Confluence footer with a Panel Import macro that shows your custom panel for the footer.
The Footer panel normally displays in both the With Sidebar, Without Sidebar, and Login panels, so you will need to make the change in all three places.
Replace this:
<ac:macro ac:name="panel-element">
<ac:parameter ac:name="element">page.footer</ac:parameter>
</ac:macro>
With this:
<ac:macro ac:name="panel-import">
<ac:parameter ac:name="panel">my-footer</ac:parameter>
</ac:macro>
Click Apply to save your changes. Then, view your site to see them in action.


