
Validators Tutorial
Before you start this tutorial, make sure you've read the Workflow Functions Tutorial page to understand what workflow functions are, for an overview of ScriptRunner workflow functions, and for details on how to access workflow functions.
For this tutorial, we assume you already have basic knowledge of how Jira workflow functions work.
What is Great Adventure?
Great Adventure is the fictitious company we use to help provide use cases and examples of concepts covered. Great Adventure has the same problems and issues faced by most companies and needs to automate more of their processes using ScriptRunner.
Overview of ScriptRunner workflow validators
A validator checks to see if the user can transition an issue. Validators do not prevent the next transition button from appearing (that would be a condition). For example, you could add a ScriptRunner validator that ensures a user adds a comment when transitioning an issue to Done, or equivalent. Depending on what your organization requires, you may want to use workflow validators provided by ScriptRunner. These validators allow you to do more in your workflow, providing extra control or information. ScriptRunner includes built-in validators that you can use right away, but you can also create your own Simple scripted validator. For a full list of our validators, check out the available ScriptRunner workflow validators.
Navigate to ScriptRunner workflow validators
All of the ScriptRunner workflow functions are found alongside Jira workflow functions.
You can add a ScriptRunner validator to a workflow transition as follows:
- Go to Administration > Issues > Workflows.
- Select Edit on the workflow you want to add a validator to.
- Select the transition to which you wish to add a validator.
- Under Options, select Validators.
- Select Add validator.
All available ScriptRunner validators display along with all other available validators.
Examples of ScriptRunner workflow validators
Below are some easy-to-follow examples that will help you understand how ScriptRunner workflow validators work.
We recommend that you do any script testing in a test instance and not your production instance.
We recommend you set up and use a sample project for the following examples. See the Tutorials page for more information on creating a sample project.
Built-in ScriptRunner workflow validator examples
Field(s) required validator
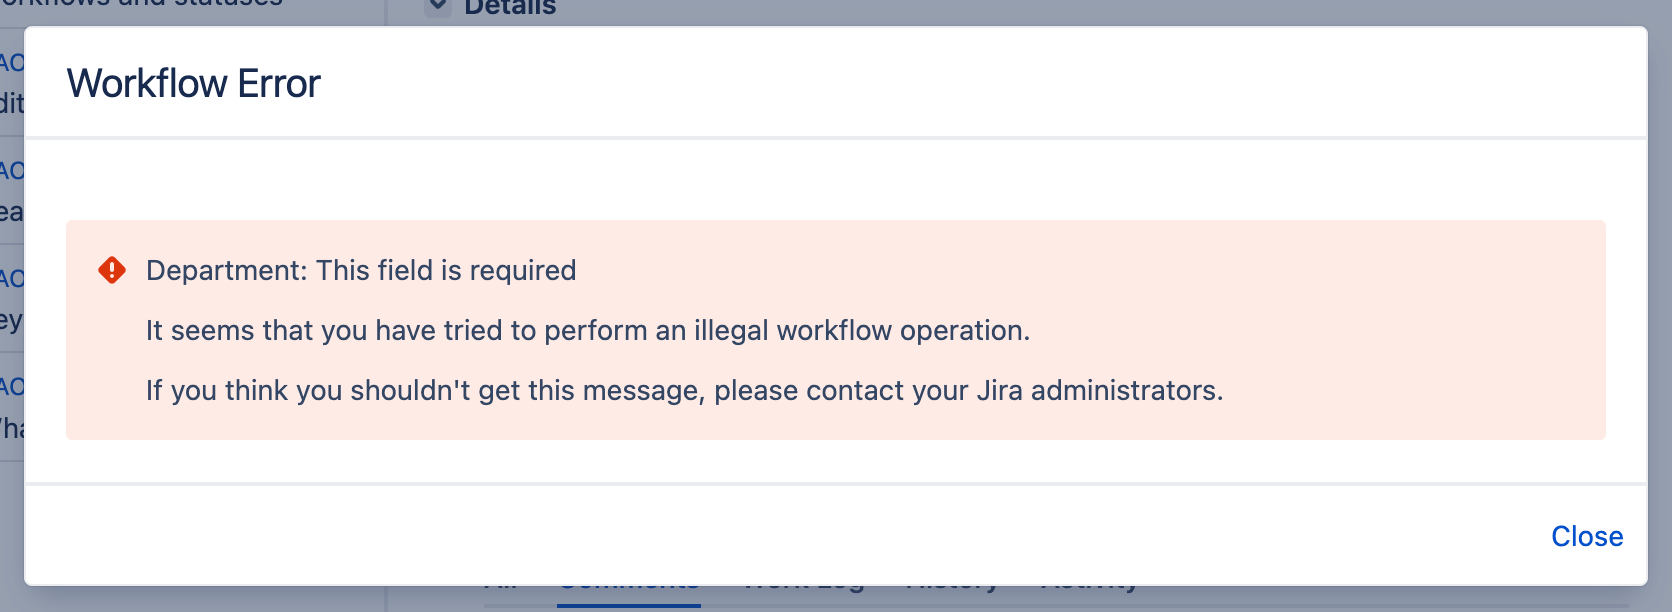
Great Adventure needs every onboarding issue to show which department a new team member belongs to, and have created the Department custom field. Unfortunately, many users are transitioning the onboarding issues without updating the Department field first. To help with this situation, Great Adventure plans to use the Field(s) required validator to make sure users complete the Department field before they can transition it to In Progress.
- Go to Administration > Issues > Workflows.
- Select Edit on the workflow you want to add a validator to.
- Select the transition to which you wish to add a validator. In this example, we select the transition that leads to In Progress.
- Under Options, select Validators.
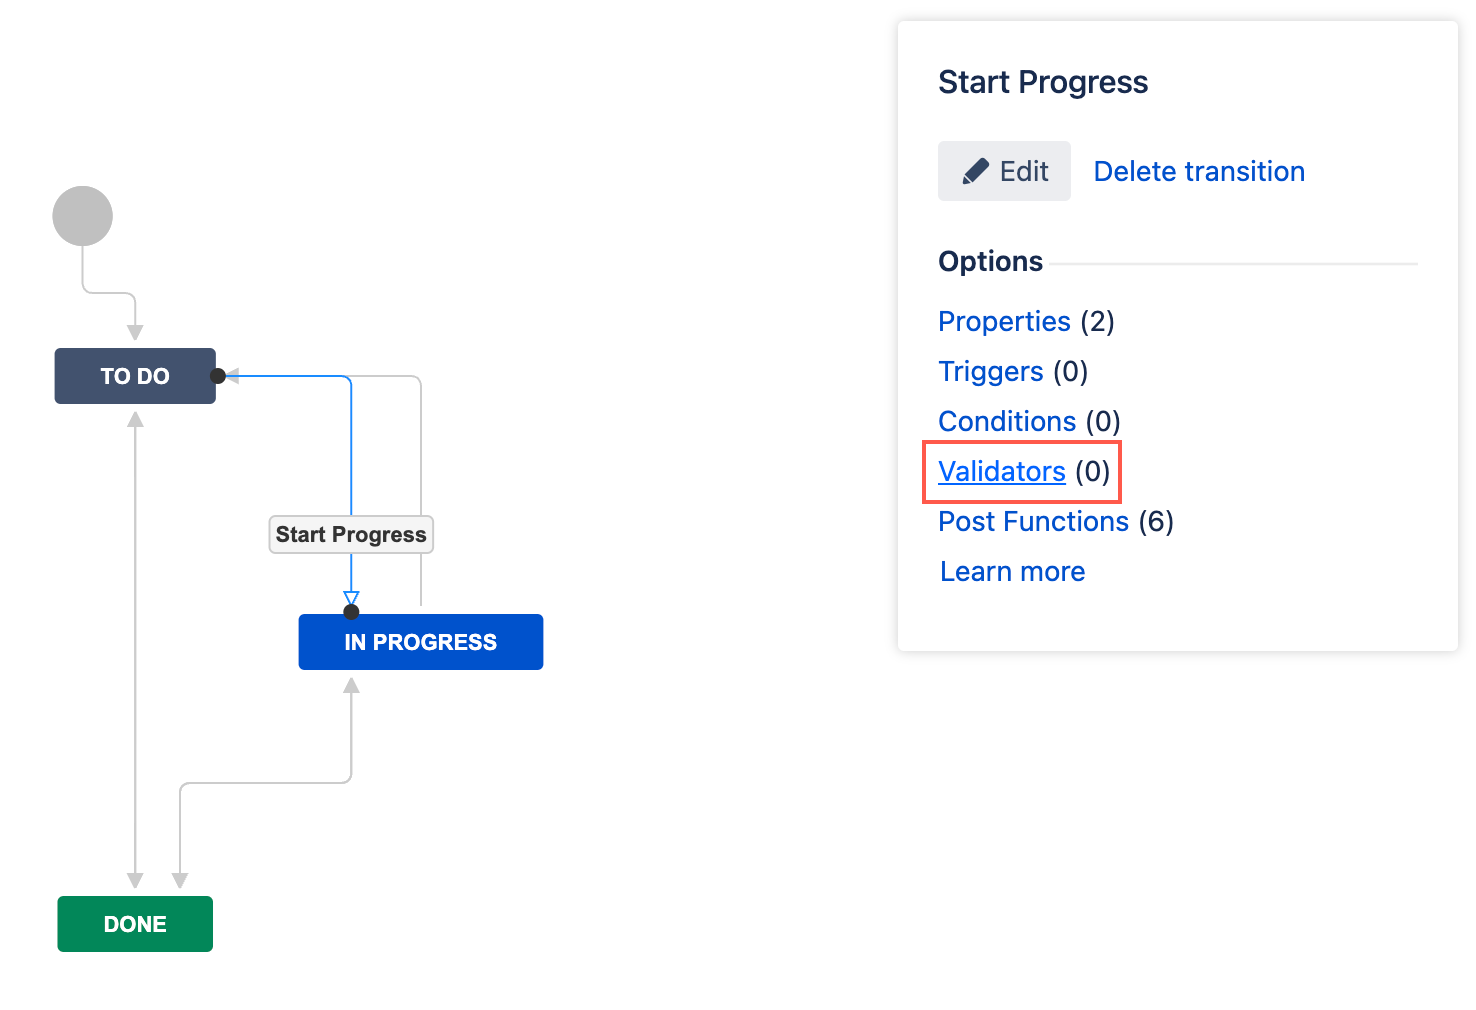
- On the Transition page, select Add validator.
- Select Field(s) required validator [ScriptRunner].
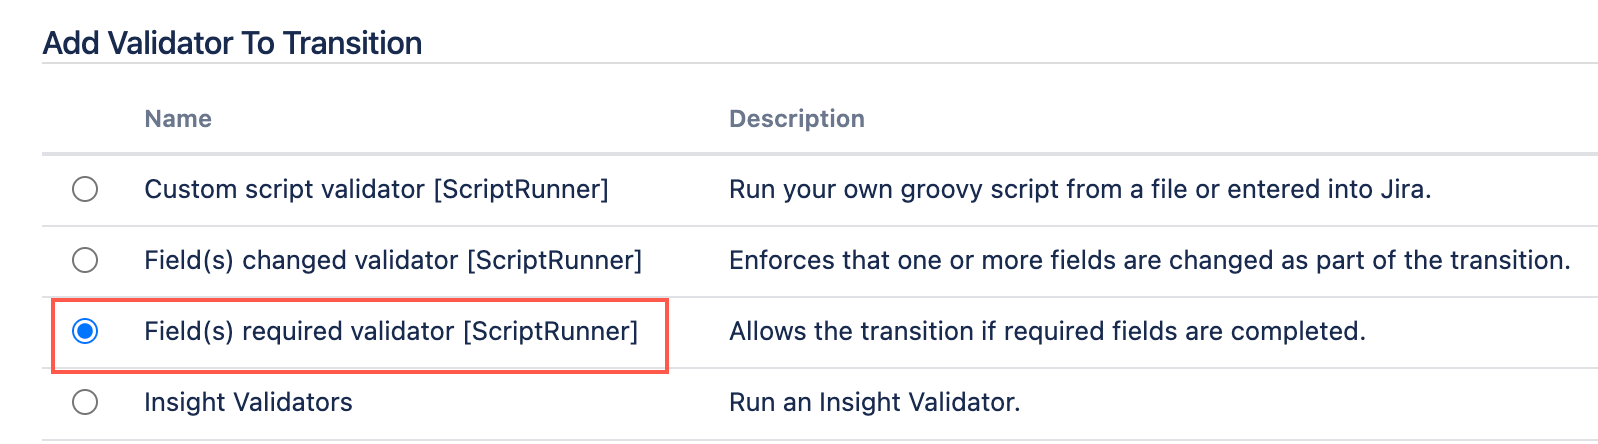
- Select Add.
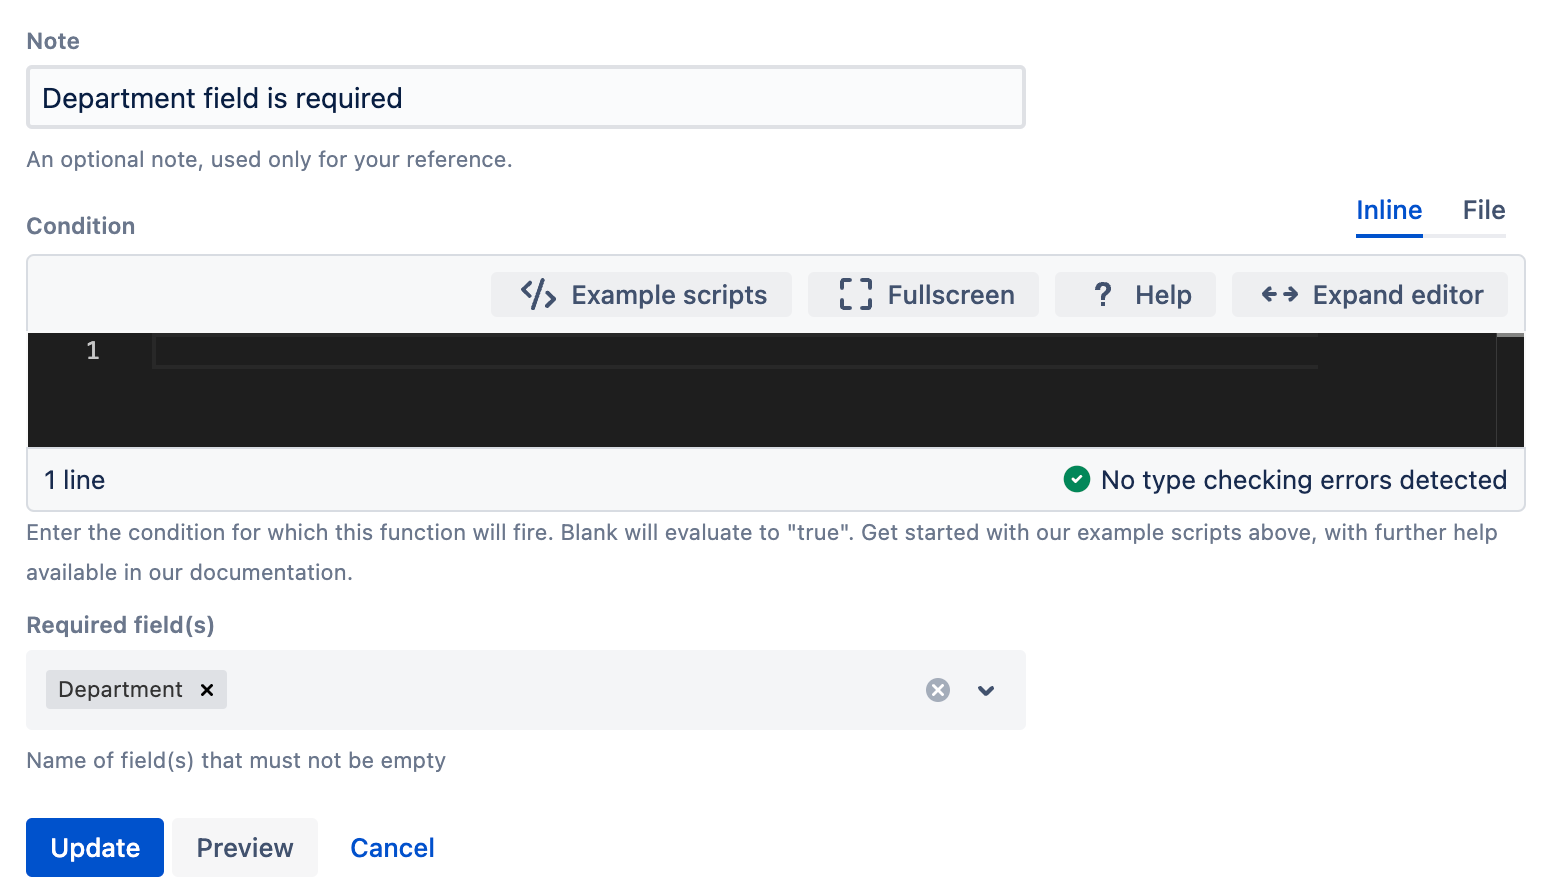
- Optional: Enter a note that describes the validator (this note is for your reference when viewing all validators). In this example we enter
Department field is required. - Optional: Enter a condition for this function to fire on. An empty condition evaluates the function to
true. - Select the required field(s). In this example we select
Department. - Select Preview to see an overview of the change.
Select Update.
Select Publish and choose if you want to save a backup copy of the workflow.
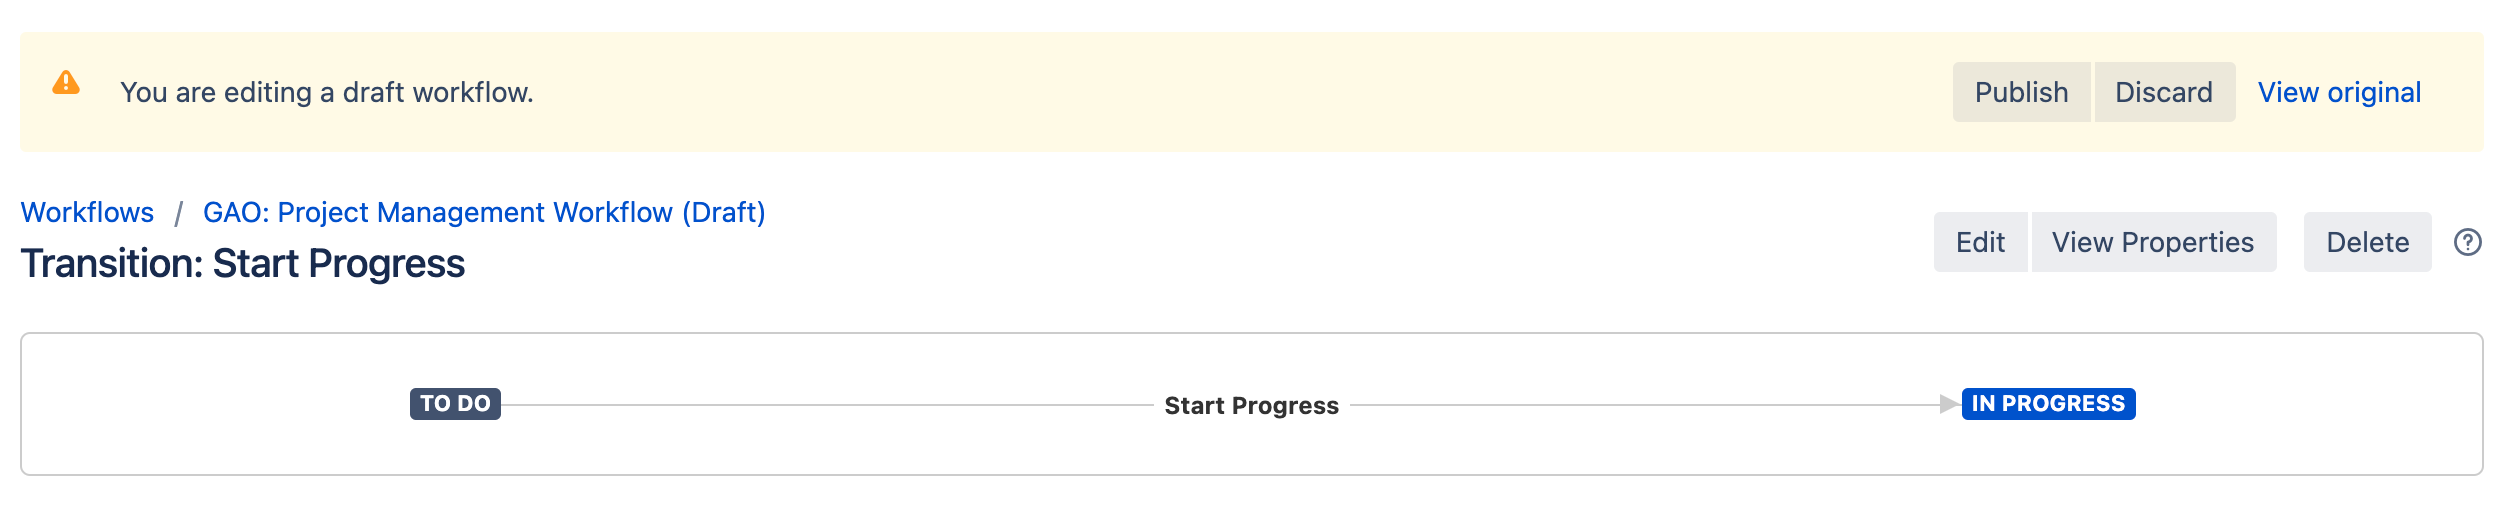
You can now test to see if this workflow validator works. Issues in your chosen project will throw an error if you try to transition the issue to In progress without the Department field completed.
User in field validator
Before you start this example, make sure you have a suitable workflow that includes a transition from In Progress to Awaiting Approval to Approved.
Great Adventure wants to improve their approval process and make sure only those assigned as Approvers can approve an issue. To do this, Great Adventure plans to use the User in field(s) validator to make sure only users within the Approvers custom field can transition the issue to Approved.
- Go to Administration > Issues > Workflows.
- Select Edit on the workflow you want to add a validator to.
- Select the transition to which you wish to add a validator. In this example, we select the transition that leads from Awaiting Approval to Approved.
- Under Options, select Validators.
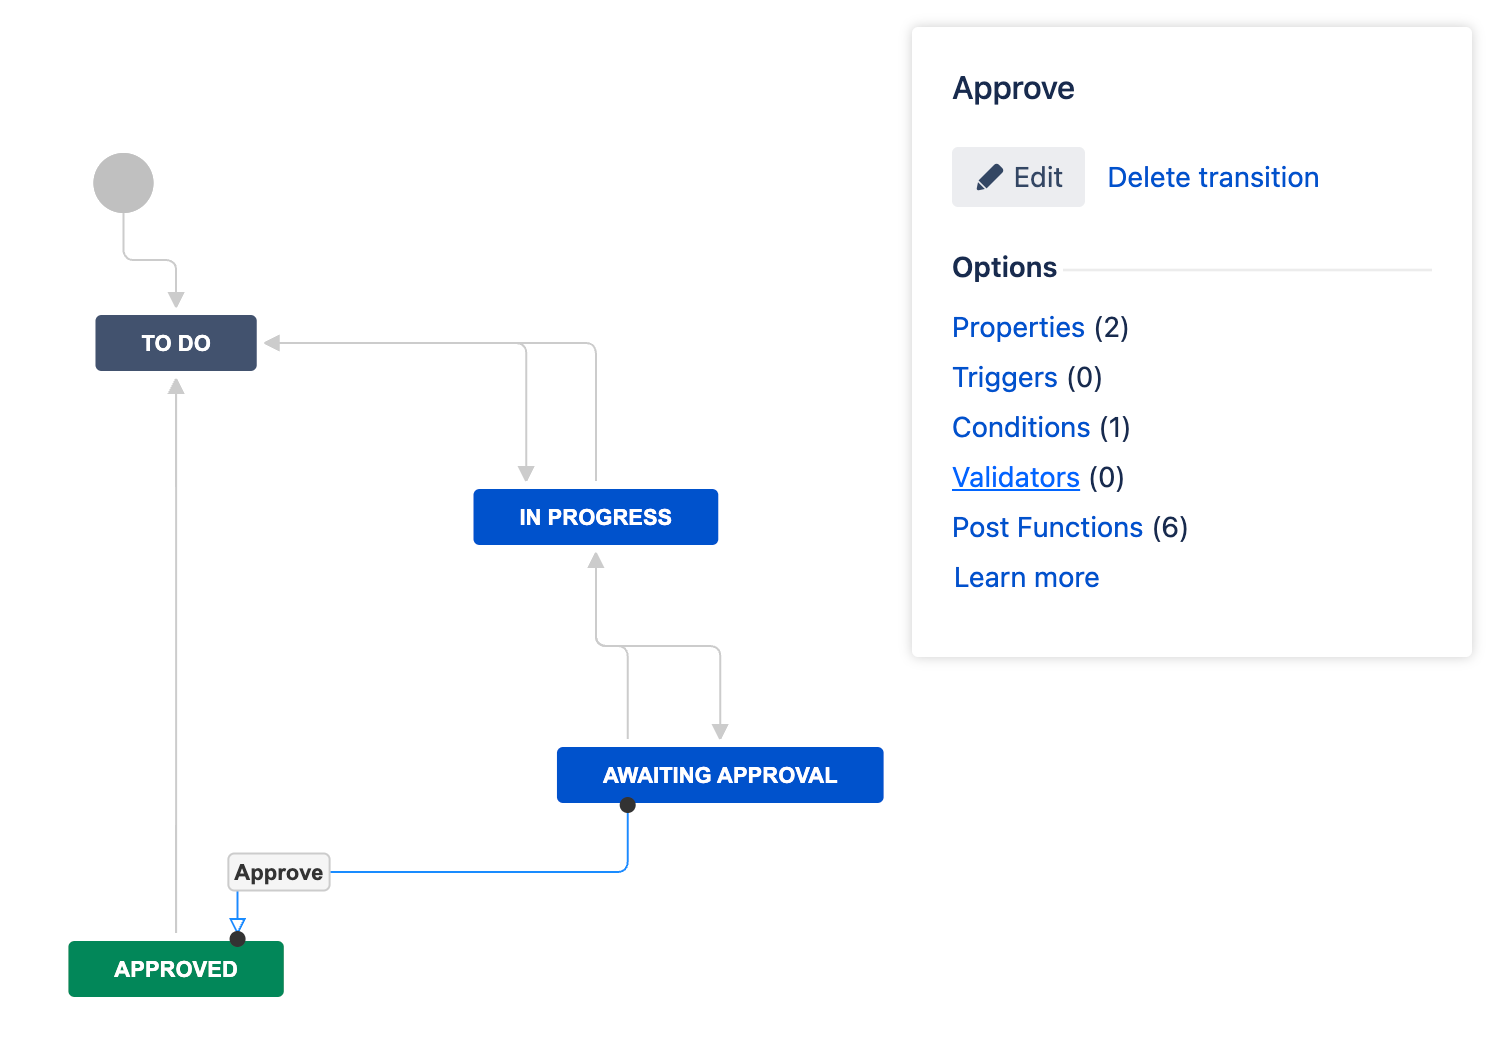
- On the Transition page, select Add validator.
- Select User in field(s) validator [ScriptRunner].

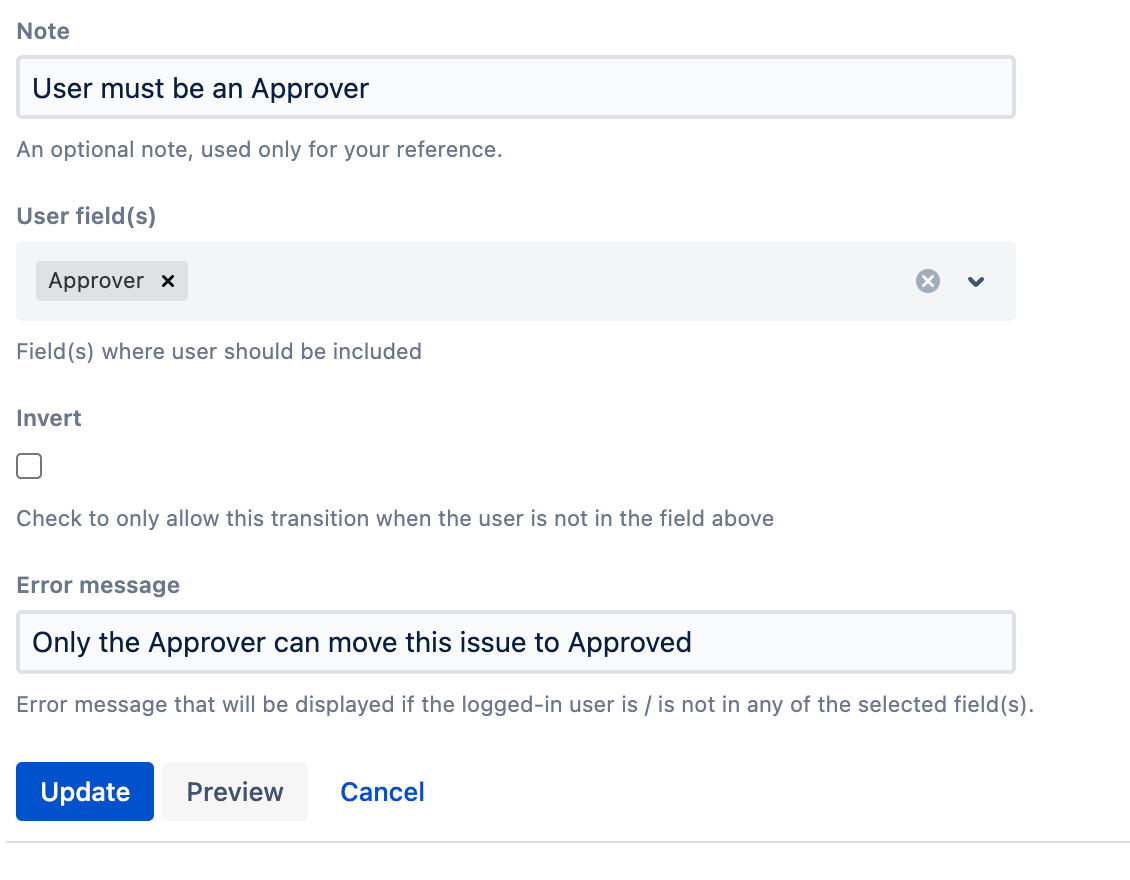
- Optional: Enter a note that describes the validator (this note is for your reference when viewing all validators). In this example we enter
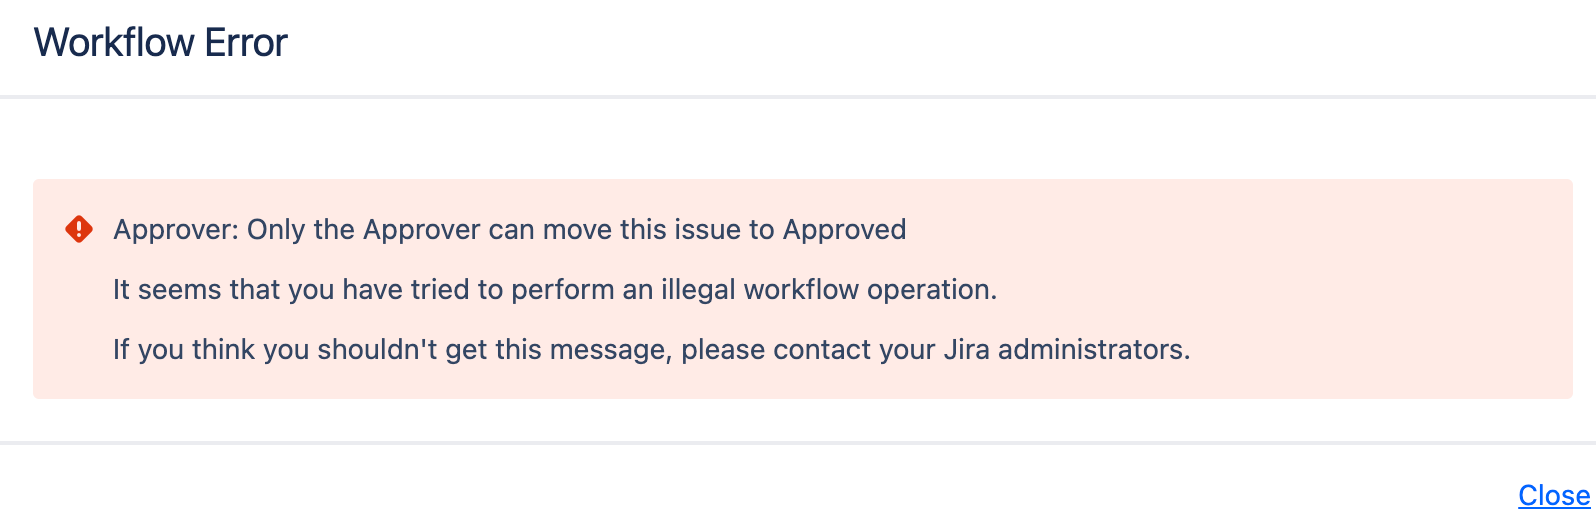
User must be an Approver. - Enter an error message that displays if the logged-in user is not in the selected field. In this example we enter
Only the Approver can move this issue to Approved. - Select Preview to see an overview of the change.
Select Update.
Select Publish and choose if you want to save a backup copy of the workflow.
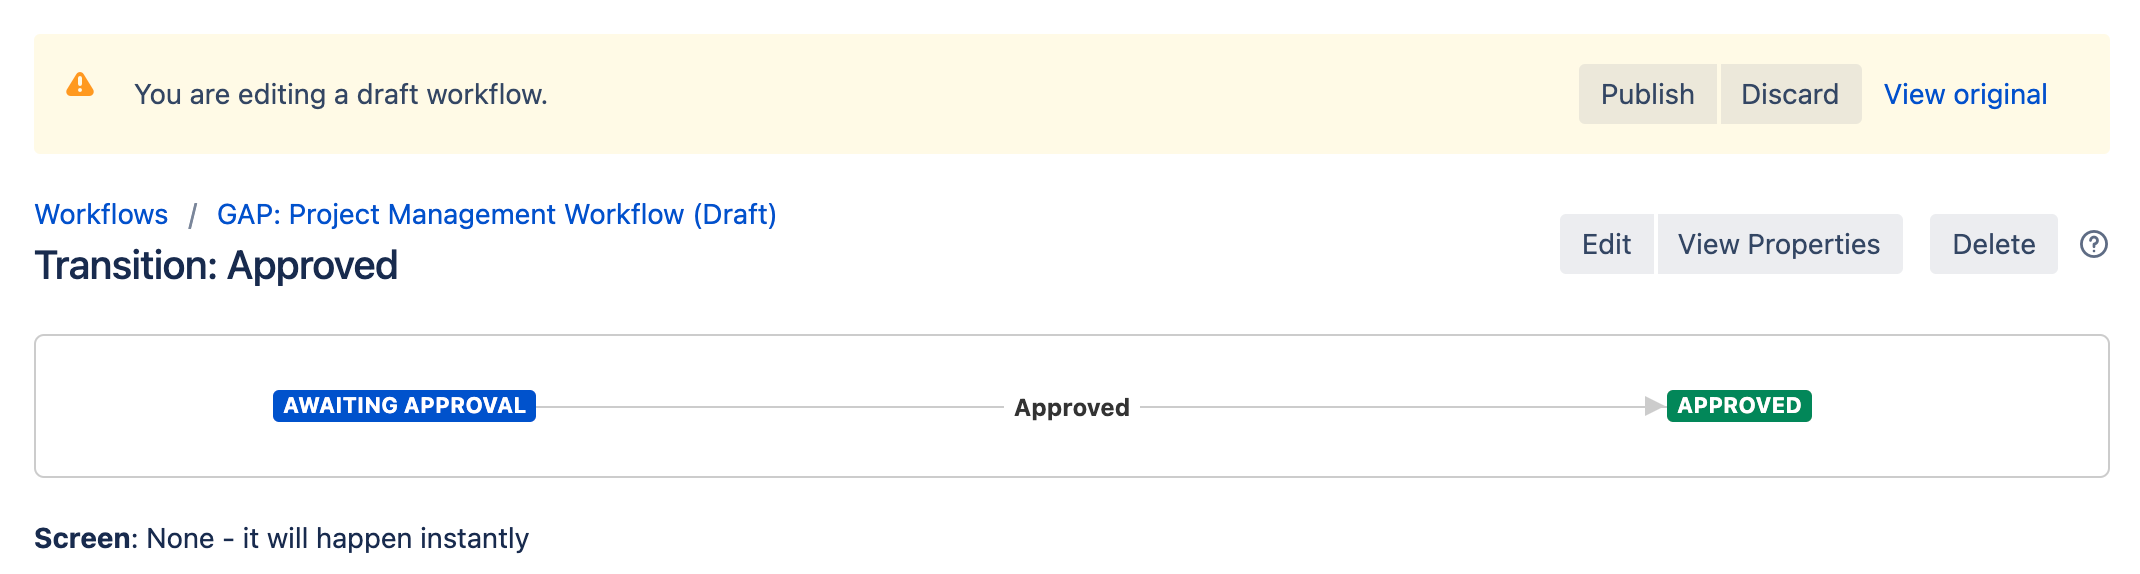
You can now test to see if this workflow validator works. Issues in your chosen project will throw an error if you try to transition the issue to Approved and you're not the Approver.
Scripted ScriptRunner workflow validator example
Require Fix Version - Simple scripted validator
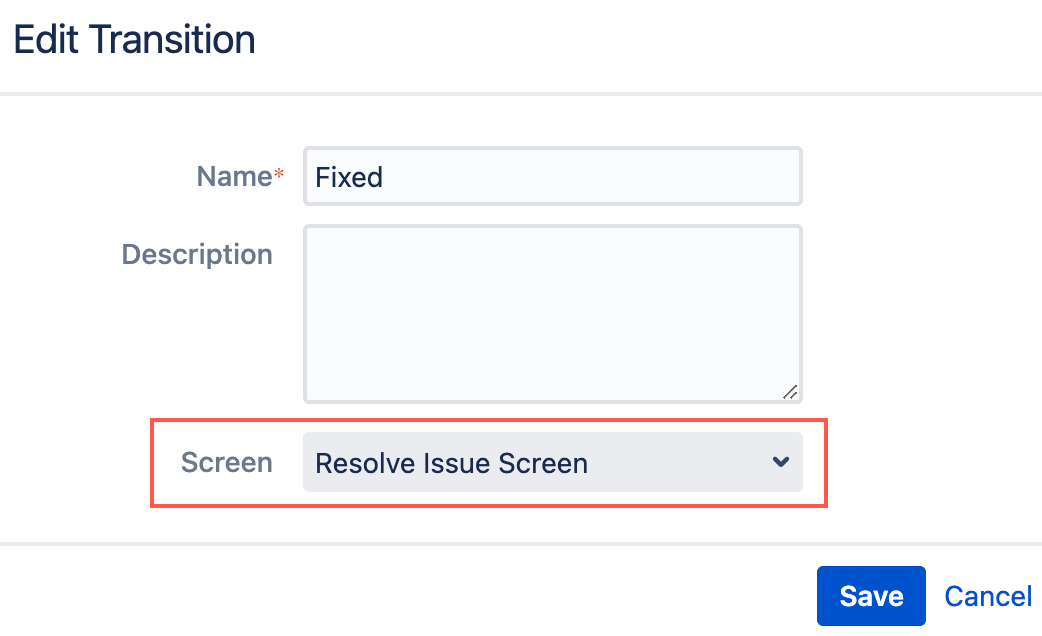
Before you start this example, make sure you have a suitable workflow that includes a transition from Awaiting Release to Fixed.
In addition, make sure the Fixed transition (from Awaiting Release to Fixed) includes a Resolve Issue screen that includes both the Resolution and Fix version.
In Great Adventure’s Software Development team, they use Fix Versions to track when the team resolves bugs in the products. Similar to the Component issue, many users forget to add the Fix Version when completing the issue. Great Adventure has decided to use a script validator in their Software Development project, so when a user sets the resolution to Fixed, they also have to add the correct Fix Version.
- Go to Administration > Issues > Workflows.
- Select Edit on the workflow you want to add a validator to.
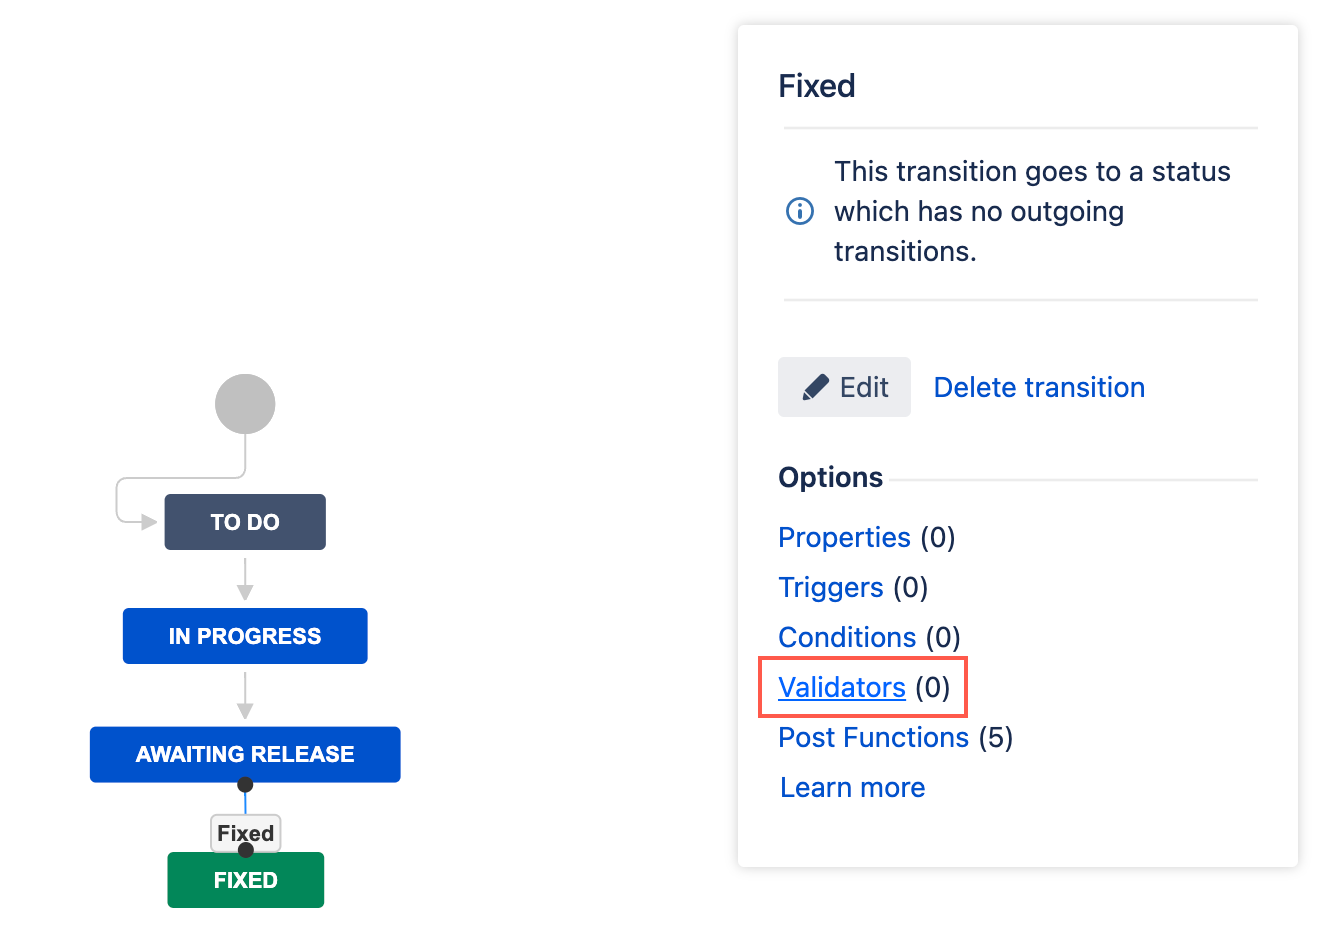
- Select the transition to which you wish to add a validator. In this example, we select the transition that leads from Awaiting Release to Fixed.
- Under Options, select Validators.
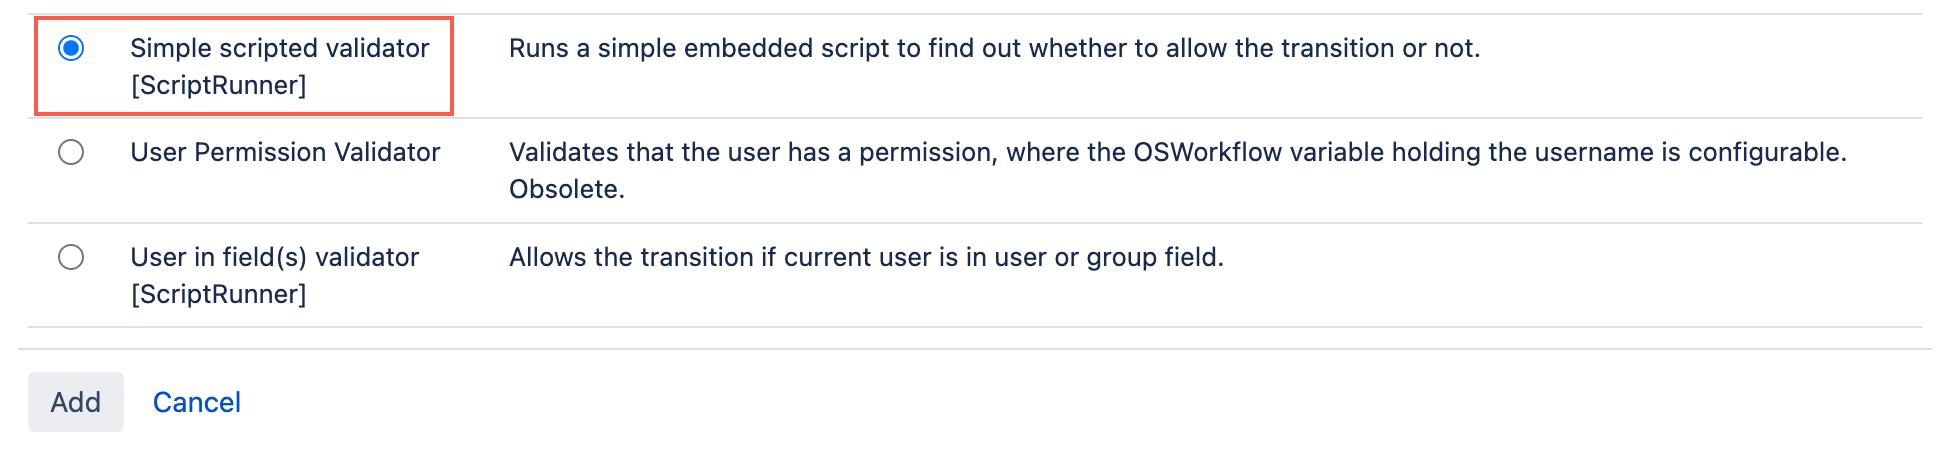
- On the Transition page, select Add validator.
- Select Simple scripted validator [ScriptRunner].
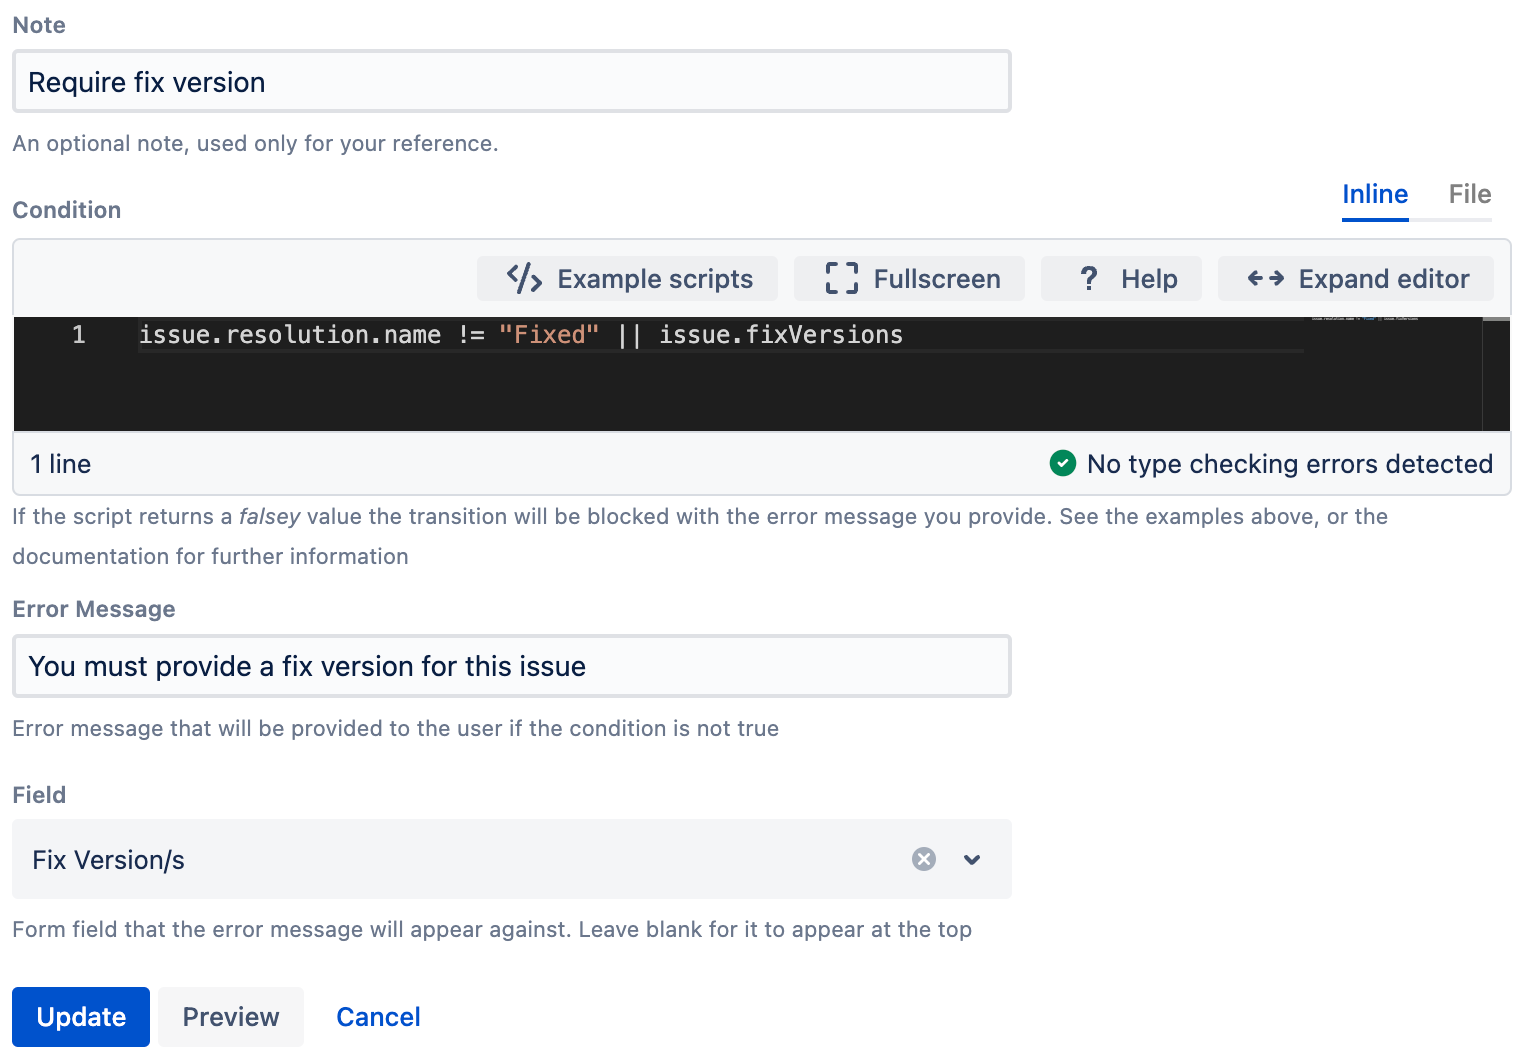
- Optional: Enter a note that describes the validator (this note is for your reference when viewing all validators). In this example we enter
Require fix version. Enter the following condition:
groovyissue.resolution.name != "Fixed" || issue.fixVersionsIf
Fixedisn't an available resolution on your instance, you can replace theFixedresolution with a resolution of your choice.- Enter an error message that displays if the Fix Version field is empty. In this example we enter
You must provide a fix version for this issue. - Select the Fix Version/s field.
- Select Preview to see an overview of the change.
Select Update.
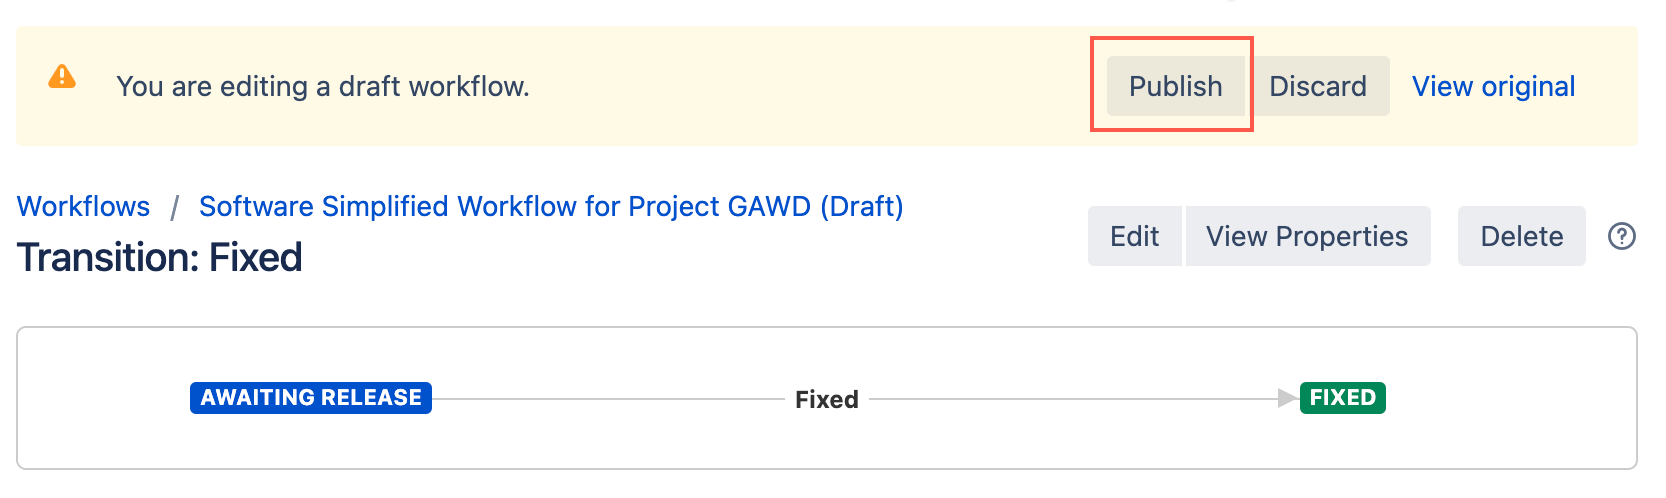
Select Publish and choose if you want to save a backup copy of the workflow.
You can now test to see if this workflow validator works.
- Transition an issue in your chosen project to Fixed.
- When the Resolve Issue screen pops up, enter the resolution of Fixed (or chosen equivalent).
- Leave the Fix version blank.
- Select the Fixed button (or chosen equivalent).
You will get an error that stops you from transitioning unless the Fix version is provided.