
Example Workflow Extension
Add a Post Function Workflow Extension Example
By way of an example, if you would like to add a Post Function to an existing Jira workflow, follow the steps below:
- Click the Cog icon in the top ribbon and select Issues in the Jira settings.
- Navigate to the Workflows side menu from within Jira. You will see a list of Active and Inactive workflows displayed.
- Click Edit from the Actions ellipsis for your chosen workflow. The workflow opens and can be viewed as either a Diagram or Text, we will use the former for this example.
- Select a transition from within the Diagram view. A list of associated workflow functions is displayed for the selected transition including Conditions, Validators, Post Functions, Triggers, and Properties.
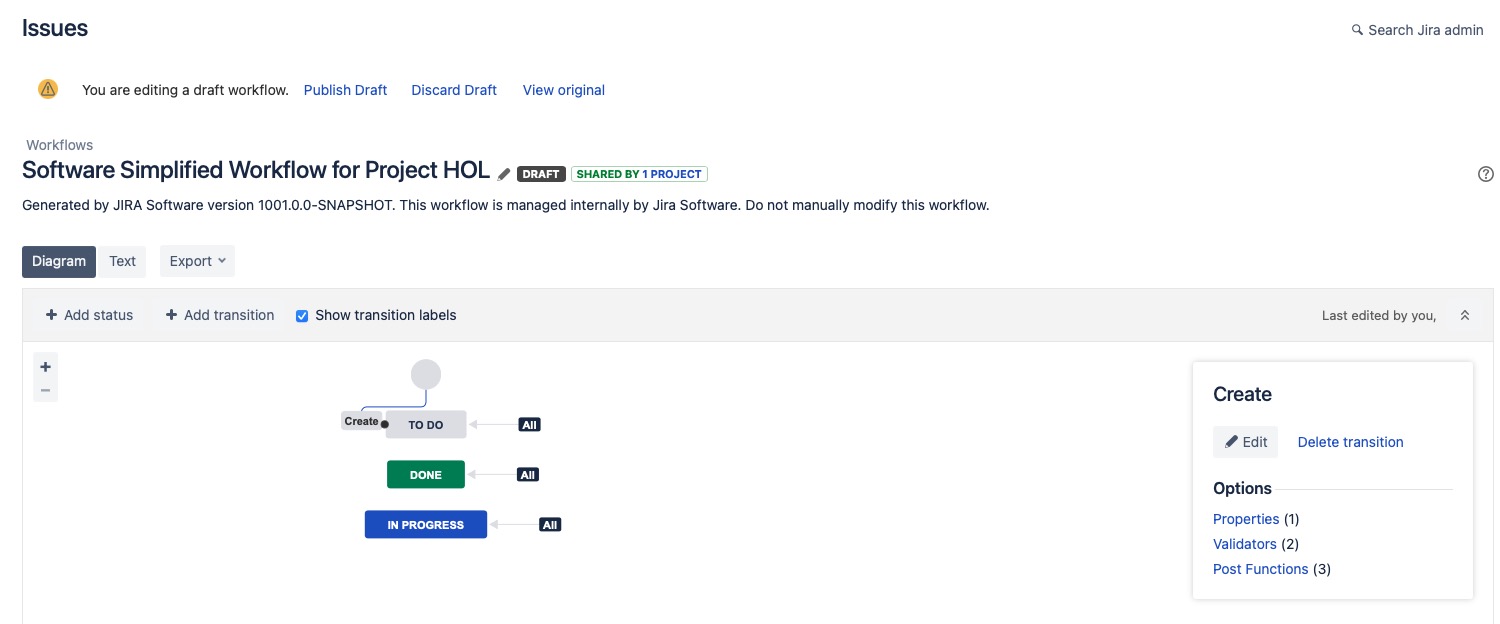
- Click Post Functions and the workflow's transition options appear.
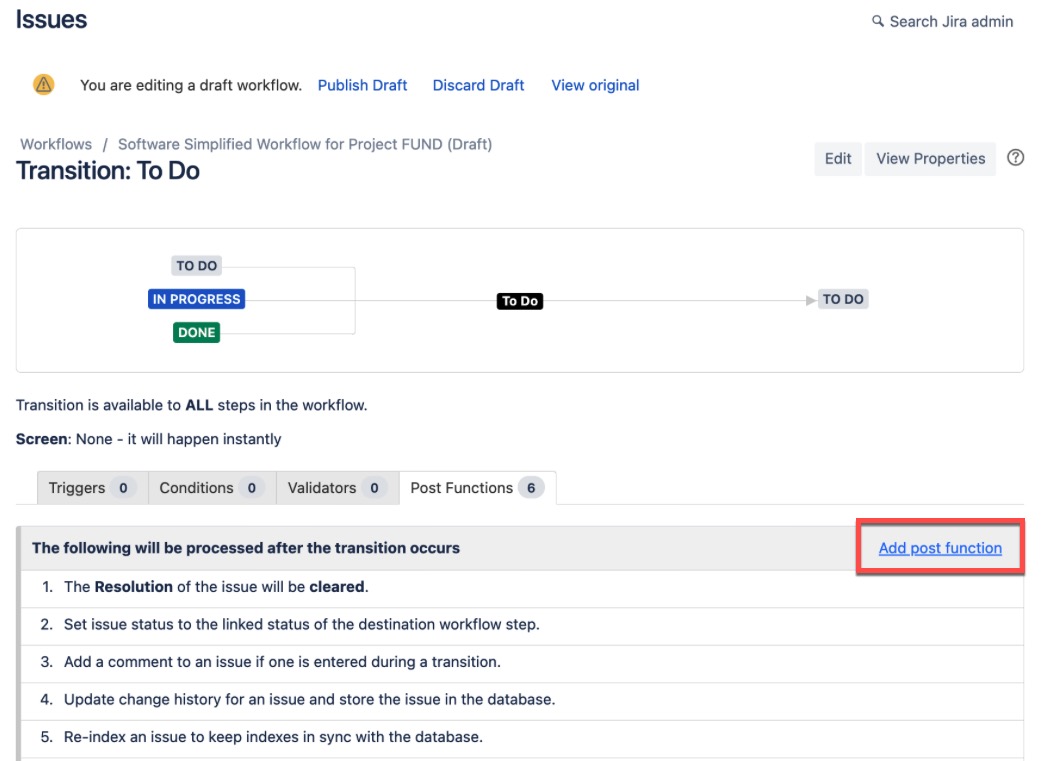
- Click Add post function.
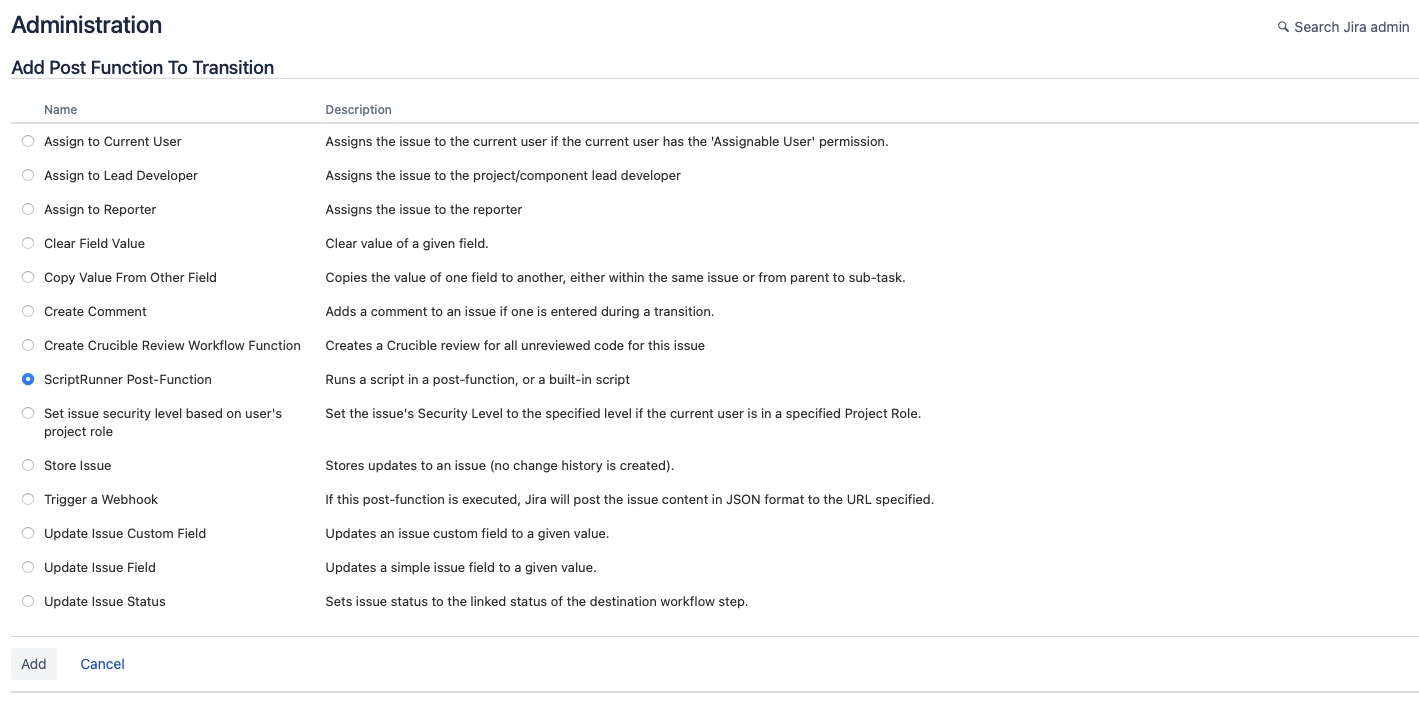
- Select the ScriptRunner Post Function option and click Add. The Add Parameters to Function screen appears:
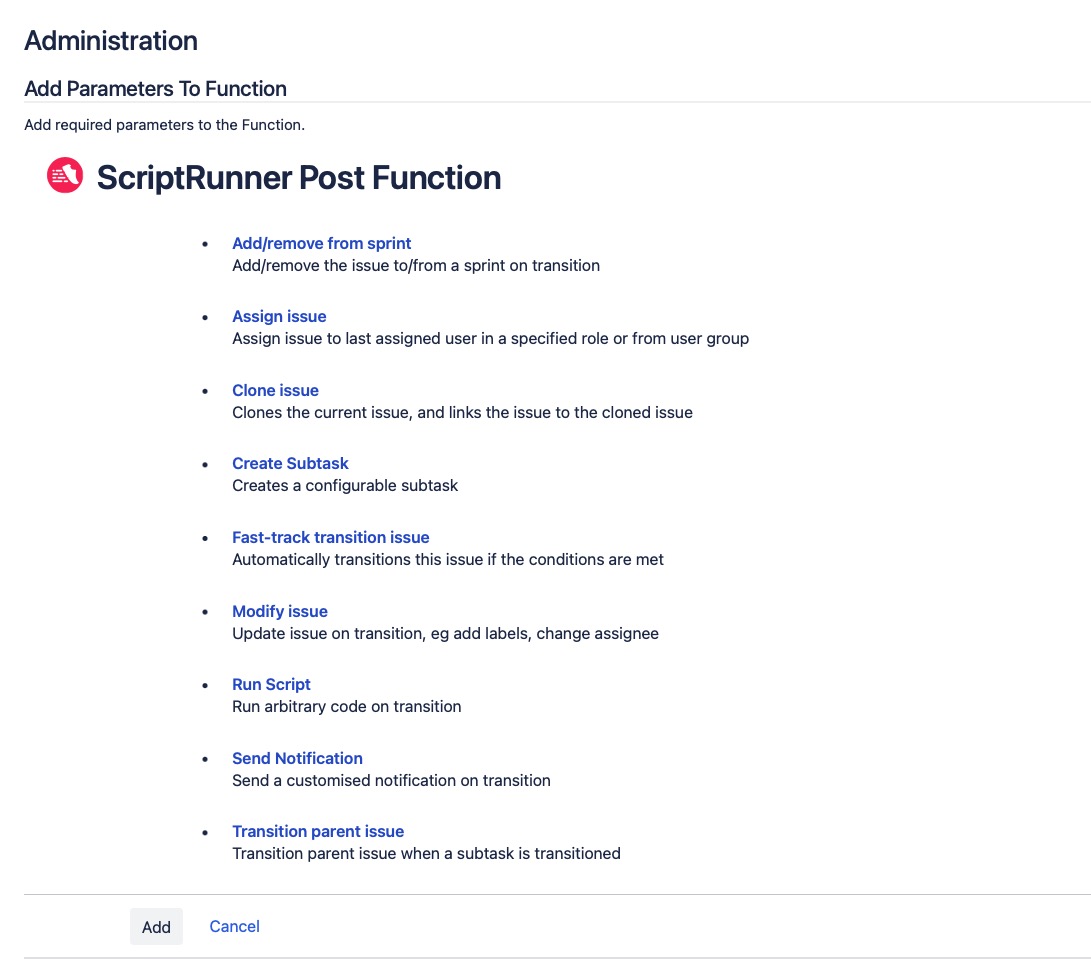
- Select a post function from the list of available functions, for example, Add/Remove From Sprint and click Add. You will now see the configuration screen.
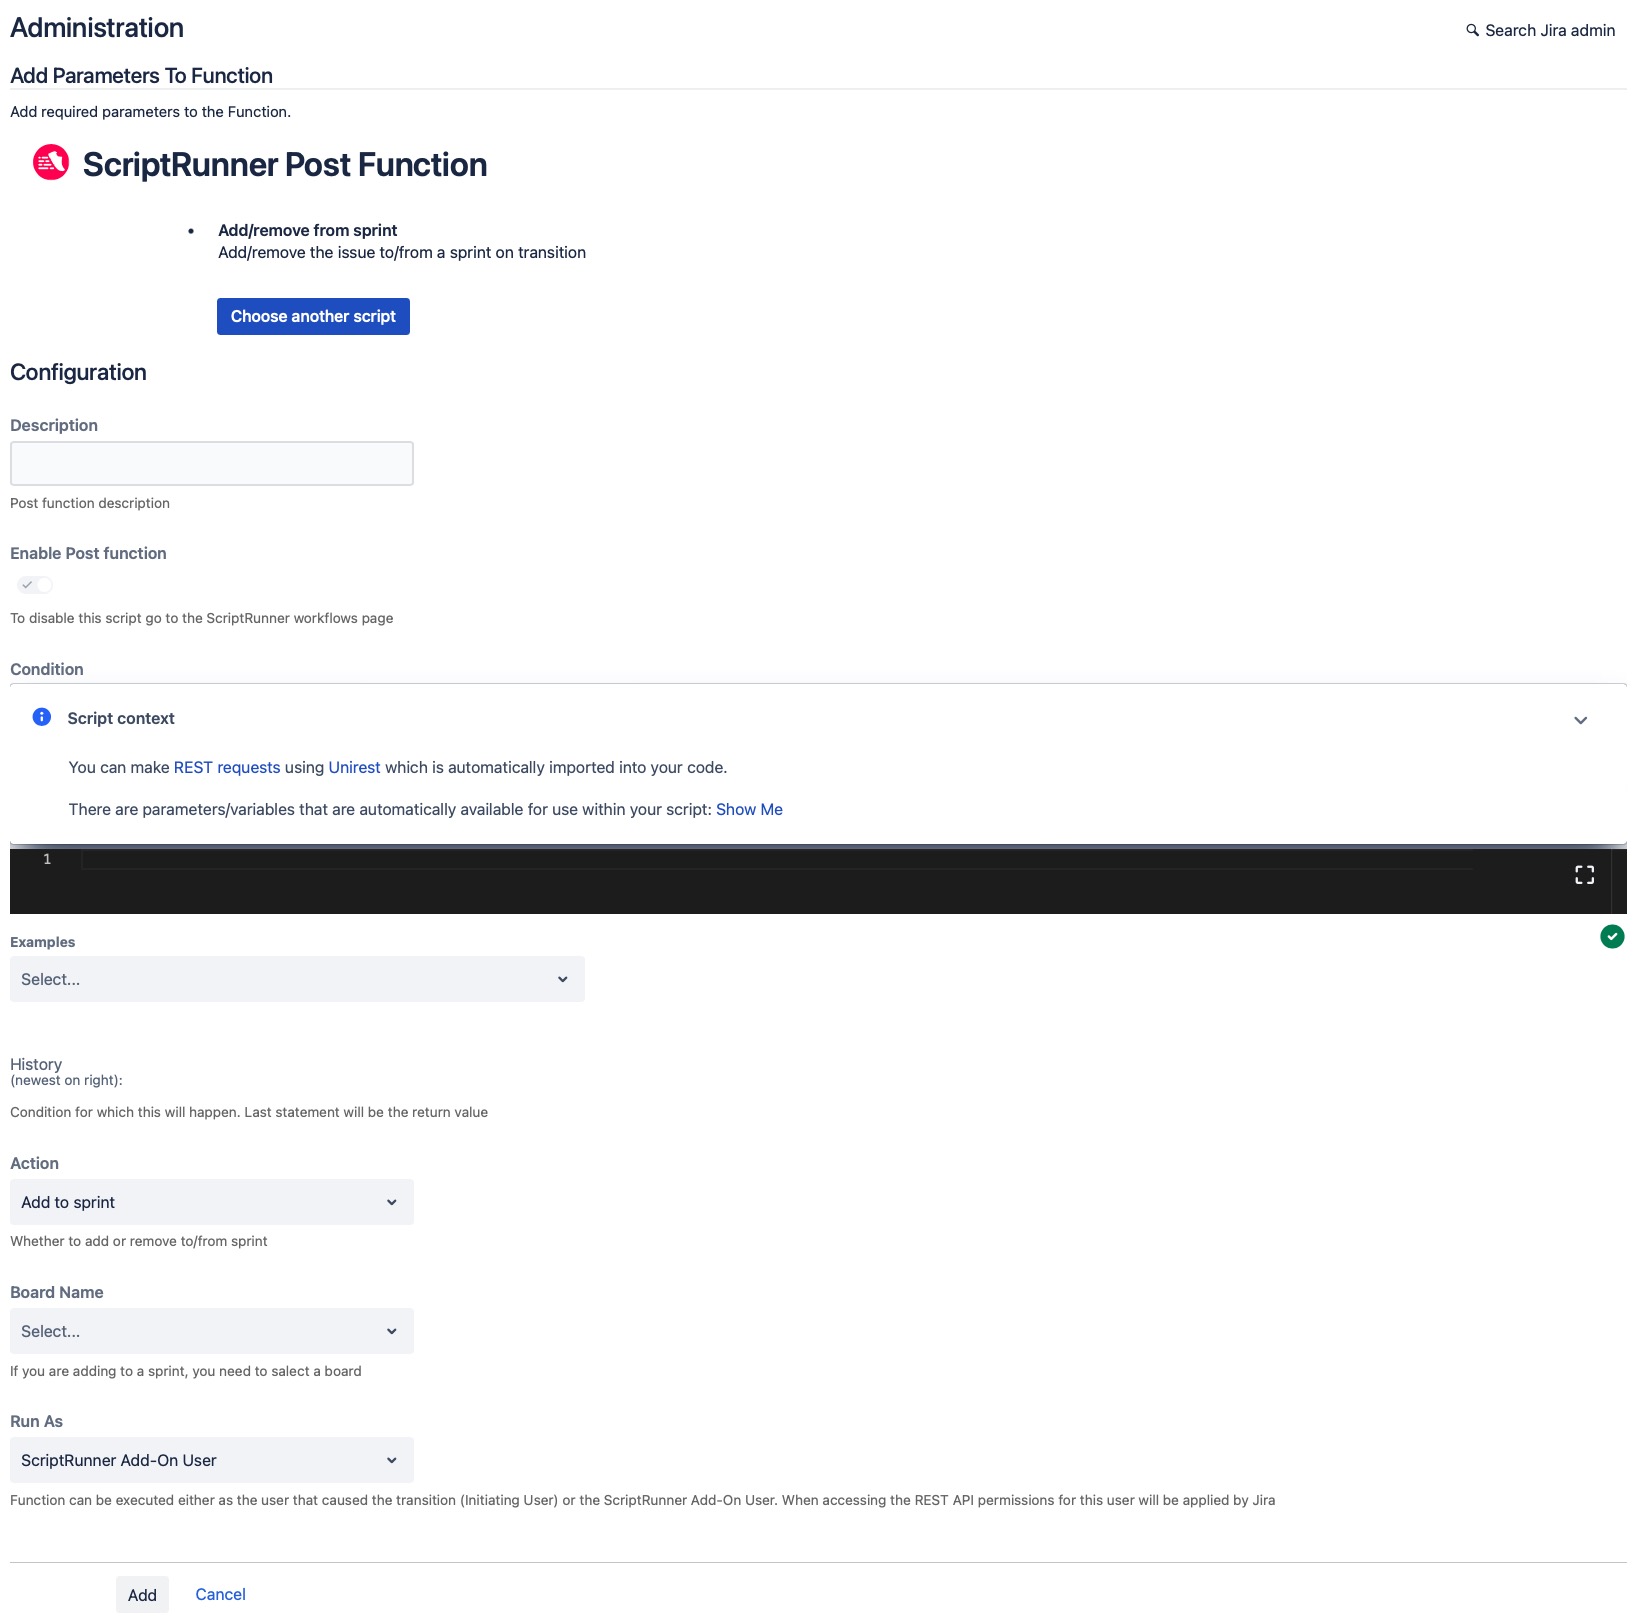
- In the Description field, enter a short description of the post function.
- Select Enable Post Function to enable it as soon as it is added.
- Select an Example script from the provided list of examples. These can help you get started writing your script in the console.
- Choose from the Action drop down whether to add to a sprint or remove from a sprint.
- Choose from the Board Name drop down whether to assign the post function to a particular board.
- Choose whether to run the script as an Initiating User or ScriptRunner Add-On User in the Run As dropdown.
- Click Add and you are returned to the workflow transition where you will see the newly added post function appear.
You can edit the script on the post function from the workflow itself or quickly access it via the Workflows tab within ScriptRunner for Jira Cloud at any time.
- Navigate to ScriptRunner → Workflows.
All existing workflows are displayed. You can refine your search by selecting the type of transition option from the Type drop down list (Condition, Validator, or Post Function), or the Workflow Status (active or inactive). You will now see a refined list displayed. - Click the Actions ellipsis for your preferred workflow and select either Edit or Disable.

- If you choose to disable the chosen workflow, you simply confirm this via a confirmation message once prompted.
- If you choose to edit the chosen workflow, you will see the workflow details screen displayed from where you can make the required edits to an existing workflow. For example:
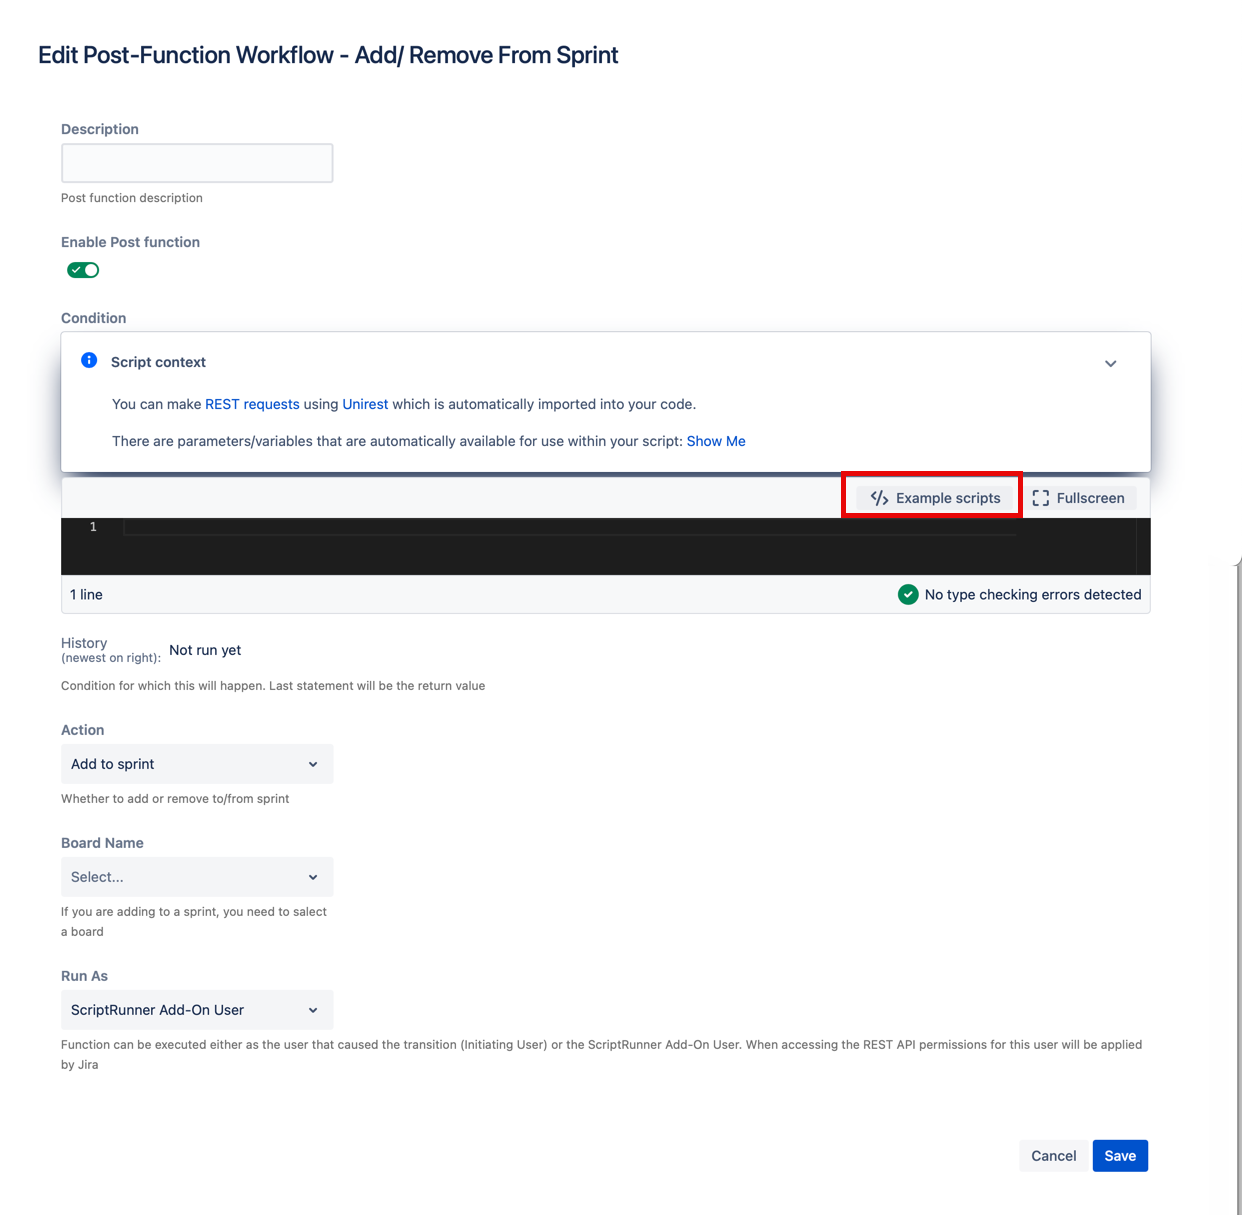
Write your script in the Code to run: field. This code is executed when the Evaluate Condition is true.
OR
Alternatively, you can click the Example scripts button to view a list of example scripts related to this feature.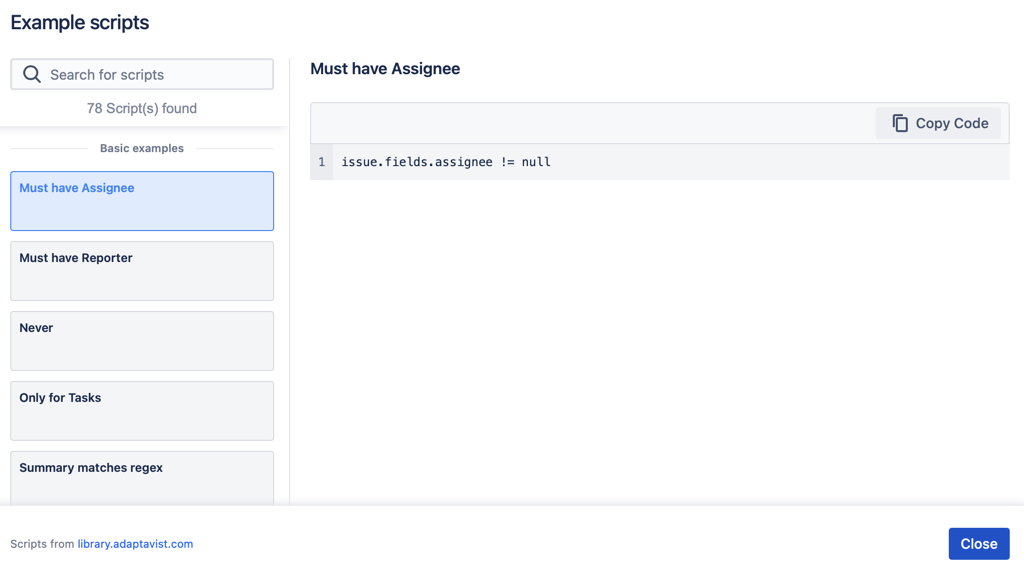
So, rather than writing your own script you can reuse one of the many examples provided, as follows:
- Choose an example script from the list provided and the code automatically appears. You also have the option to search for a particular script.
- Click Copy Code and then Close.
- Paste the copied code in the code editor.Click Save.