Custom Macros
You can use this feature to create your own macros. To see examples of custom macros, check out these pages:
- Example: Return Page Information
- Example: Return the Page ID
- Example: Stock Exchange Price
- Example: Get Jira Issue Information on a Confluence Page
Create a custom macro
- Select the Settings cog in the top right-hand corner of the screen.
- Select Macros under ScriptRunner.
- Select Create Custom Macro.
- Fill out the fields that appear:
- Macro Name: Enter a name to identify your macro for you and your users.
- Description: Explain what your macro accomplishes.
- Enabled (radio button): Control if your macro can be made available to your users.
- Body Type: Set the body type of the macro.
- Rich Text: The macro allows Rich Text content, which can be formatted, to be inserted.
- Plain Text: The macro allows Plain Text, which is unformatted, to be inserted.
None: No body.
Different Macro Editing Experiences
The Body Type you select for your custom macro determines how a user can edit the macro when they apply it to a page.
- If you select Rich Text, your user can edit the body of the macro directly on the page.
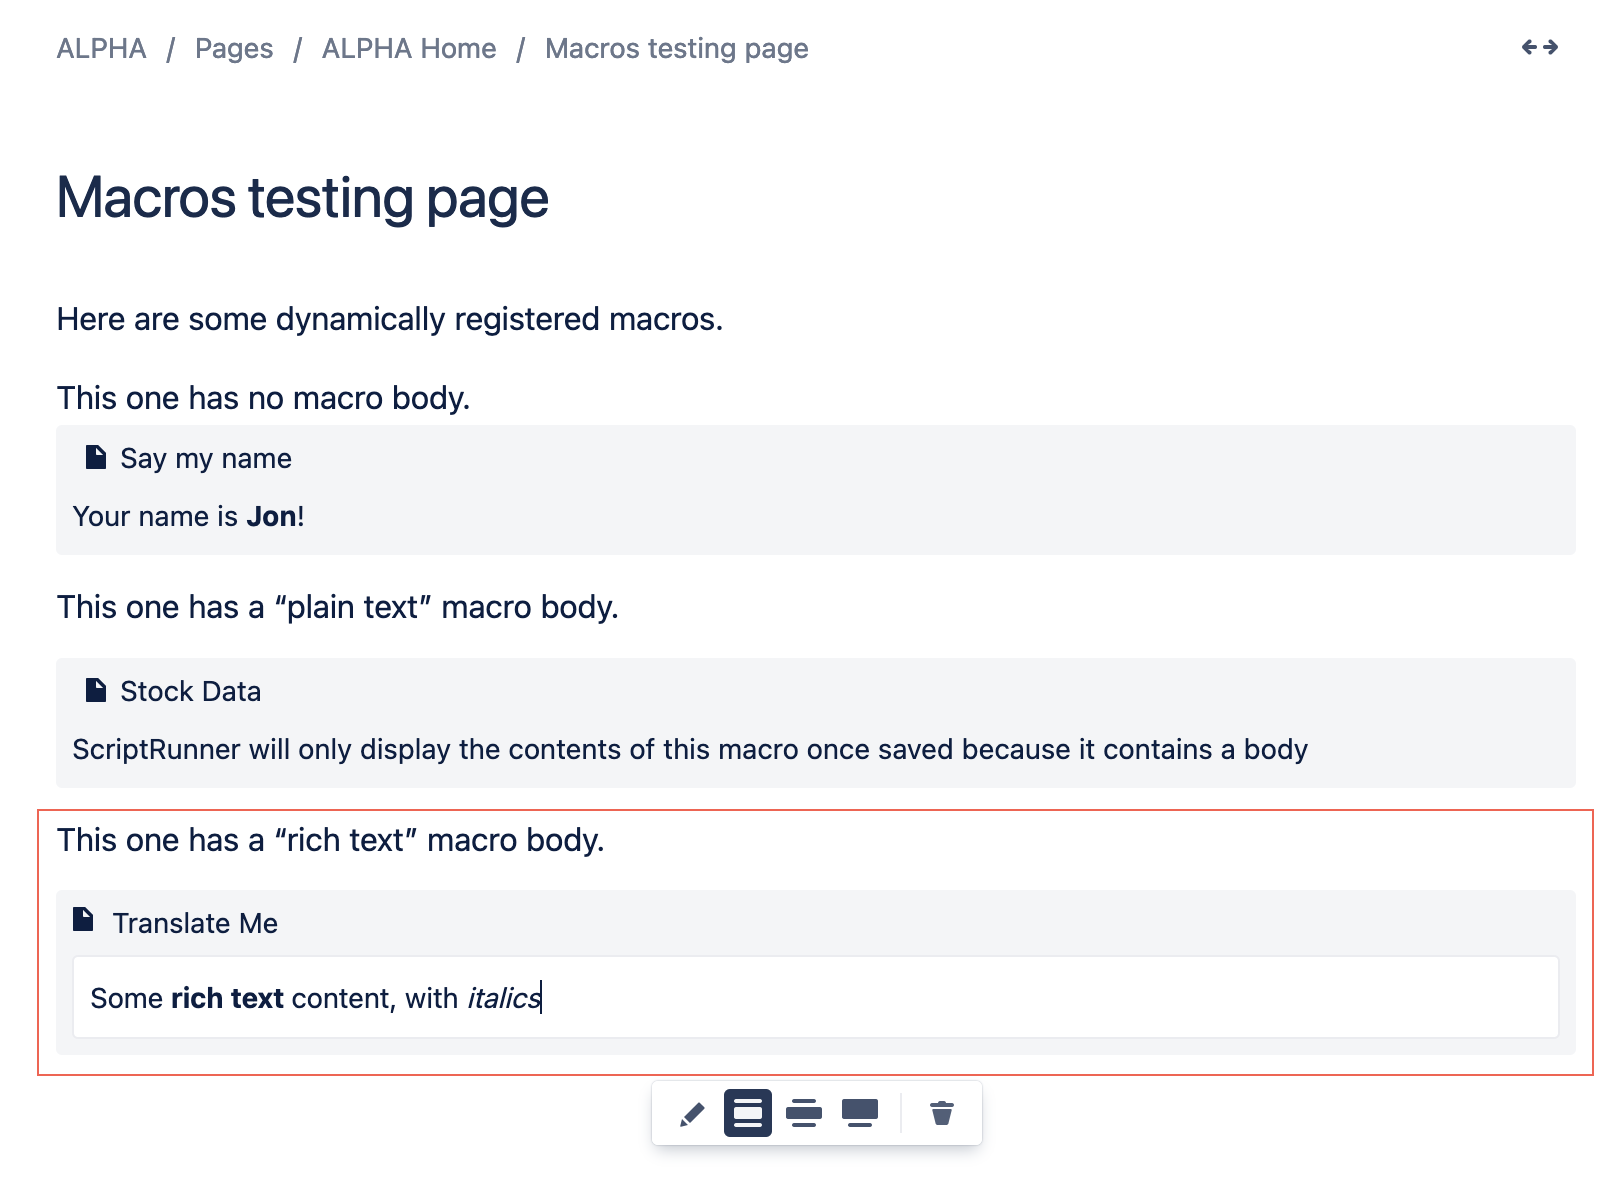
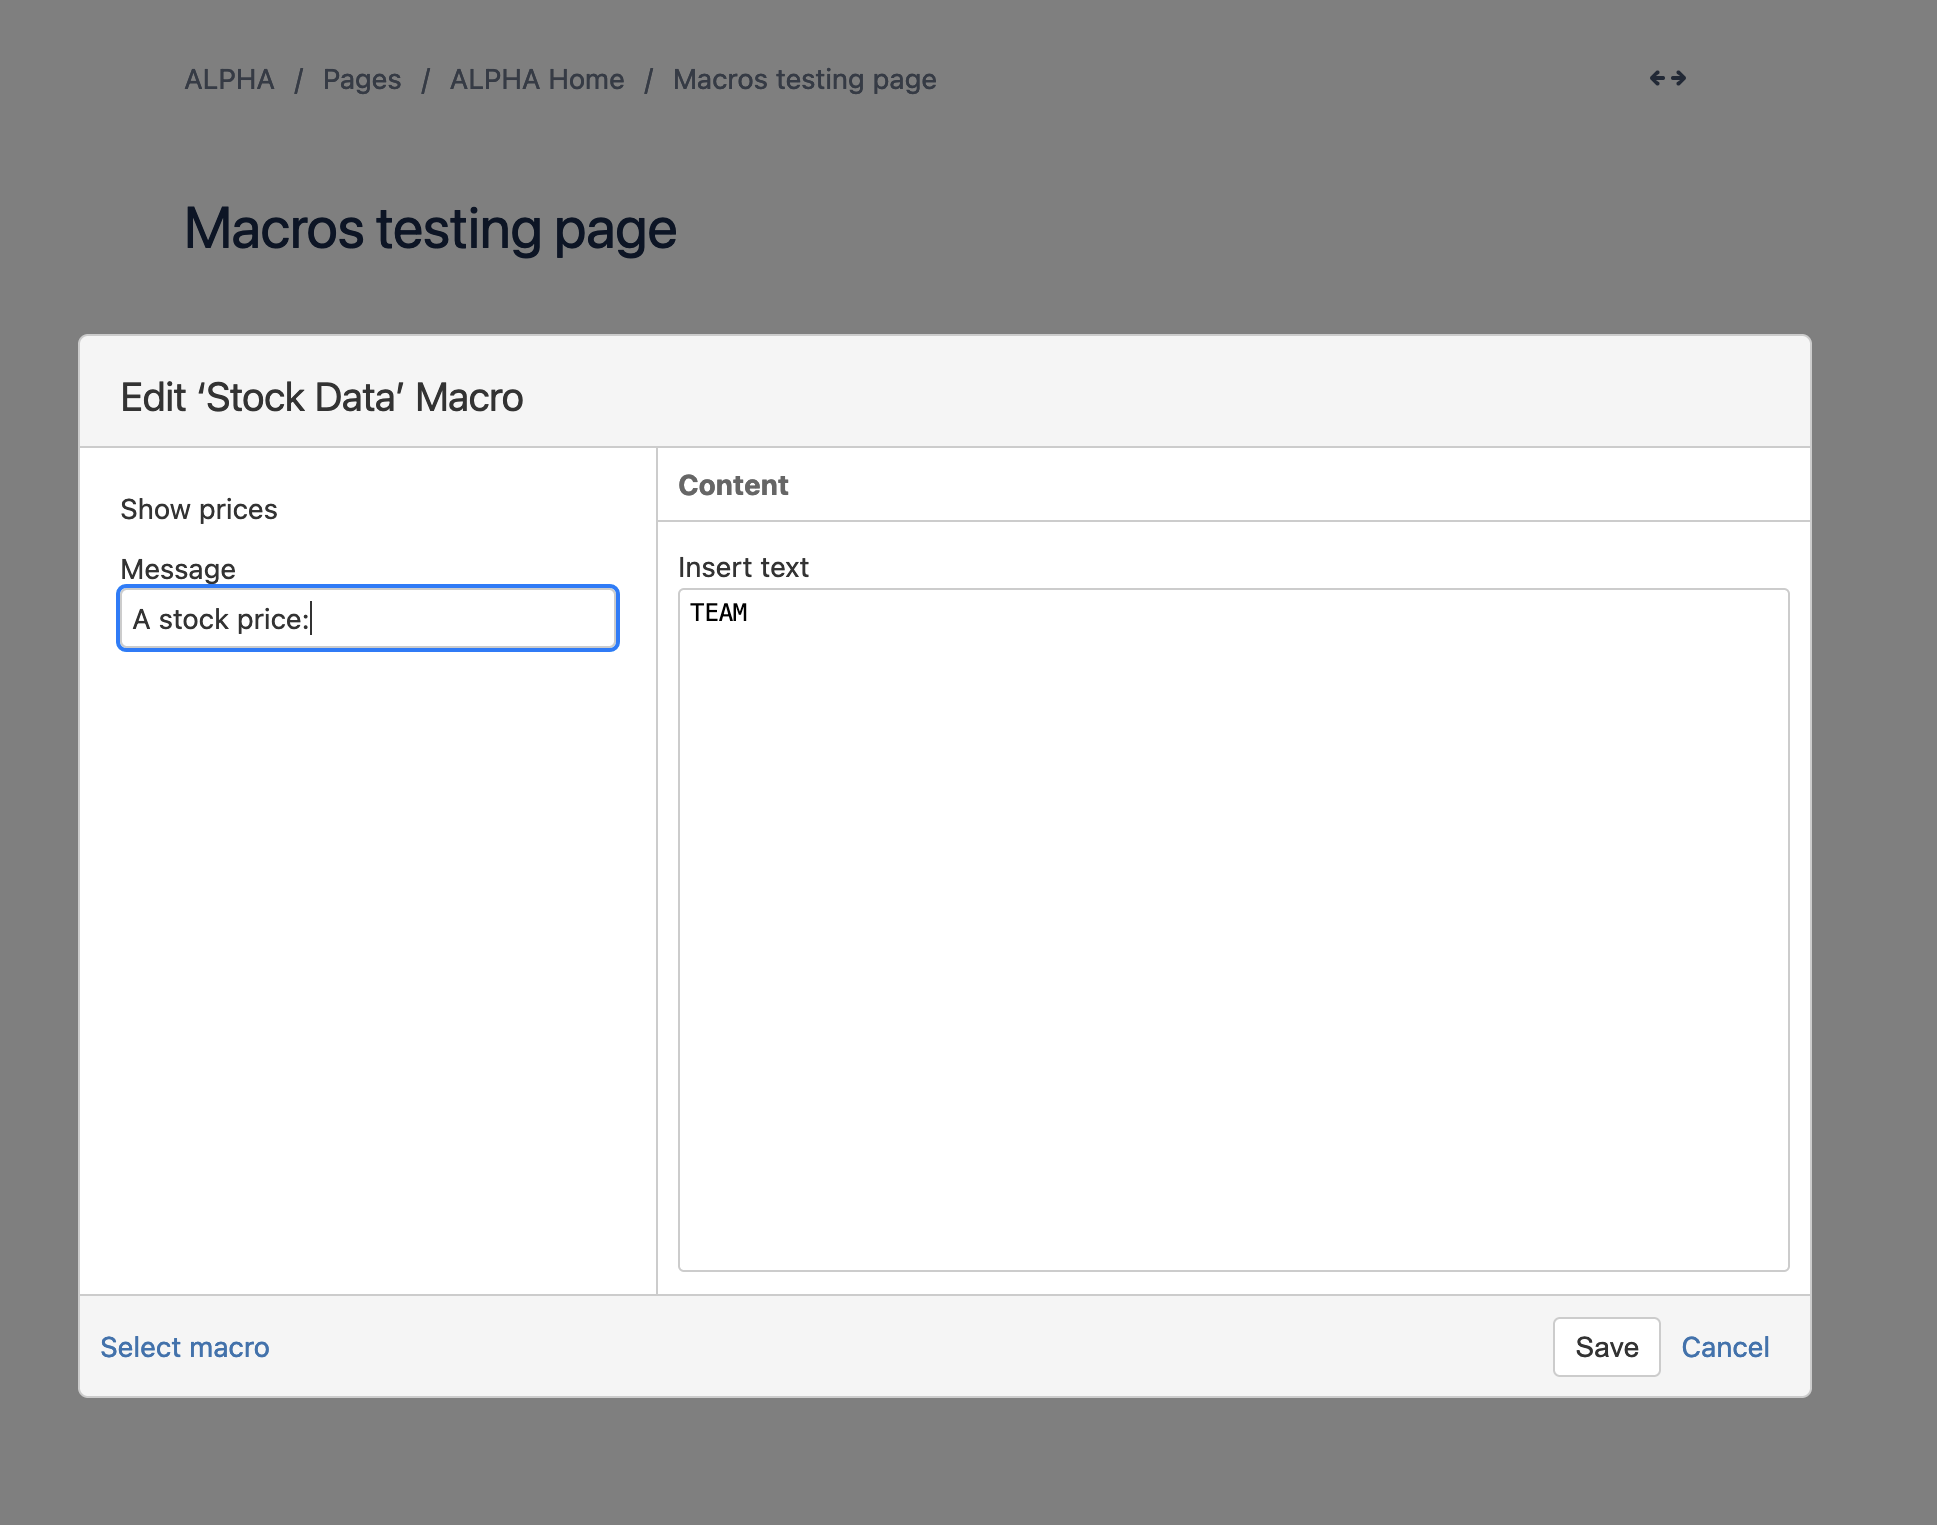
- If you select Plain Text, your user is directed to a macro editor to enter their body of the macro.
If you select None, your user sees their macro without a body to edit.
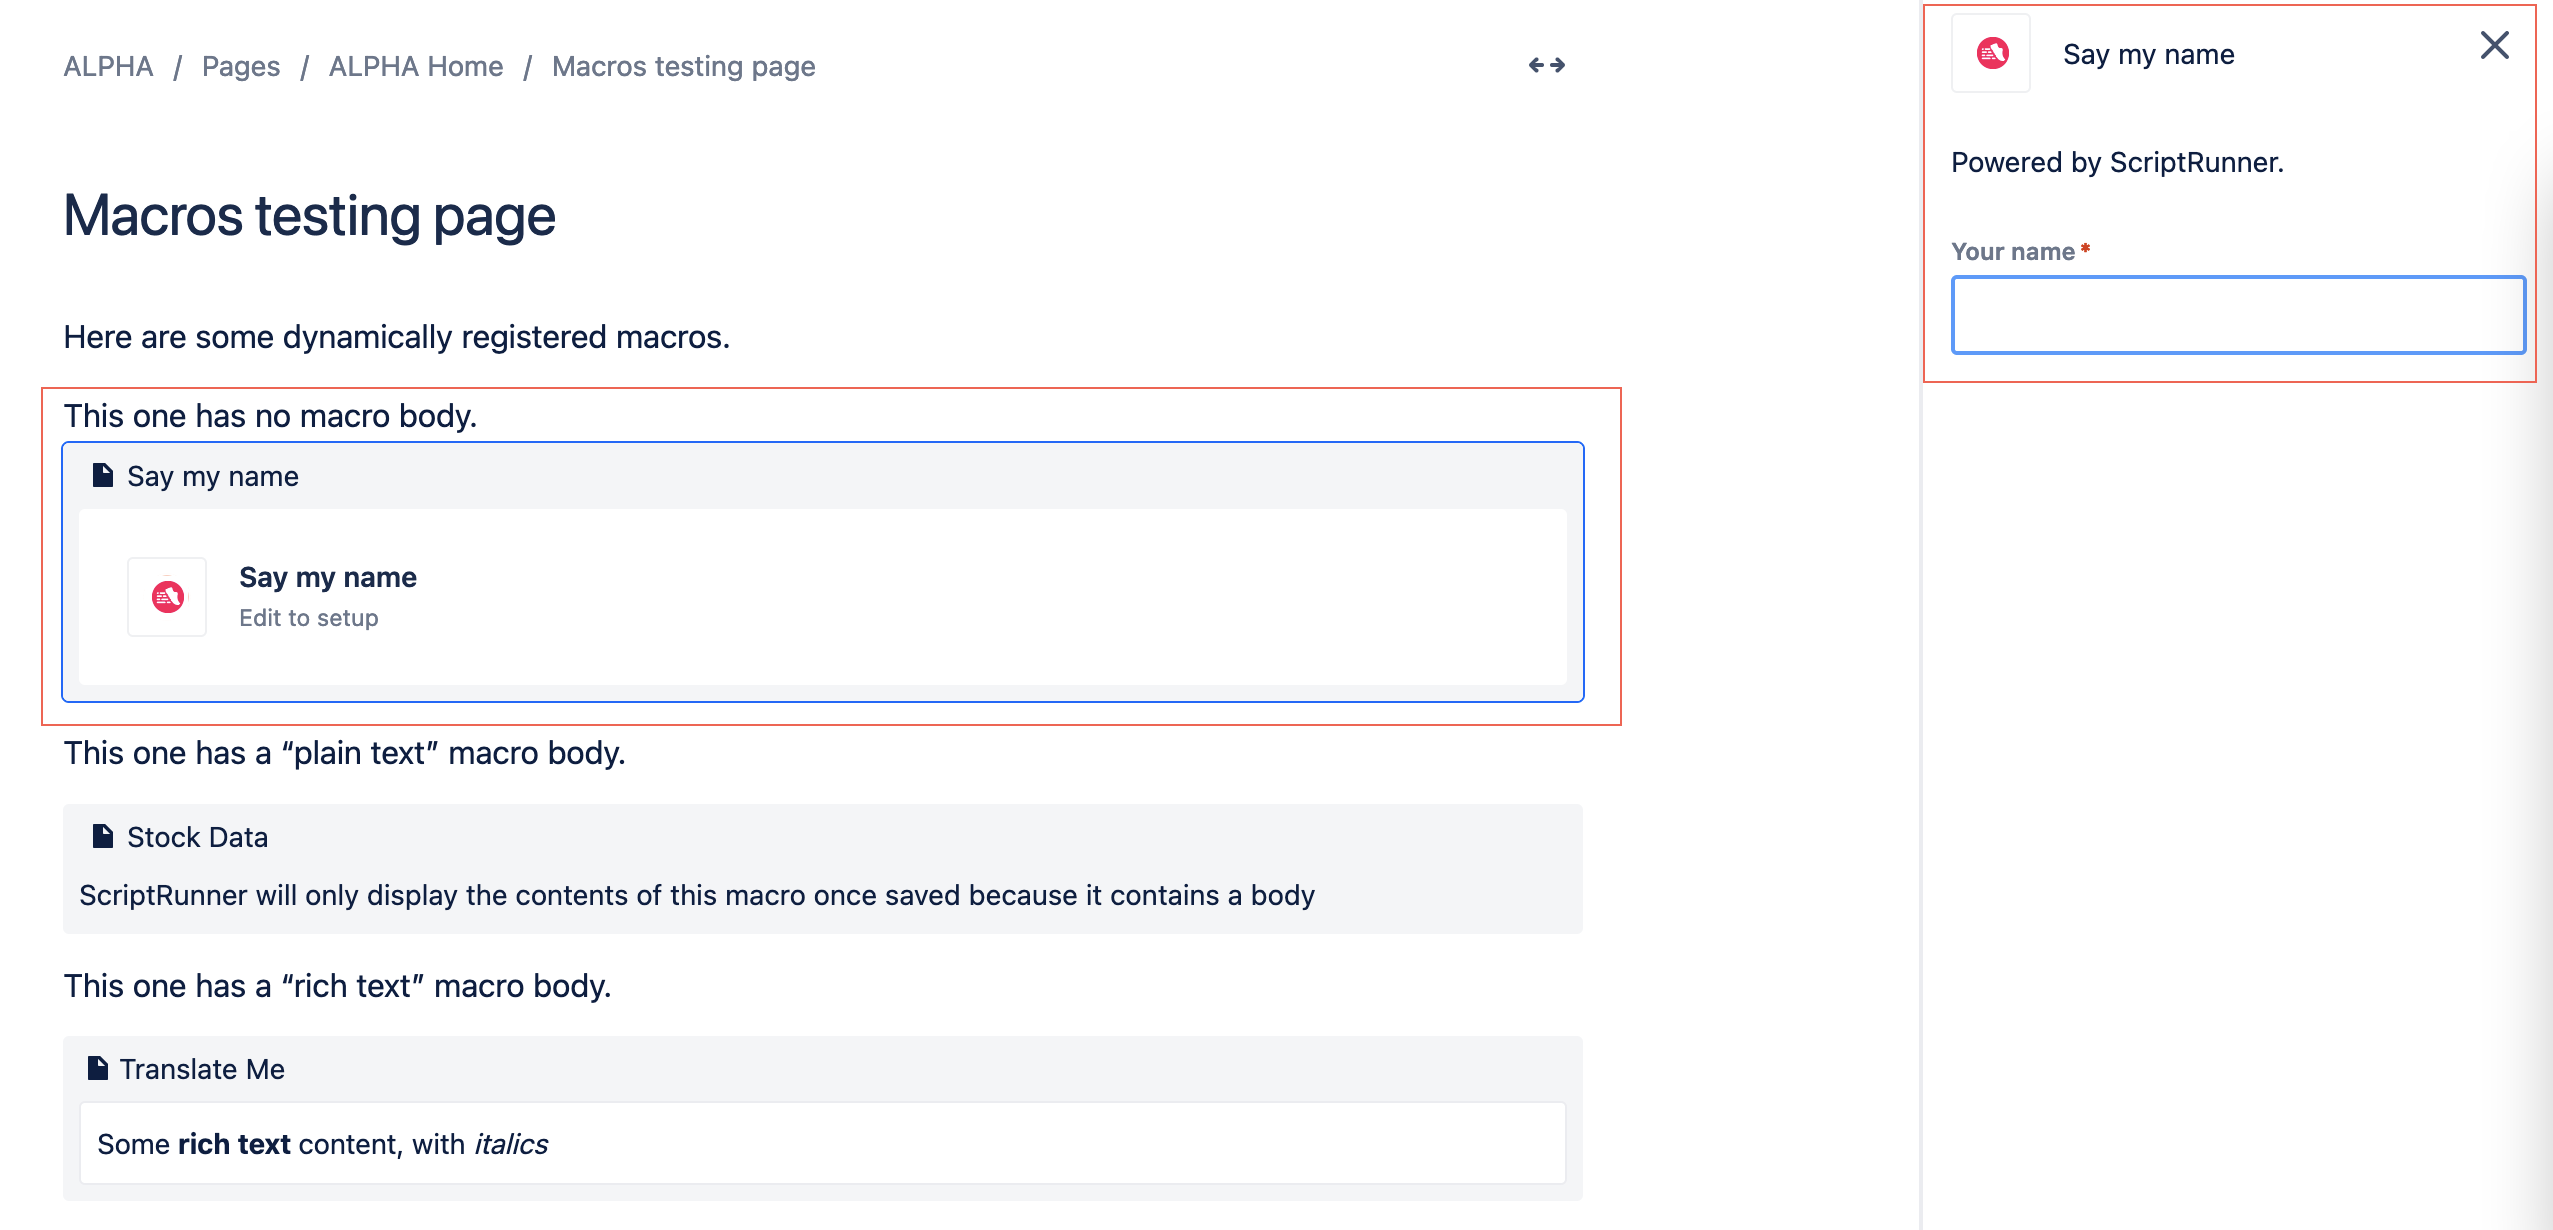
This above image also shows how a macro set up with required parameters is displayed before parameter values are provided.
- If you select Rich Text, your user can edit the body of the macro directly on the page.
- Output Type: Choose how the macro appears on the screen.
- Block: The macro will be on its own line on the Confluence page.
- Inline: The macro will be inline with other content on the Confluence page.
- Script to Execute: Enter the script for the macro here.
Add any parameters you need for the macro's functionality by clicking Add Parameter.
Implicit parameters
The parameters that are available for use that you don't have to add using this method are:
pageVersionmacroIdspaceKeypageId
Implicit parameters are stored in the same map array as user-defined parameters and can be used in the same way. Avoid giving user-defined parameters the same name as these implicit parameters. You cannot have two items in a map array with the same name.
For each parameter that you add, a modal appears where you fill out the Type, Name, Description, Required, and Hidden fields.More parameter information
For more information on adding macro parameters, visit Macro Parameters.
- Select Save.
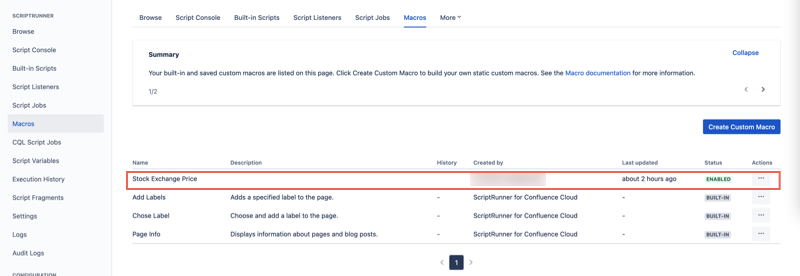
The macro now shows up on the main macro screen, where you can see macro information and whether it is enabled.