Datepicker
Summary
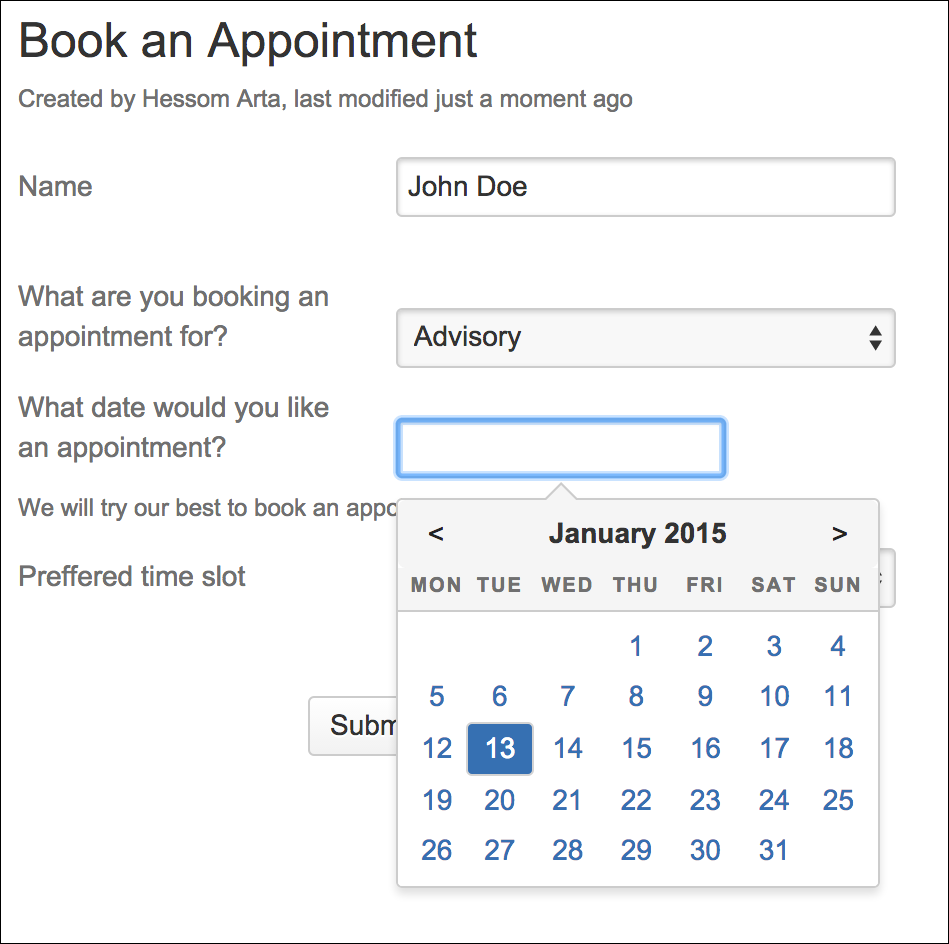
The Datepicker provides a way for a user to choose a specific date.
Instructions
- Create your Form using the Forms for Confluence macro.
- Add the Forms - Datepicker Field macro to the form.
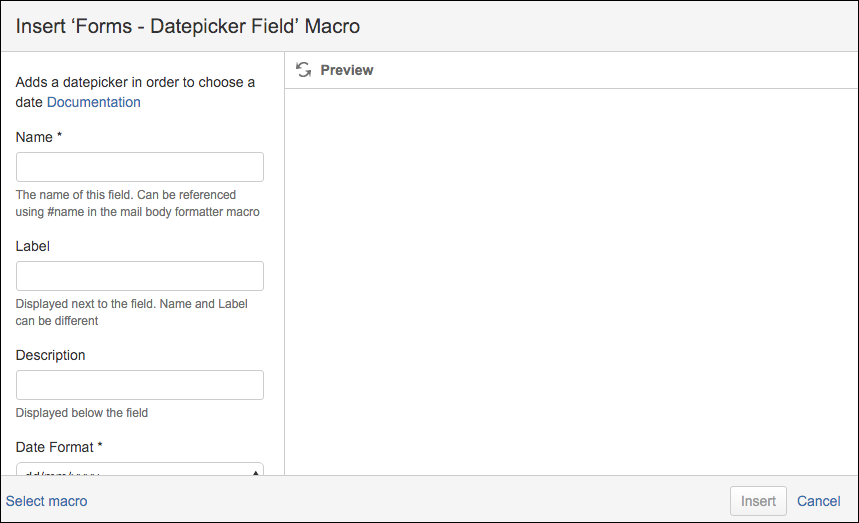
- Set a Name for the Datepicker.
- (Optional) Set a Label for the Datepicker; this will appear next to the Datepicker.
- (Optional) Set a Description for the Datepicker.
- Select a Date Format. This output format will define how the date is presented in the output mail and should be set to the most appropriate for your team.
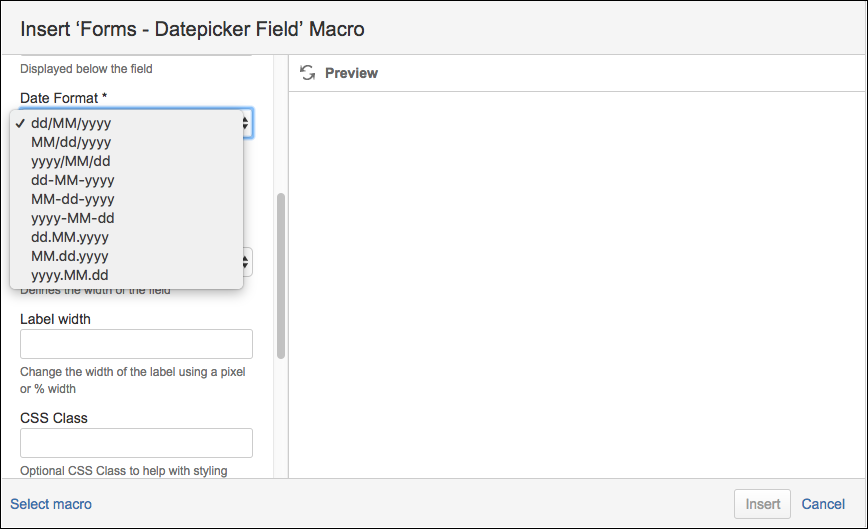
Available options are:- dd/MM/yyyy eg: 05/01/2017
- MM/dd/yyyy eg: 05/01/2017
- yyyy/MM/dd eg: 2017/05/01
- dd-MM-yyyy eg: 05-01-2017
- MM-dd-yyyy eg: 01-05-2017
- yyyy-MM-dd eg: 2017-01-05 - this is the most appropriate format for use with a ScriptRunner Endpoint
- dd.MM.yyyy eg: 05.01.2017
- MM.dd.yyyy eg: 05.01.2017
- yyyy.MM.dd eg: 2017.05.01
- (Optional) Set the Required parameter. Ensures that users must supply a value for this field.
- (Optional) Set Field Width. Defines the horizontal width occupied by the field in the form.
- (Optional) Set Label Width. Defines the horizontal width occupied by the label associated with the field.
- (Optional) Set CSS Class
- (Optional) Set CSS Style
- (Optional) Set Date Validation. This forces the user to select future or past dates
- Save the macro. A graphical placeholder of the macro will be added to the page.
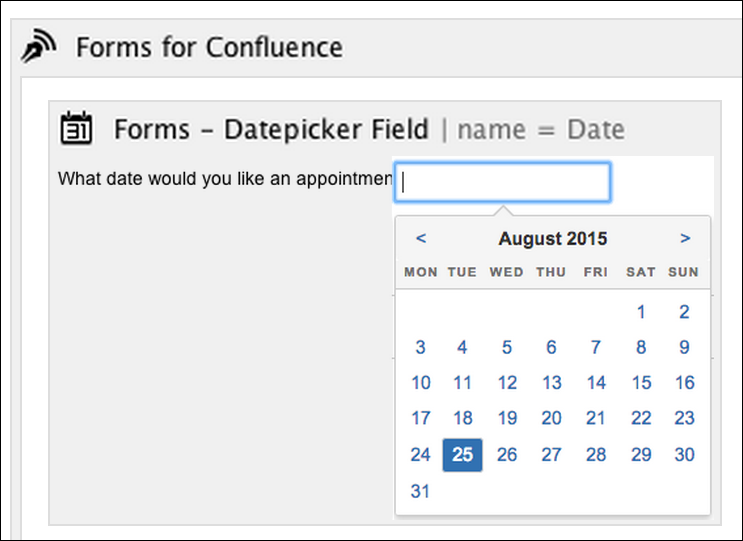
- Preview or Save the page to see the final checkboxes.