
Save a Search
As well as running one-off searches, you can save your Enhanced Search JQL queries as filters. Saving your query searches as filters allows you to use Enhanced Search JQL functions in other JQL fields.
Follow the steps below to save your filter, and refer to Saved Filters to understand how these can be used.
- Run a search and customize the results.
- Click the Save as filter button to save the filter and reuse it later. This opens the Save Filter window.
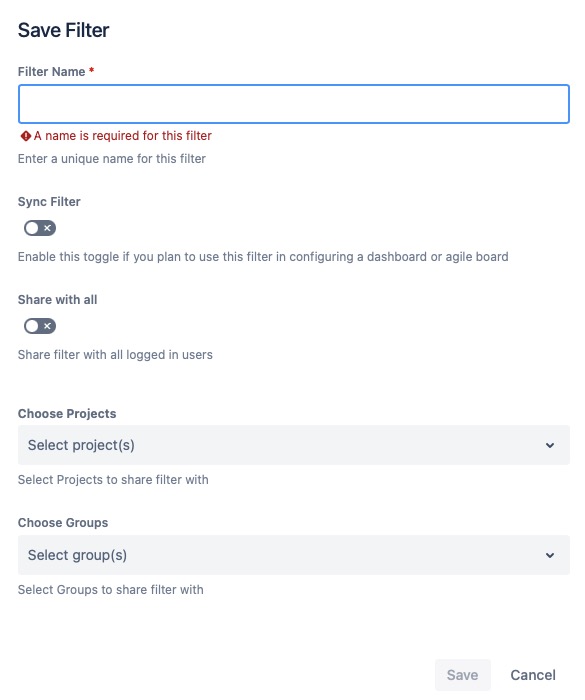
Name the filter and enable the Sync Filter toggle so you can use it in dashboards and Jira Software Boards.
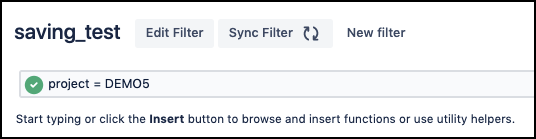
Once created, new filters are not synchronized by default. All new filters are synchronized after the default interval of 5 minutes when the Sync Filter option is selected in the Filter Creation Screen. If the Sync Filter option is disabled, the filter does not automatically sync and must be manually synced from the Search screen using the Sync Filter button.
Every 'X' minute, Enhanced Search will check if the search results of the filter have changed or if someone has changed the add-on settings recently. If that check is positive, then filters are synced with the changes made to the issues in your Jira instance.
Filters are always run with the same permissions set as the user who created the filter.
You must make sure that the Add-On User has the Global Permission to Browse Users for this feature to work.
If you want to update or delete these Enhanced Search filters, use the Enhanced Search page instead of the Jira filters user interface.
Choose who to share the filter with. There are three options: share with all, share with a select user group, or share with a project.
Checking Share With All shares the filter with all users logged into the Jira Cloud instance.
Entering one or more groups under Choose Groups, shares the filter with all members of the selected group(s).
Selecting one or more projects under Choose Projects, makes the saved filter available within the selected project(s).
Click Save.
To see all saved filters, click Jira Software and navigate to Issues and Filters→View All Filters.
Edit a Search
You can edit any previously saved searches as follows:
- Locate the tab section of your page that highlights Created By You and Shared With You saved filters.
- Scroll to find filters that have been saved, or use the Sort by dropdown box to refine your search.
Select your preferred search from the saved filters and click the Edit Filter button.
Edit Permissions
The option to edit a filter is only available if you own the filter or have permission to make edits to a shared filter.
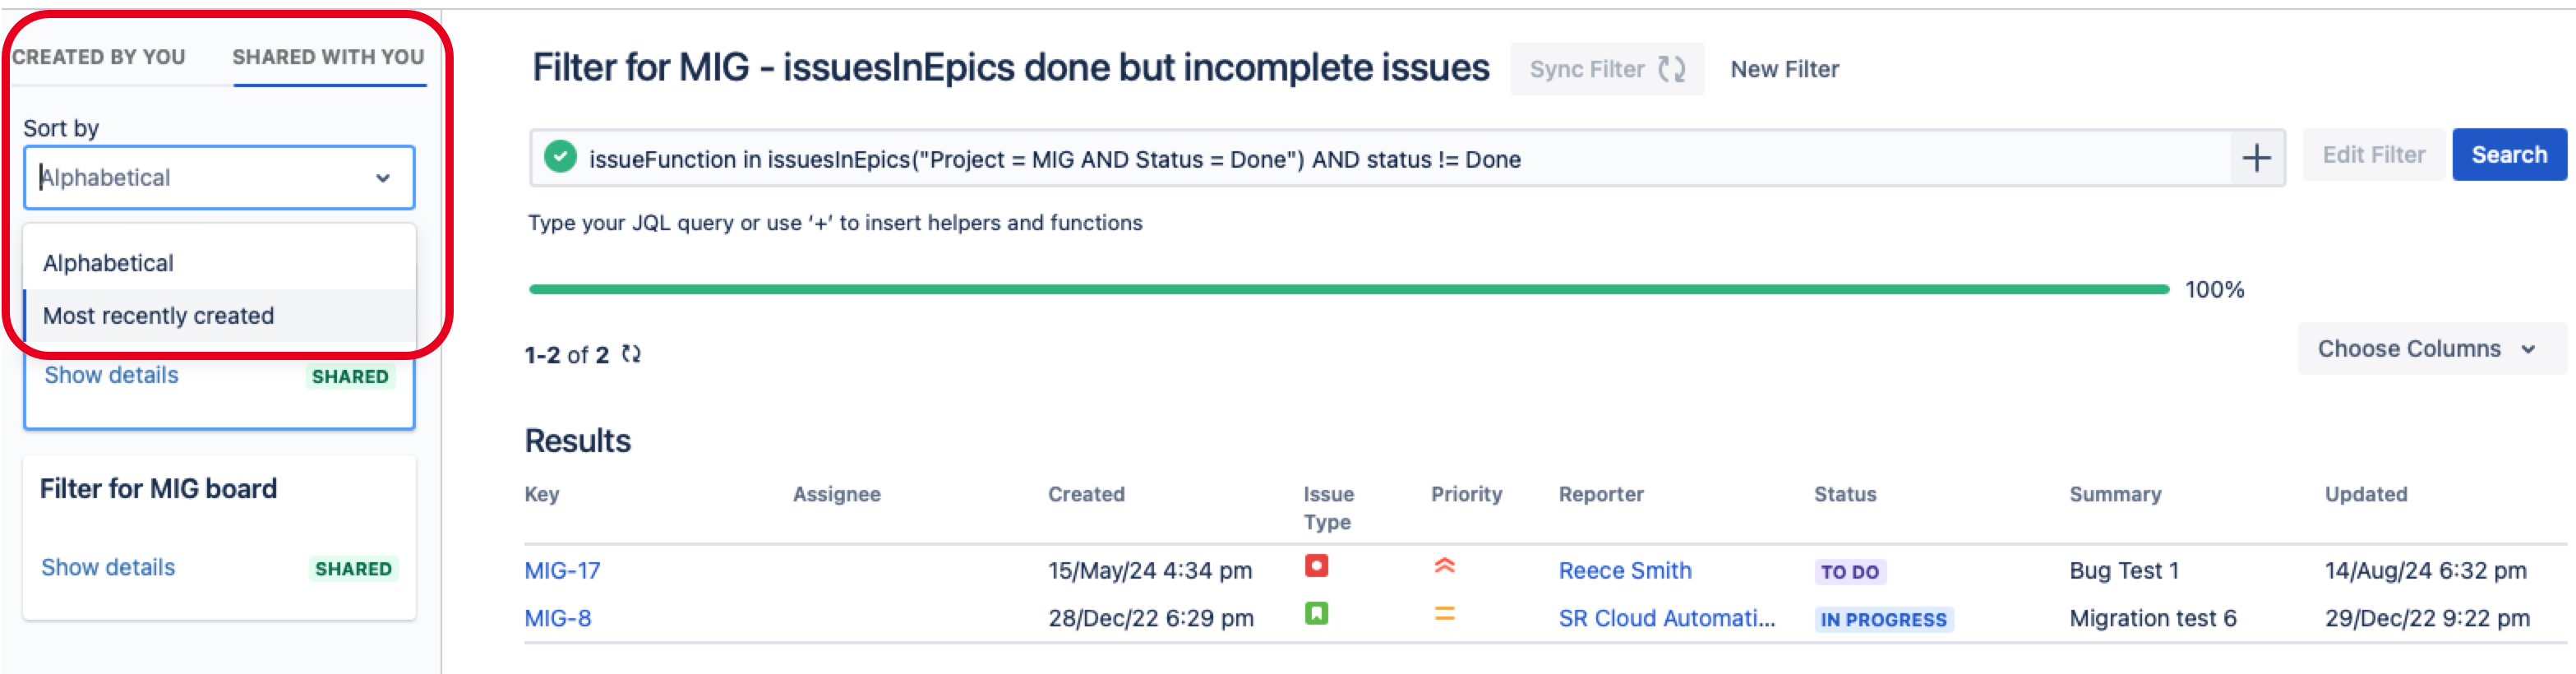
You can open any of the links within the Results columns to see more details related to issues, assignees, reporter, and so on.- Modify the details of the saved filter as outlined in steps 3-4 above.
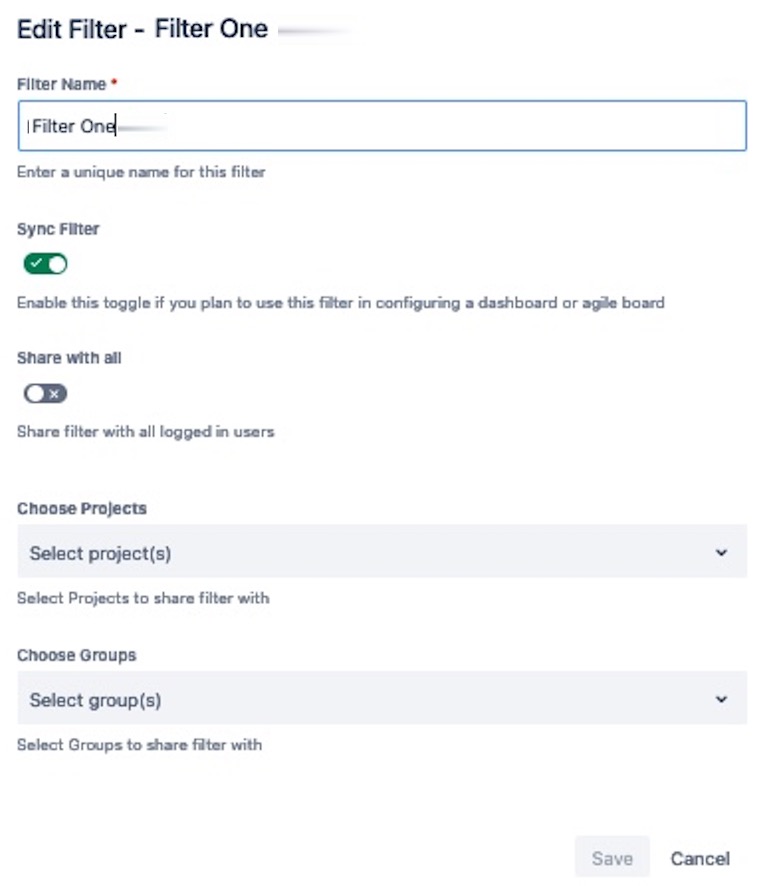
- Click Save to confirm the changes or Cancel.