[All Adaptavist Apps]
In order to use the Behaviours feature, you must install ScriptRunner for Jira Cloud and then proceed to install a separate ScriptRunner Behaviours app. It is important to follow the correct sequence for these installations as the Behaviours features will not work if you install the app before installing ScriptRunner for Jira Cloud. If this does happen, you can uninstall and reinstall the Behaviours app. As a ScriptRunner customer, the ScriptRunner Behaviours app is free to use.
What are Behaviours?
Behaviours give you more control over fields in Jira. A field configuration customizes how fields behave across an instance. However, a behaviour in ScriptRunner for Jira Cloud allows you to take that field customization further, defining how fields behave for issues in a given project or issue context.
Behaviours provide you with options that enable you to customize how fields in Jira behave. Therefore, you can give your users clear direction when filling in fields on the Create Behaviour screen. For example, you may want to create a behaviour that hides a field for a specific user group until it's relevant for them to interact with that particular field.
You can create a behaviour that will:
Prefill/preformat a template when an issue is created so users can easily follow it.
- Change the name or description that is displayed for a field.
Hide or show a supported field only to people in a specific role.
Note that hidden fields can still be submitted if a user edits the HTML form or modifies browser requests.- Set a field value based on another supported field.
Behaviours Supported Fields
Behaviours can be applied to supported fields on the Global Issue Create view only. Additionally, modifications may only be made on the following supported fields:
- Summary
- Description
- Assignee
- Priority
- Labels
How to use Behaviours
Behaviours in ScriptRunner for Jira Cloud can be used to reinforce your business processes. It's beneficial to think of a behaviour as one of your business rules or use cases and understand that it will only affect fields on projects and issue types specified by you.
Within the behaviours feature, you can choose to change or alter one or more fields. These are known as affected fields and are essential to initiate a behaviour. As such, they must be defined from the outset and are mandatory. Additionally, it is essential to determine the timing of when the script on the affected field should run: when the create screen first loads or when a change has been made to another supported field.
A fundamental difference between the ScriptRunner for Jira Server/DC and ScriptRunner for Jira Cloud behaviours feature is that the field selected is the trigger that causes the behaviour to run in ScriptRunner for Jira Server/DC. However, with ScriptRunner for Cloud, you choose an affected field first and then write a script with logic that will alter that field in your preferred way.
Install the app
Why?
There are currently two platforms on which Jira apps can be built: Atlassian Connect and the newer Atlassian Forge. ScriptRunner for Jira Cloud is built on the Connect platform, but this does not facilitate the Behaviours feature. Atlassian created an API called UI Modifications on the Forge platform, which made it possible for ScriptRunner to build behaviours. Therefore, this means that in order to use the Behaviours feature, a separate Forge app needs to be installed alongside ScriptRunner for Jira Cloud.
As more capabilities become available in the UI Modifications API, more functionality can be built in ScriptRunner's Behaviours feature.
How?
When installing the ScriptRunner Behaviours Forge app a list of permissions, or Jira Core scopes and Jira Software scopes, are presented for approval. This is required by the app in order to run successfully. You can refer to the Forge Scopes section for more information.
To install the ScriptRunner Behaviours app, follow these steps:
- Log into your Jira instance as an admin.
- Ensure you have installed ScriptRunner for Jira Cloud.
- Locate the Behaviours tab.

- Click Install Free App. You are prompted to go through the installation screens.

- Click Get app.

- Choose which site you would like to install the Behaviours app on and click Install.
- Navigate back to ScriptRunner and open the Behaviours tab.
After the app has been successfully installed and you have refreshed your instance, you will see the initial landing screen as shown below: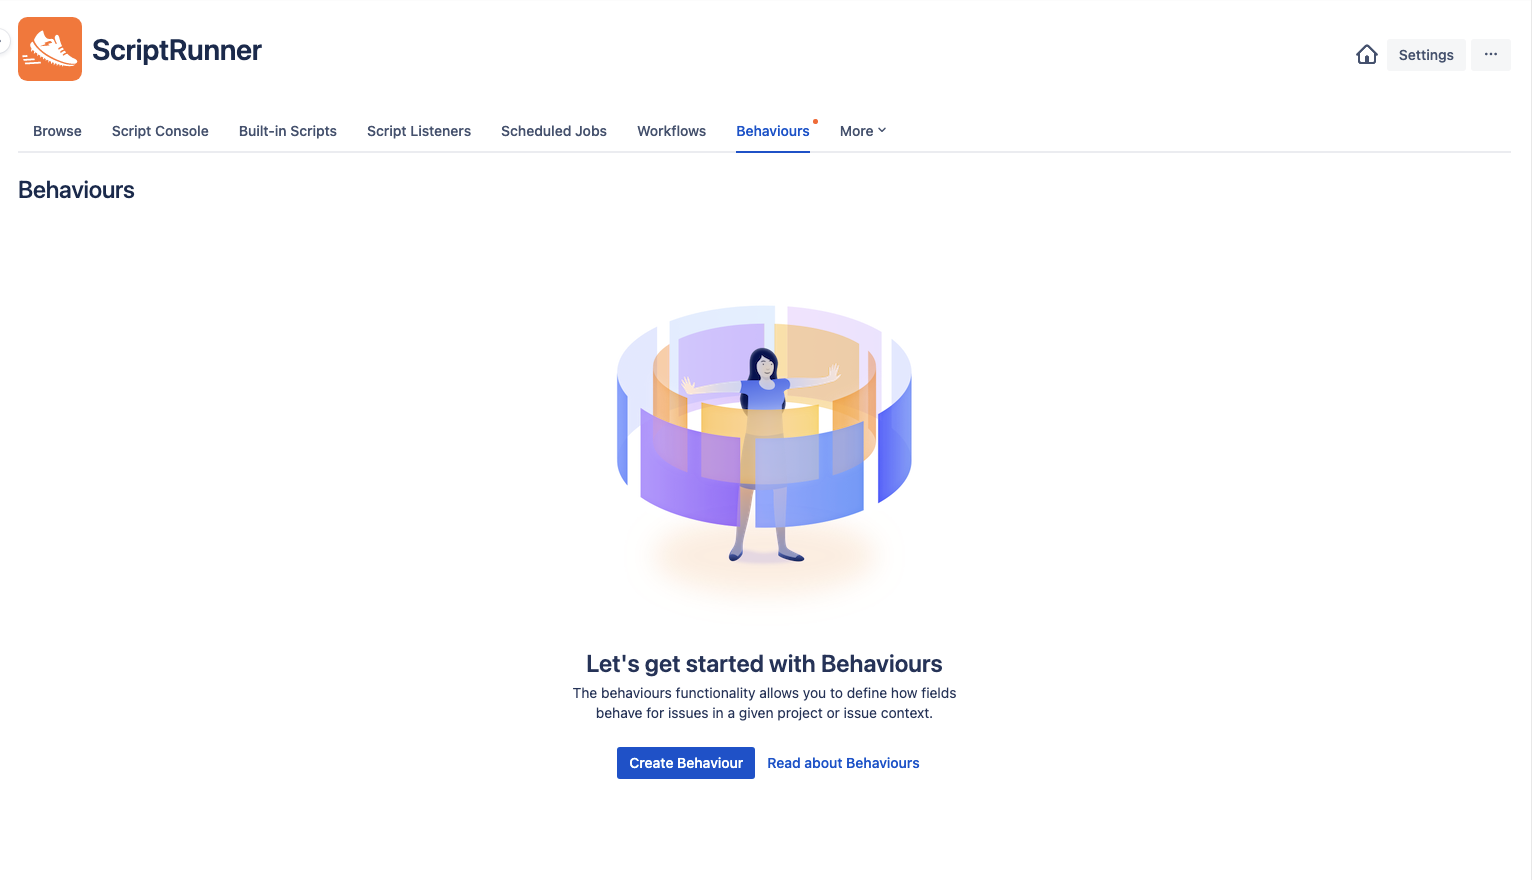
From here, you can click Create Behaviour and follow the steps to create a behaviour in ScriptRunner for Jira Cloud outlined below.
Currently, if Forge apps are uninstalled, then you will no longer have access to that data. However, if you uninstall the Behaviours app, ScriptRunner will continue to store your data, so if you decide at a later time to reinstall it, your data will still exist.
Before you start
 Before setting up a behaviour, read about Jira field configurations.

Understand Atlassian's UI Modifications API.
Create a Behaviour
Some points worth noting about behaviours from the outset:
- The language used when writing the logic for behaviours scripts is Javascript and not Groovy.
- Each behaviour's script cannot exceed 5,000 characters.
- Complex scripts may affect the speed at which your behaviours run, and they may be slower than simple or efficient scripts.
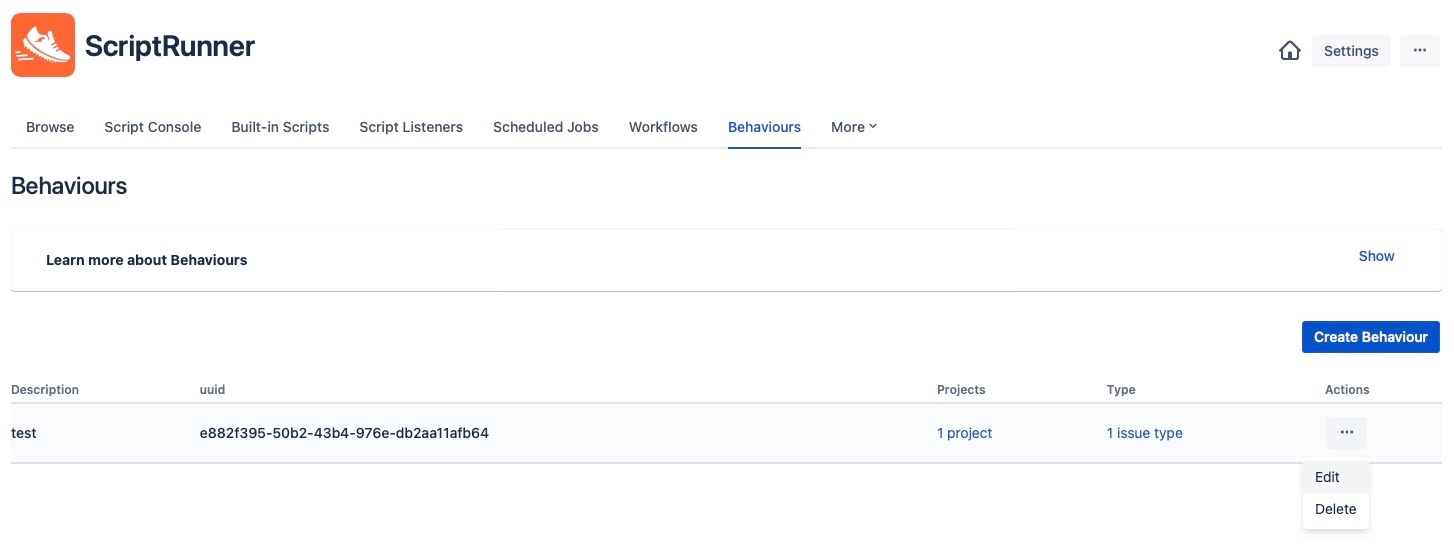
- Navigate to ScriptRunner → Behaviours.
If you have previously created behaviours, you will see a list displayed. You can choose to edit or delete any of these via the Actions ellipsis next to the behaviour you would like to modify or delete. - Click the Create Behaviour button. The following screen displays:
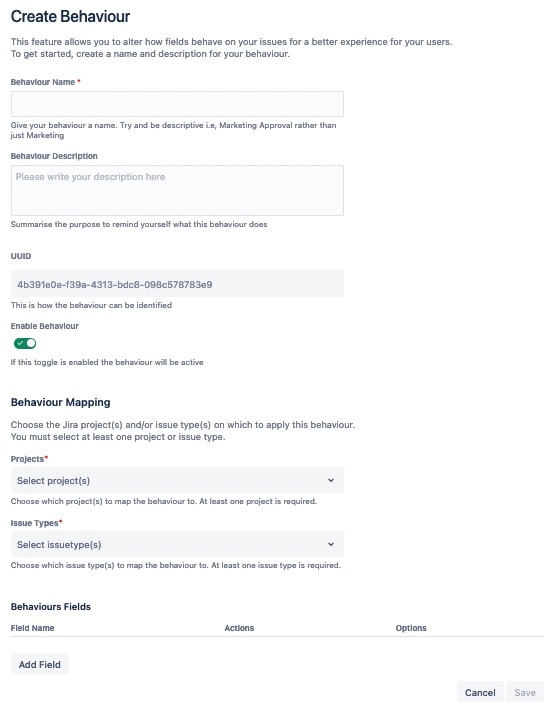
- Enter a name in the Behaviour Name field.
- Enter a brief summary of the behaviour's purpose in the Behaviour Description box.
- Check the Enable Behaviour option, as required. By default, the behaviour is set to Enabled, meaning that the behaviour is active as soon as it has been saved.
- Select the project(s) that the behaviour will be applied to from the Projects drop down list. You must select at least one project.
- Select the type of issue you want to apply this behaviour to from the Issue Types drop down list. You must select at least one issue type.
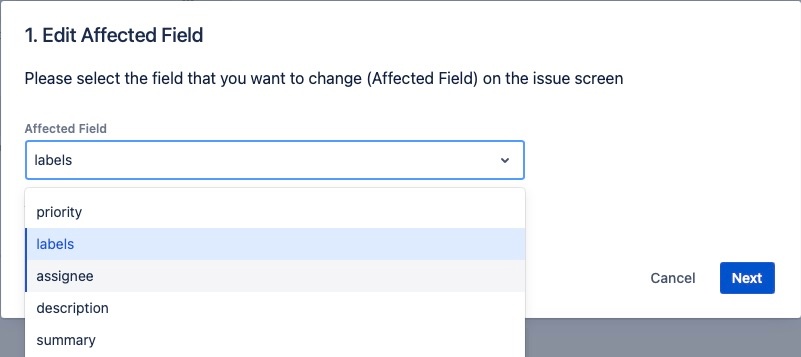
Click the Add Field button to choose the field the behaviour will affect - this is called the Affected Field. You will see the Select Affected Field pop up window displayed where you can choose an Affected Field.
The Affected Fields are fields that are being changed or altered. They are not the fields that act as triggers for the changes or alterations.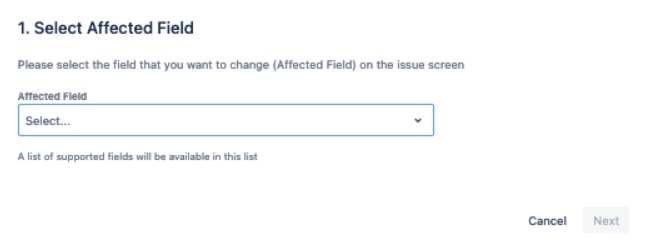
- Select the field from the Affected Field drop down list and click Next. You will now see the following screen:
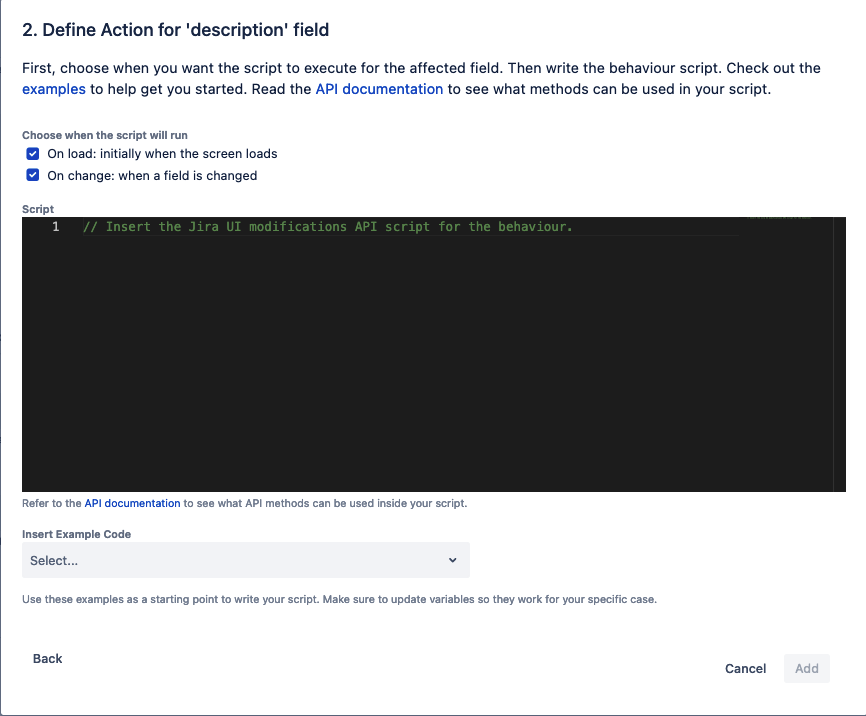
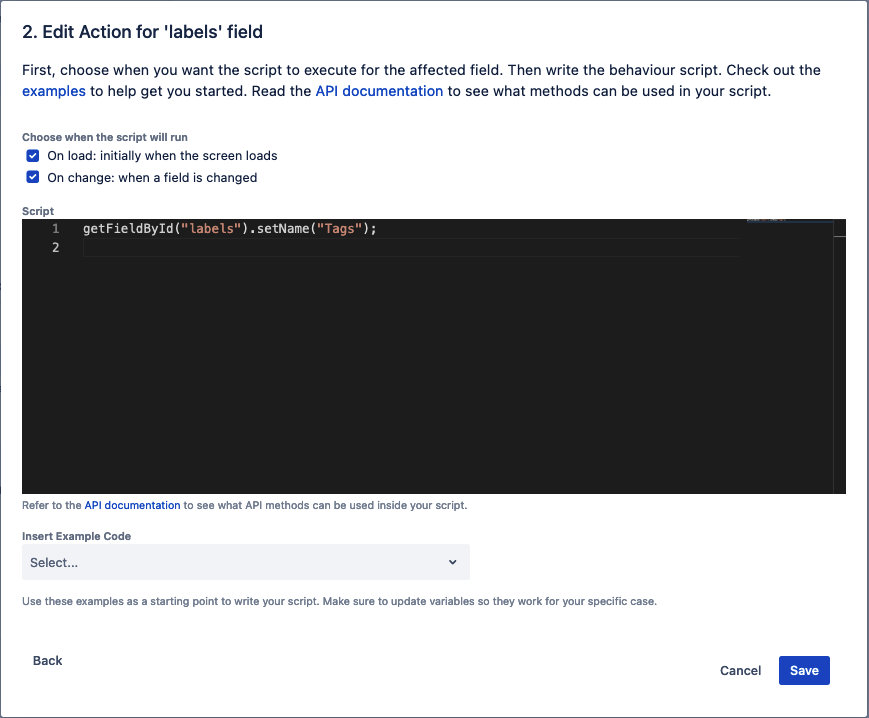
Determine when the behaviour script will run, either On load or On change (or both).
When Runs On load The script will run when the create screen initially loads.
You'll want to choose this option when you want the affected field to populate immediately upon opening the create screen.
For example, a field name or field description is changed, or a value is pre-populated into the field.
On change The script will run when the specified supported field change happens. You may want to run the script initially when it loads AND if a change has occurred.
You'll want to choose this option when you've added a condition to the logic and identified a trigger that will update the affected field. So if you would like to run the script after the user alters a field on the create screen, then choose the On change option.
For example, initially, you could set the assignee field to Bob, so all new bugs are assigned to him, but if the user then changes the priority to High, the assignee would then auto-update to Jane.- Enter your code within the Script box, as required. Alternatively, you can select an example script from the Insert Example Code drop down list and modify it as required, ensuring that you:
- edit any variables, like custom field names, roles, or groups, in the example code so it's relevant to your instance.
- choose the right time to run your script: on load and/or on change so that it runs when you need it to.
Choosing to use the Insert Example Code script will replace anything that is already contained within the Script box. - Click Add to save your script for the Affected Field. You can also click the Back button to go back through your steps, or you can Cancel.
If you would like to continue adding more affected fields, then these must be defined separately, as outlined in the steps above. You can continue to add these to the table and add the logic needed until your business requirements are met for this behaviour. - Click Save to confirm the configurations for your behaviour, or you can Cancel.
If you are creating behaviours for the first time since installing the ScriptRunner Behaviours app, then you are prompted to click the Allow Access button, as shown below: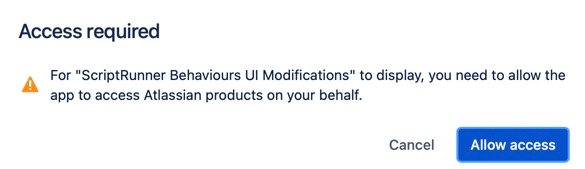
Atlassian’s initial beta release of the UI Modifications API requires each user to allow access to the Behaviours app. As such, the first time you create an issue where a behaviour is mapped, you will need to allow access to the Forge app (one time only).
Granting access allows you to create issues on a screen that has been modified by the UI Modifications API. If access is not granted, then you will not be able to create an issue from screens that have been modified by a behaviour.
Granting access is a temporary step; rest assured, Atlassian is working to improve the user experience and remove it. You can follow Atlassian’s ticket here.
After access has been granted, the following screen displays:

Once you have clicked on the Accept button, you are returned to the Behaviours screen.
Edit a Behaviour
Follow the steps below to edit a behaviour in ScriptRunner for Jira Cloud:
- Navigate to ScriptRunner → Behaviours. You will see a list of previously created behaviours.
- Click Edit from the Actions ellipsis next to the behaviour you would like to modify. From here, you can also Delete a behaviour.
- Edit the fields, as required, from within the Edit Behaviour screen.

You can edit or delete each of the individual Behaviour Fields via the Actions ellipsis - Click Edit next to the Affected Field you want to edit, and you will see the Edit Affected Field window displayed:
- Make your required changes and click Next.
- Modify when the script runs and/or edit the script code, as required.
- Click Save to confirm the configurations for your behaviour, or you can Cancel. You can also click the Back button to go back through your steps, or you can Cancel.
Overview
Community Forums
Content Tools
Apps