
Azure Configuration Instructions
This page contains important information about configuring Azure for use with Data Control for Jira.
Data Control for Jira connects to Azure via SAS. For information on using SAS with Azure, we recommend Microsoft's documentation.
How to configure Azure for use with Data Control for Jira
There are three required pieces of information from Azure that you'll need to configure storage with DC4J:
- Storage Account Name
- Container Name
- Access Key
The steps below cover setting up a DC4J-compatible file storage location in Azure and how to locate the necessary configuration info. All actions are taken on the Azure console.
Step 1 - Create a Storage account for the Container
- From the Azure portal home, click Storage Accounts.
- Click Create to make a new account.
The basic setup will depend on your internal naming scheme and practices, but note the Storage Account Name, as this is required information for DC4J.
Required by DC4J
The Storage Account Name is required configuration information for DC4J.
- All other sections (Advanced, Networking, Data Protection, Encryption, Tags) can be set as your best practices require.
- Review and Create the storage account.
Step 2 - Set up CORS
- Navigate to Storage Account.
- From the left menu, select Settings, then Resource sharing (CORS).
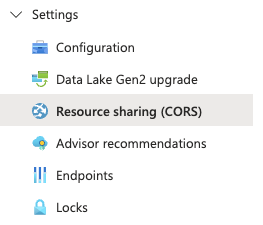
- Select the Blob service tab.
- Add a new entry to the table with the following information:
- Allowed Origins : *
- Allowed Methods: DELETE, GET, HEAD, PUT, OPTIONS
- Allowed Headers: *
- Exposed Headers: *
- Max age: 100

- Save your changes.
Step 3 - Container setup
- While still in the target Storage account, from the left menu, select Storage Browser and then Blob containers.
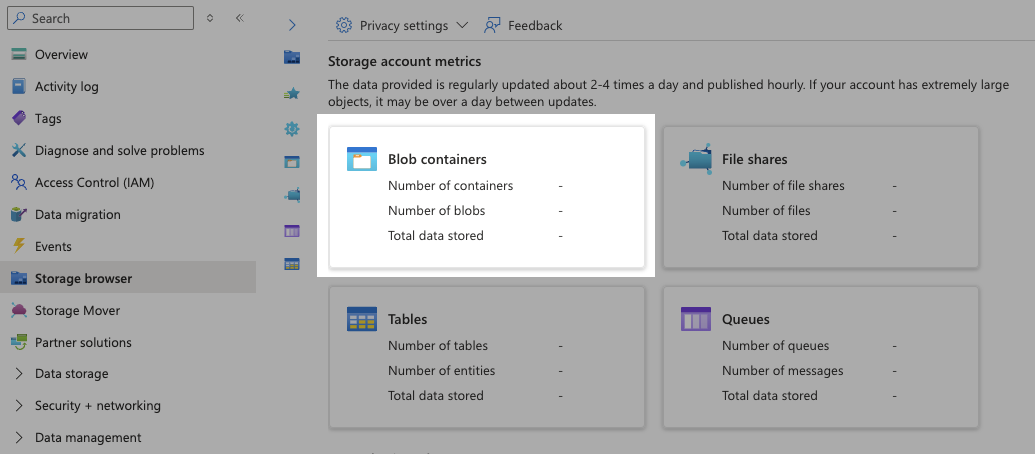
- Click Add Container.
Name the container.
Required by DC4J
The container name is required configuration information for DC4J.- The Anonymous access level should be left as Private (no anonymous access).
- Click Create to finalize creation of the container.
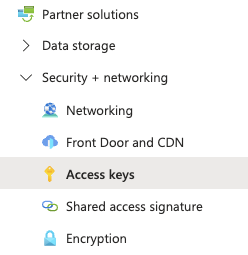
Step 4 - Aquire access key from storage account
- In the target storage account, on the left menu, select Security + networking and then Access keys.
Click Show and copy either of the keys - ready for use in the DC4J configuration.
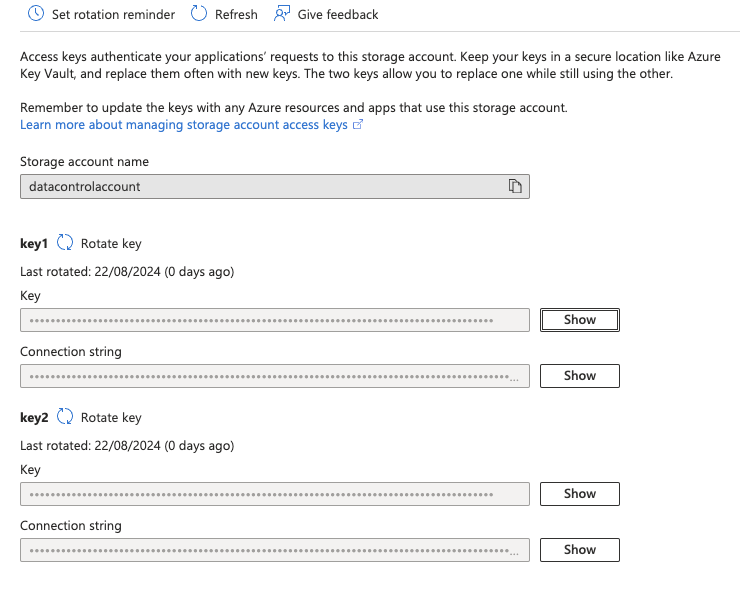
Required by DC4J
The copied Access key is required information for DC4J.
You now have all the information required by DC4J.
Azure configuration steps
- Enter the Storage account name of the Azure account with access to the storage bucket.

- Enter the Storage account key for your Azure account.
- Enter the Container name for your Azure account.
- Click Save.
If the configuration is valid a Connected icon displays.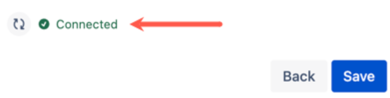
Once configured, a Data control for Jira attachments field becomes visible in issues within the instance.