
AWS S3 Configuration Instructions
This page contains important information about configuring AWS S3 for use with Data Control for Jira.We recommend visiting AWS documentation for information about setting up users and S3 storage:
Data Control for Jira uses AWS Pre-signed URLs to access your S3 storage.
In order for your browser to send files to your S3 storage, you must include your Jira instance URL in the S3 CORS configuration.
The URL will be in the form: https://yourcompany.atlassian.net.
CORS configuration details example:
[
    {
        "AllowedHeaders": [
            "*"
        ],
        "AllowedMethods": [
            "GET",
            "POST",
            "PUT",
            "DELETE"
        ],
        "AllowedOrigins": [
            "*"
        ],
        "ExposeHeaders": []
    }
]
AWS configuration steps:
Enter the Access key to your S3 Bucket in the Access key field.

- Enter the Secret key to your S3 Bucket in the Secret key field.
- Enter your S3 Bucket name in the Bucket name field.
- Enter your desired Bucket region in the Bucket region field.
Click Save.
If the configuration is valid a Connected icon displays.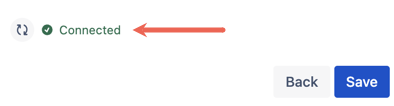
Once configured, a Data control for Jira attachments field becomes visible in issues within the instance.
Watch the video below to learn about AWS configuration for Data Control for Jira.
The video includes details about how to find your Access and Secret Keys and how to edit Cross-Origin Resource Sharing (CORS).