
Configure TMC Create Issue macro and TMC List macro
TMC Create Issue macro
This macro enables the creation of issues in Jira from Confluence. To add and configure the "TMC Create Issue macro" in Confluence, follow these steps:
- Insert the "TMC Create Issue macro" into the page.

Project*. Select the desired project for the issue creation in the popup that appears.
Issue type*. Choose the appropriate issue type for your new issue.
Creation Button Text. Set the text displayed on the "Create" button by entering it in the "Creation Button Text" field.
Creation Button Color. Select the color you prefer for the button from the available options.
Show navigation link. If you want to display a navigation link, check the "Show navigation link" option. Enter the needed page.
This link will lead to a page that displays a notification popup about the issue creation.
- Notification Message. After creating the issue, you can provide a message displayed in the Notification popup. Use the "[issueKey]" placeholder to insert a key of the created issue.
Notification Show Timeout (sec). Specify the duration for which the Notification popup will be displayed after creating the issue by providing the desired "Notification Show Timeout (sec)" value, measured in seconds.
- Predefined Fields. Select the specific label that you want to be predefined for the issue. This will automatically populate the chosen label when creating an issue using the macro.
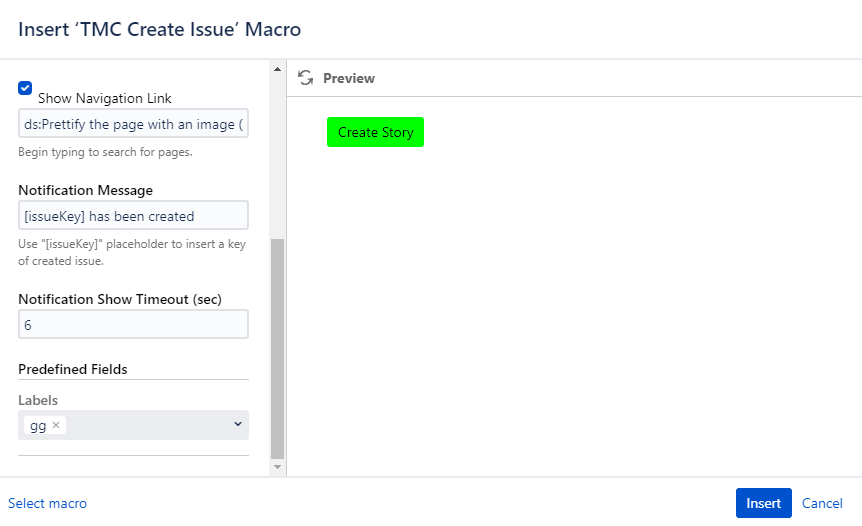
- To save the configuration changes to the "TMC Create Issue macro," click the "Insert" button.
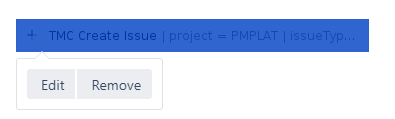
After saving, you can edit the macro at any time by clicking on it and selecting the "Edit" option. This allows you to modify the existing configuration, such as the project, issue type, button text, color, notification settings, predefined field, and notification message.
TMC List macro
To add and configure the "TMC List" macro in Confluence, follow these steps:
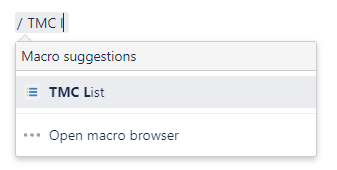
Insert the "TMC List" macro onto the page where you want to display the list of issues.
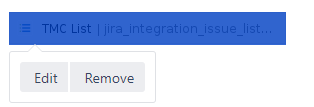
Edit the macro by clicking on it and selecting the "Edit" option.
Show direct links to Jira. To show direct links to Jira, check the "Show direct links to Jira" checkbox. This will turn project/issue keys into clickable links, allowing users to access the corresponding Jira project or issue directly.
JQL. Enter the JQL (Jira Query Language) query into the JQL field. This query will help sort and filter the issues you want to display in the TMC list. The search icon can retrieve issues based on the entered JQL.
Columns to display. Manage the columns to display by adding or deleting additional columns in the TMC List macro. You can customize the columns to include additional fields, such as summary, assignee, status, etc.
Maximum issues. Specify the maximum number of issues you want to display in the TMC list by providing the desired number in the "Maximum issues" field. This will limit the number of issues shown in the list, improving readability and performance.
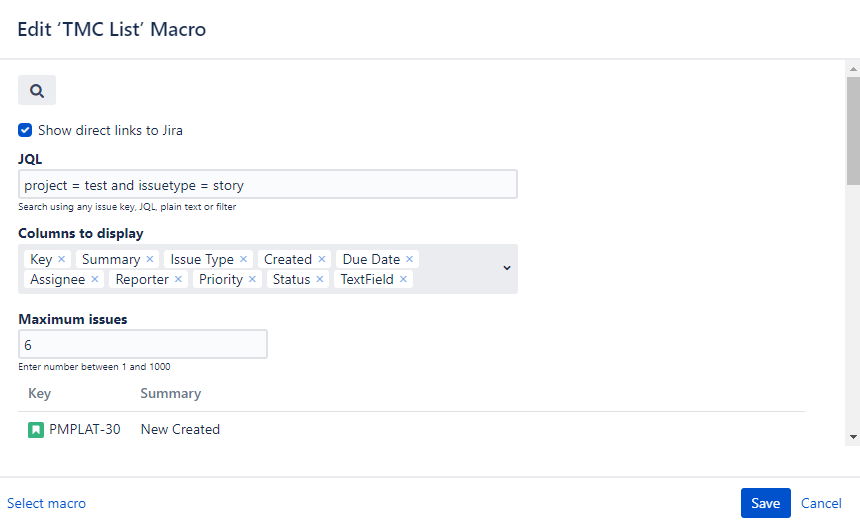
- To save the configuration changes to the "TMC List" macro, click the "Save" button.
Following these steps, you can configure the "TMC List" macro to display a filtered list of issues based on your criteria more organized and concisely.