Tutorial: Configure a Google Sheets Template
Follow the steps to configure the Export users from Jira Cloud to Google Sheets template and trigger the resulting script.
- Click Templates in the left-hand navigation options.
- Click Google Sheets.
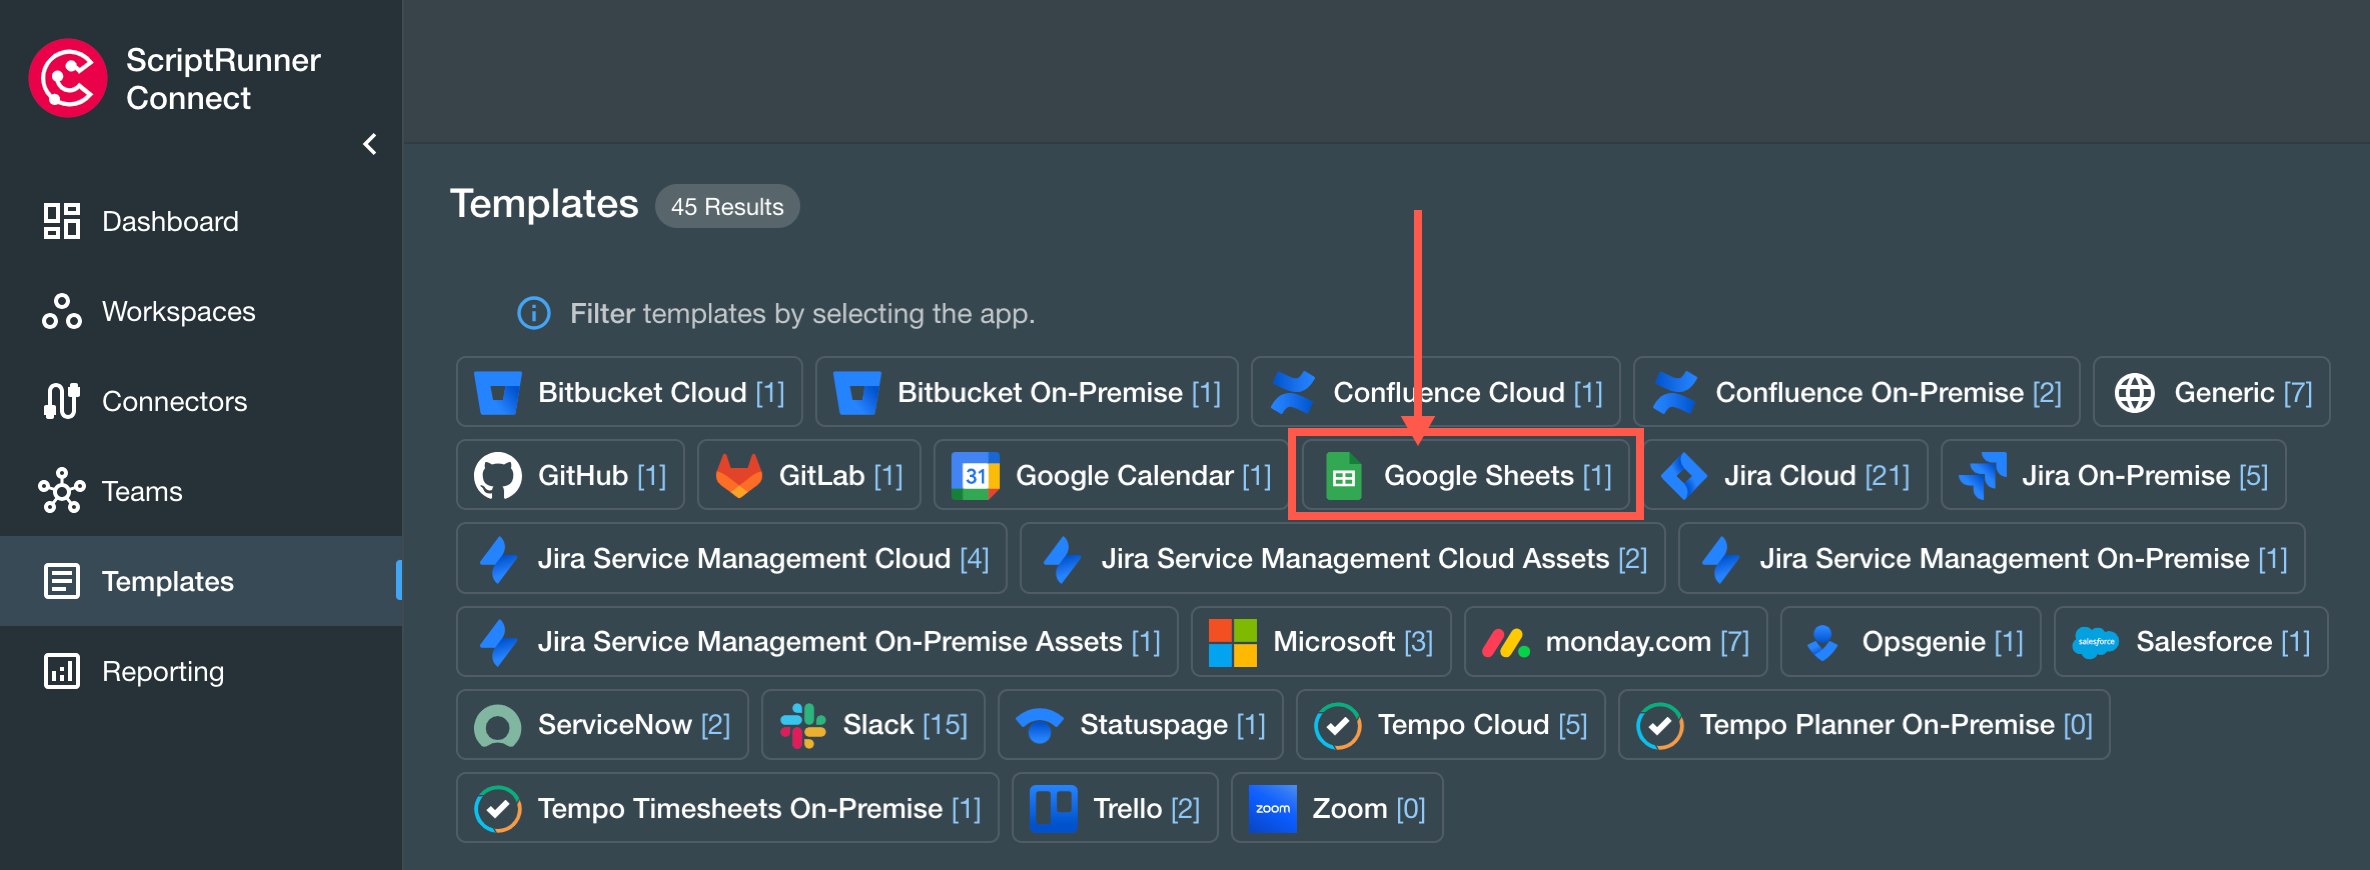
All templates for Google Sheets filter down and appear on the ScriptRunner Connect screen. - Click the Export users from Jira Cloud to Google Sheets template.
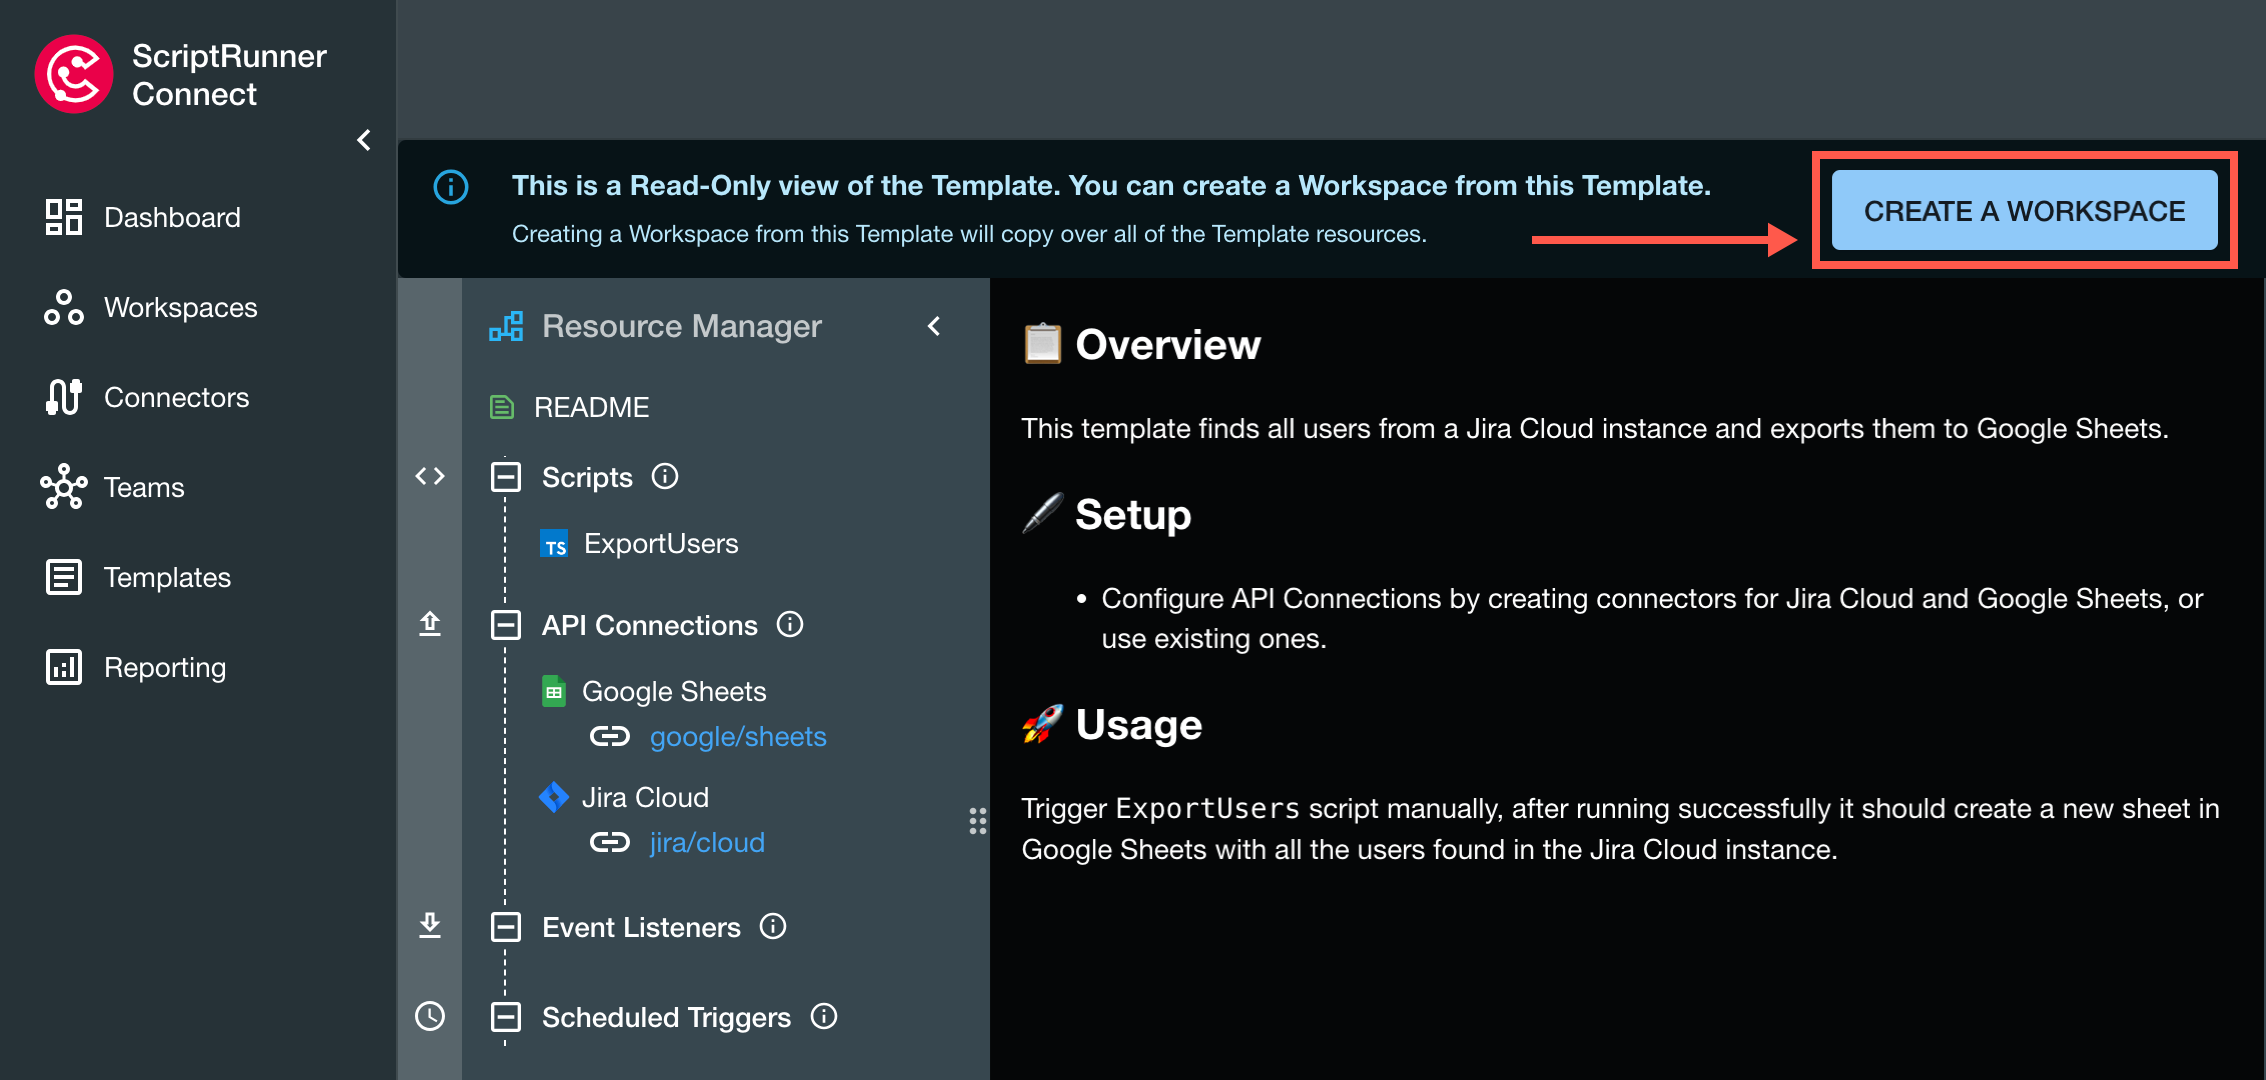
A read-only version of the template appears, which includes overview, setup, and usage details. - Click Create a Workspace.
The New Workspace dialog appears. - Review and update the Workspace name, Description, and Add to a team details, then click Create.
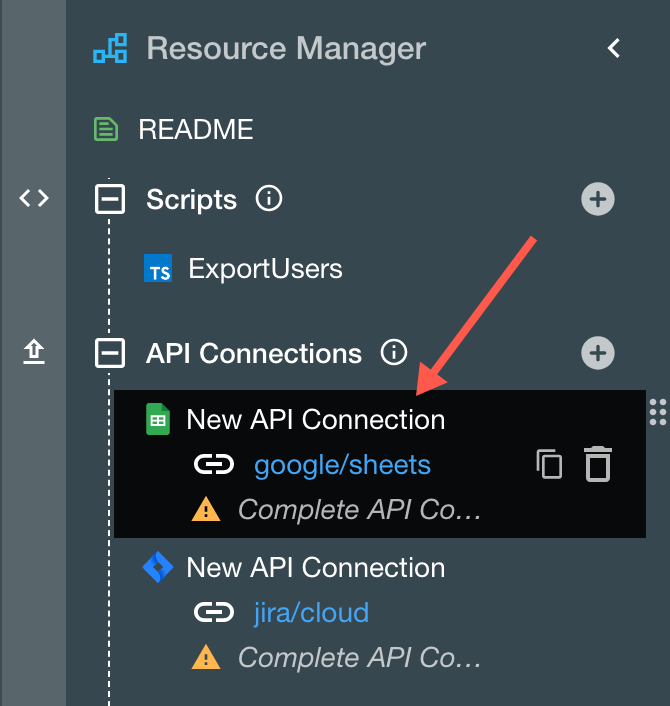
A success message appears, and the template workspace opens in the Resource Manager, where you can configure API connections before you run the script. - Create and authorize a new Google Sheets API connector in the workspace.
- Click New API Connection for Google Sheets.
The Edit API Connection dialog appears. - In the Uses Connector field dropdown, click Create New.
The Manage Connector dialog appears. - Enter a name for the connector, then click Sign in Authorize with Google.
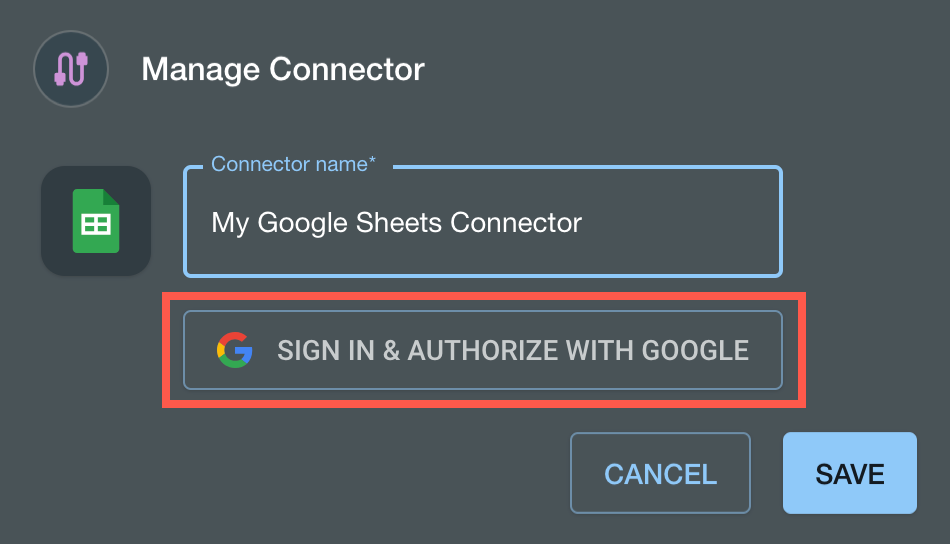
Google opens a new tab and prompts you to choose an account to grant ScriptRunner Connect the proper permissions. - Choose a Google account to connect to ScriptRunner Connect, then click Allow.

The Google tab closes, a success message appears, and the new Google Sheets API connector is authorized. - Click Save to complete the API connector authorization process.
The Manage Connector dialog closes. - Click Save on the Edit API Connection dialog to add the newly authorized API connection to the workspace.

A success message appears.
- Click New API Connection for Google Sheets.
- Create and authorize a new Jira Cloud connector in the workspace.
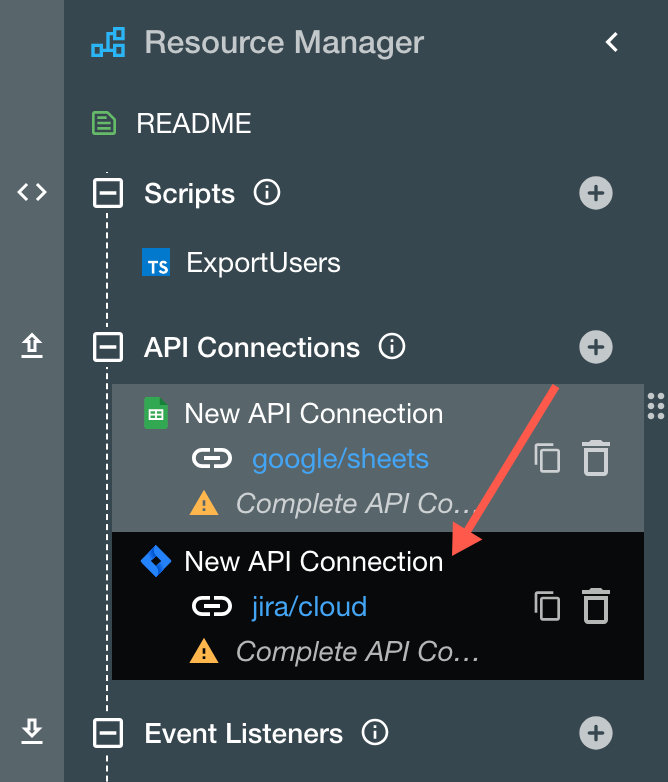
- Click New API Connection for Jira Cloud.
The Edit API Connection dialog appears. - In the Uses Connector field dropdown, click Create New.
The Manage Connector dialog appears. - Enter a name for the connector, then click Authorize.
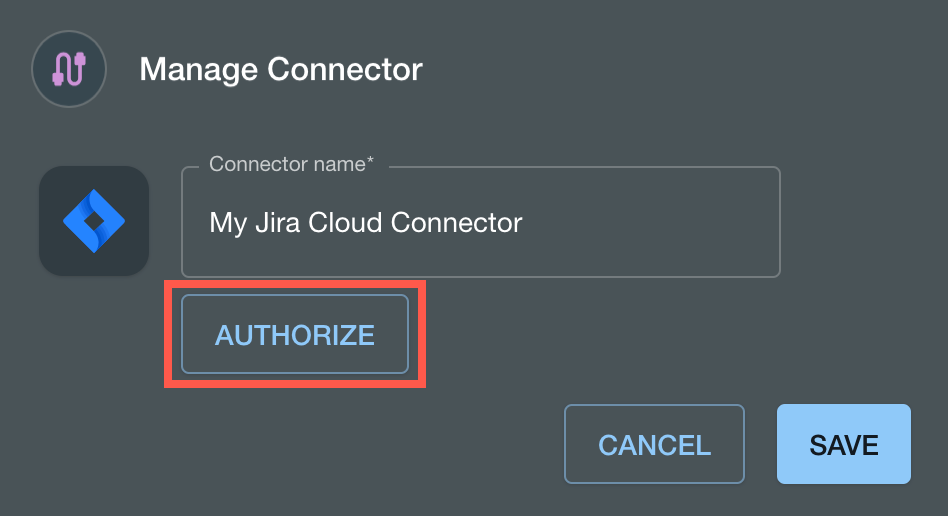
A new Atlassian tab opens and prompts you to choose a site (or instance) to authorize and give ScriptRunner Connect proper permissions. - Choose a Jira site (or instance) to connect to ScriptRunner Connect, then click Accept.
The Atlassian tab closes, and the Authorize Jira Cloud Site dialog appears. - In the Site field dropdown, reselect the intended Jira Cloud site or instance, then click Confirm.
A success message also appears.
The Manage Connector screen reappears, and the save option is active. - Click Save to complete the Jira Cloud API connector authorization process.
The Manage Connector dialog closes. - Click Save on the Edit API Connection dialog to add the newly authorized API connection to the workspace.
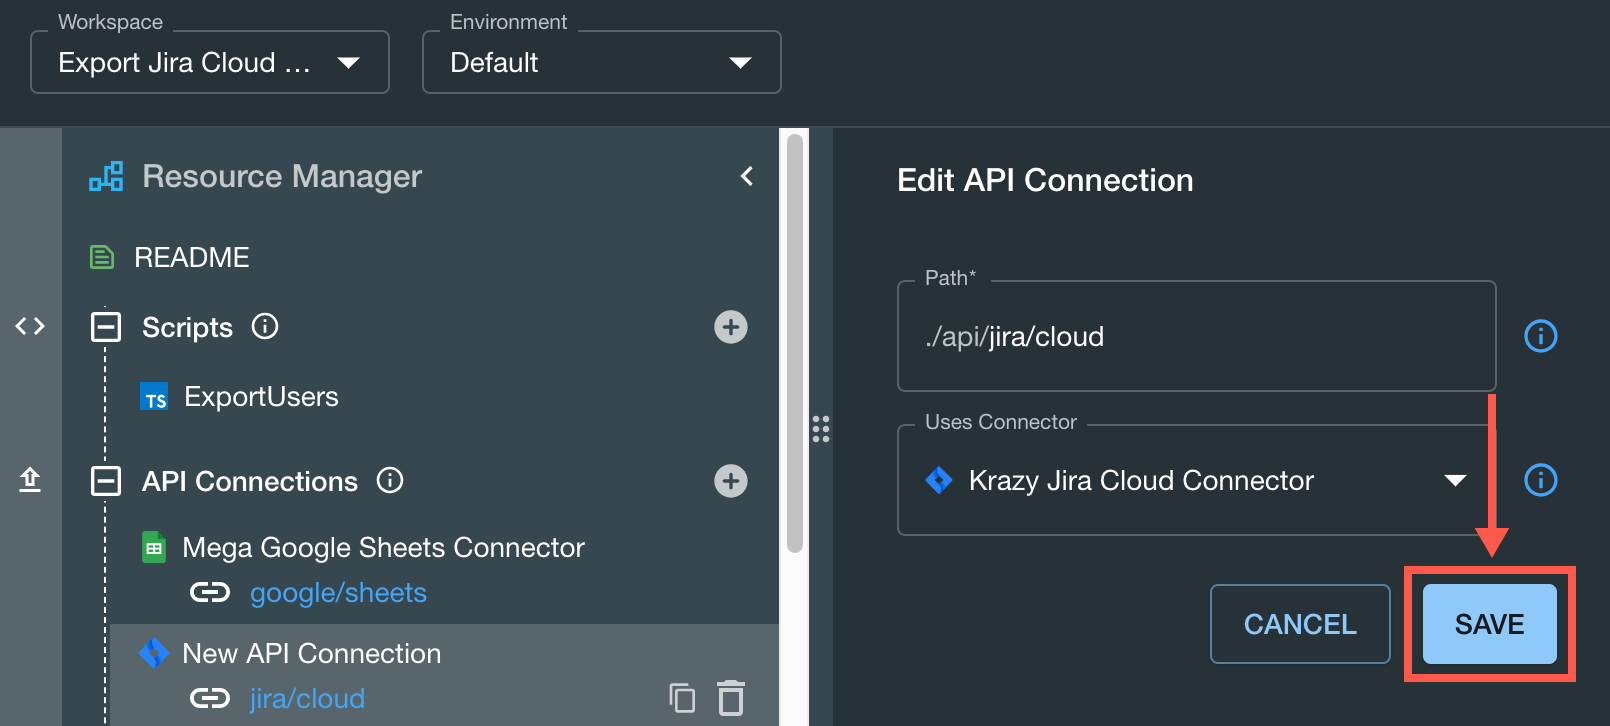
A success message appears.
- Click New API Connection for Jira Cloud.
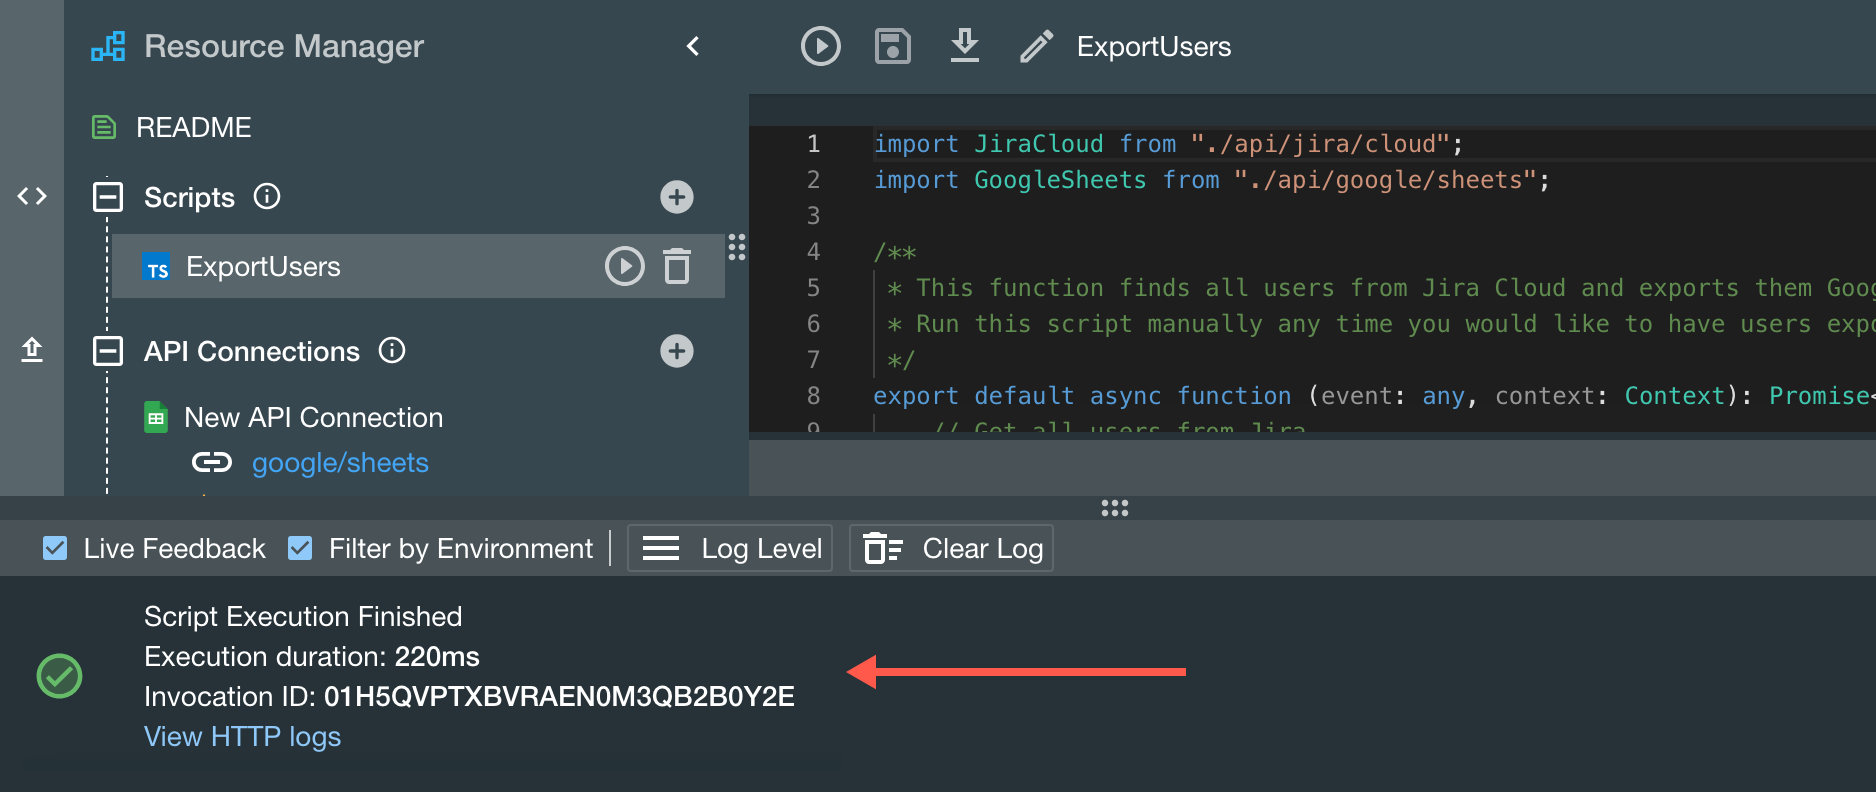
- Click ExportUsers to view the script, then trigger the script manually by clicking one of the two trigger buttons in the Resource Manager.
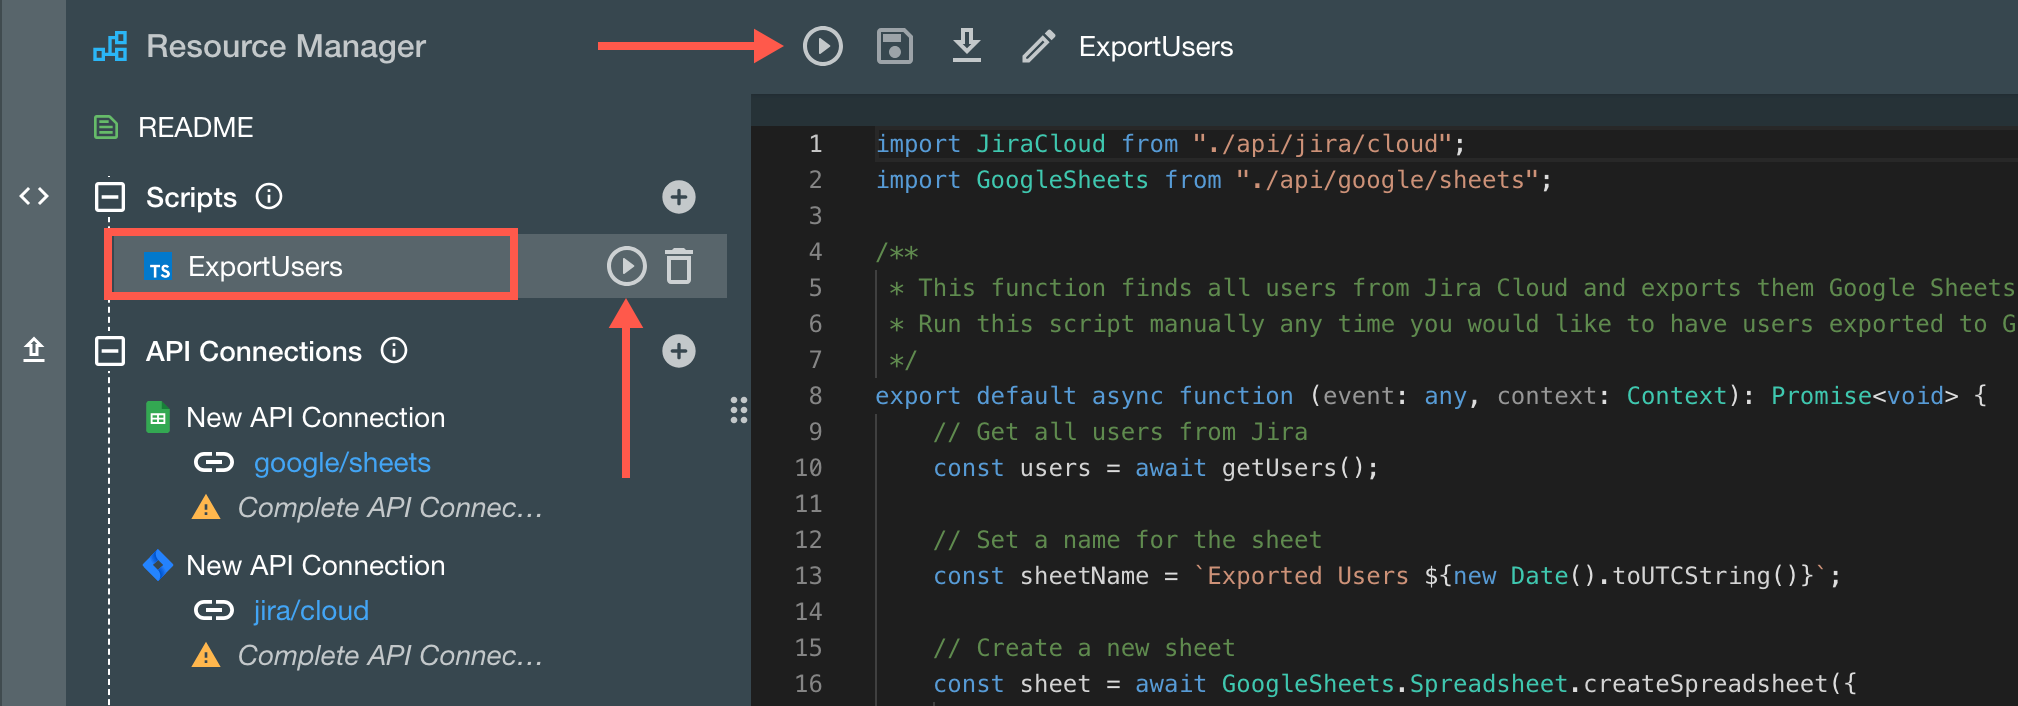
The console log presents the script result. For this tutorial, you can retrieve your Google Sheets data from your Google Drive.