
Web Item
A web item is a button or link that appears at the location you choose.
Here are some things you can do with web items:
Redirect to another location
Invoke a script endpoint and run code, which can respond with:
A flag
A dialog
A redirection to another page
Examples
Google Link Example
A basic example of a web item is a link to Google at the top of the navigation bar.
- From ScriptRunner, select UI Fragments > Create Fragment.
- Select Custom web item.
Fill out the web item form:
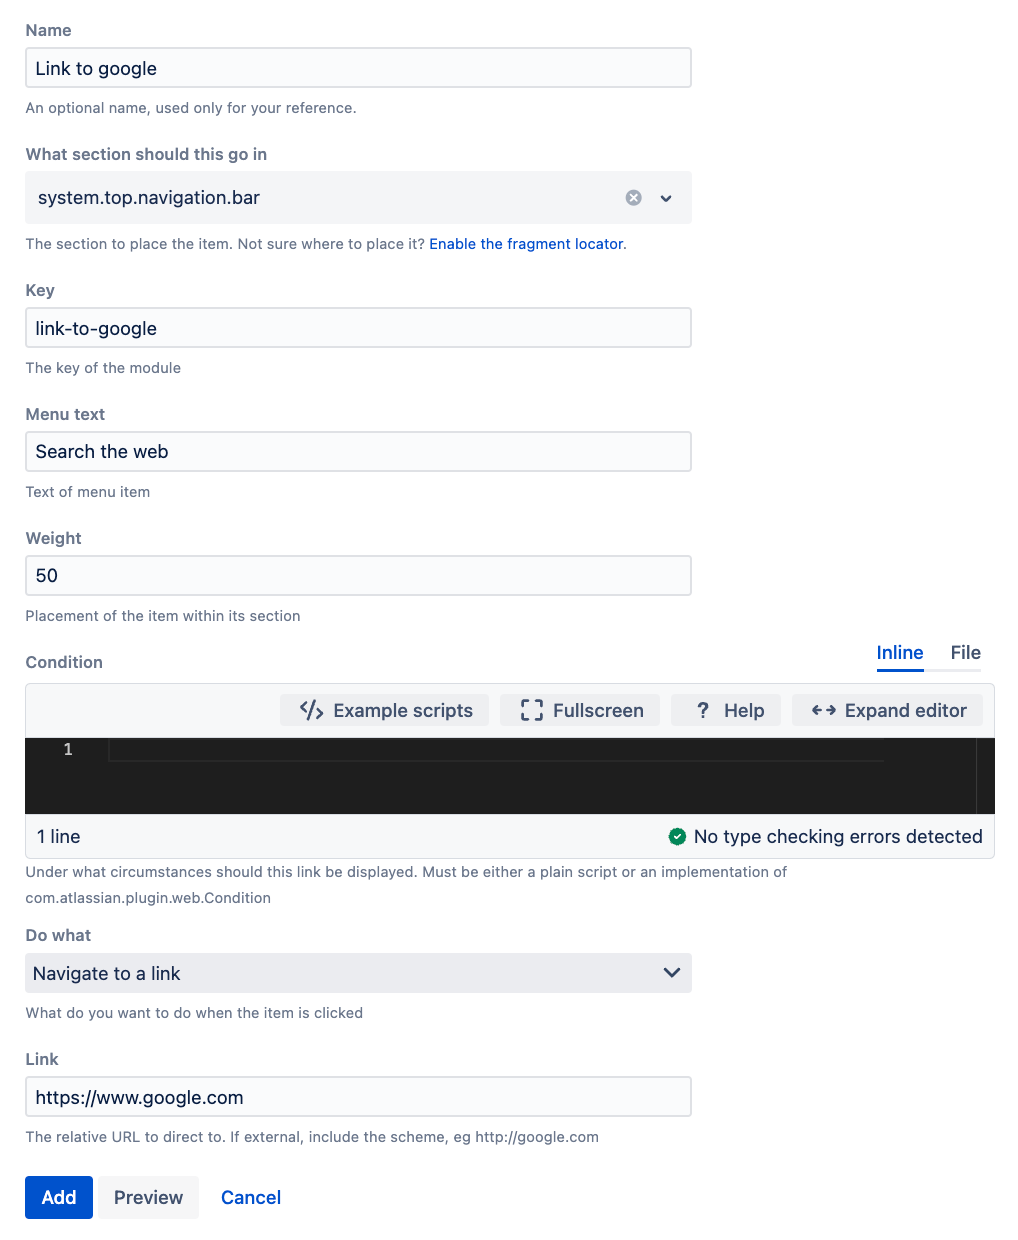 You can understand the Section field’s values by reading the Atlassian web item documentation, or you can use the Fragment locator tool.The Weight field determines the placement of the web item. If you set it to 1, the link becomes the first item on the left.
Weight field
For some locations, setting the Weight to a number below 9 may cause existing Atlassian elements to be overwritten. If an issue is found, increasing the weight value will likely resolve the problem.
Select Add to register the fragment.
Go to the dashboard in a new tab, and see your new link.
Select the link to go to Google.

Tools menu link
Next we’ll try to add a link to Jira issues More Actions menu, which will do a Google search on the current issue summary.
Create a new web item or change the values to the following:
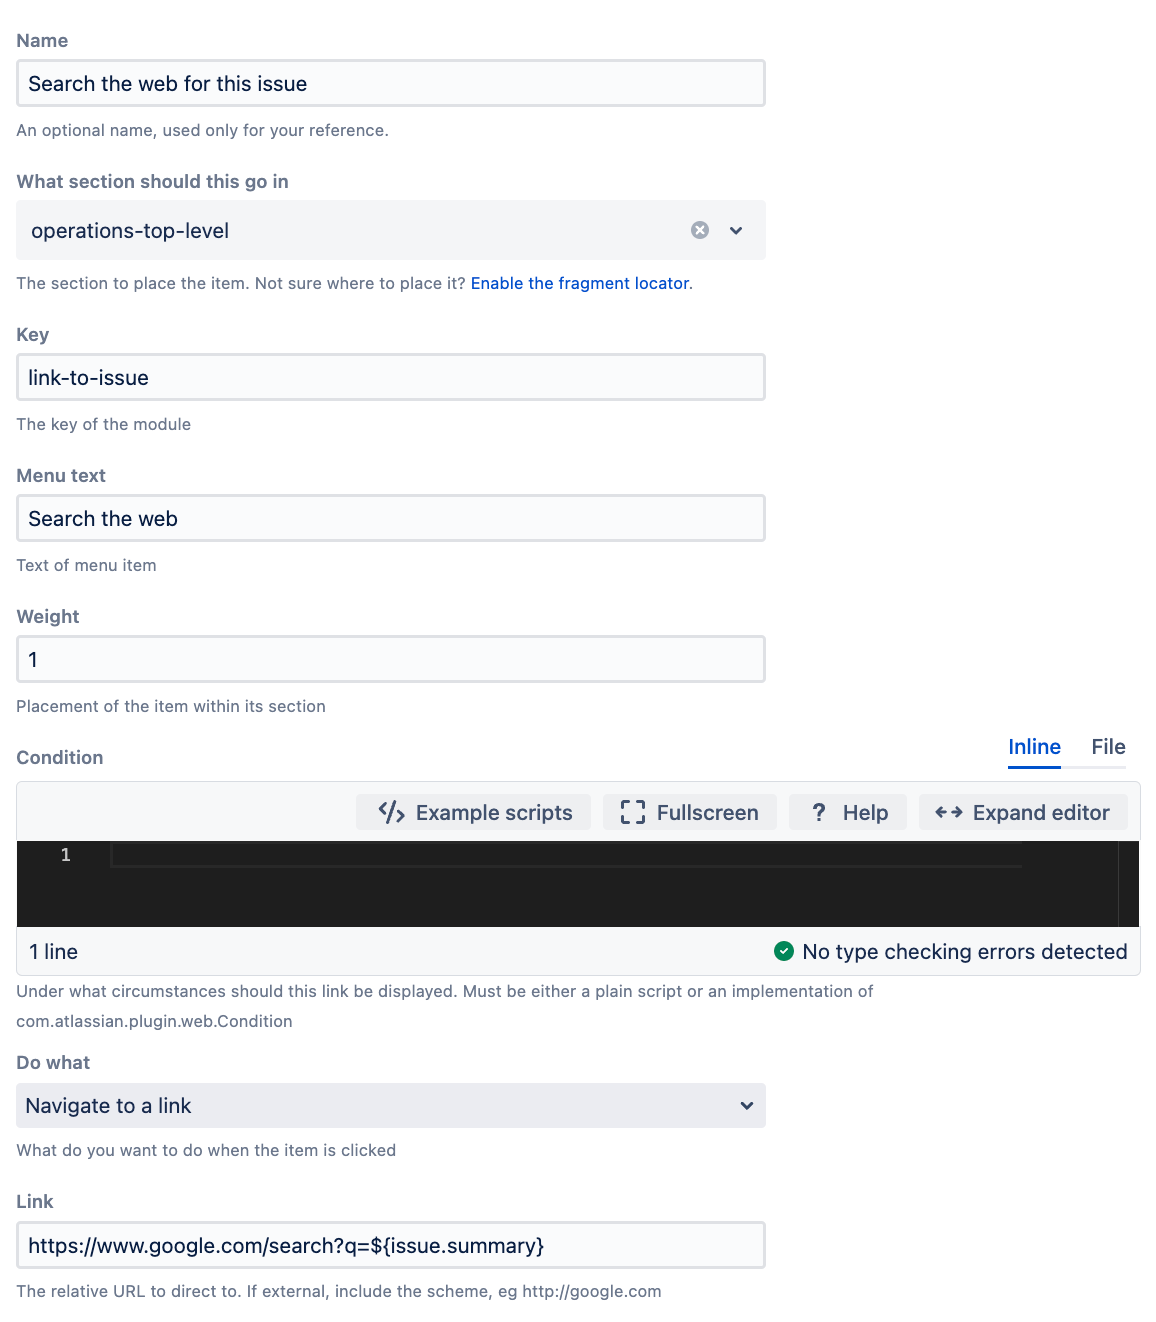
The Link used in this example is https://www.google.com/search?q=${issue.summary}.
You should now be able to see this on the operations bar of any issue:

Note that the URL is processed with velocity before rendering. The variables you can use depend on the context of the Web Item.
issue- an Issue objectjiraHelper- a JiraHelper object
If you don’t change the key, the module from the first part of the tutorial will be overwritten.
import com.onresolve.scriptrunner.runner.rest.common.CustomEndpointDelegate
import groovy.json.JsonOutput
import groovy.transform.BaseScript

import javax.ws.rs.core.MultivaluedMap
import javax.ws.rs.core.Response

@BaseScript CustomEndpointDelegate delegate

approve(httpMethod: "GET") { MultivaluedMap queryParams ->

    // the details of getting and modifying the current issue are omitted for brevity
    // def issueId = queryParams.getFirst("issueId") as Long // use the issueId to retrieve this issue

    def flag = [
        type : 'success',
        title: "Issue approved",
        close: 'auto',
        body : "This issue has been approved for release"
    ]

    Response.ok(JsonOutput.toJson(flag)).build()
}
Verify that this works by browsing to: http://<jira-url>/rest/scriptrunner/latest/custom/approve?issueId=12345. It should simply respond with some JSON. If you are doing something with the issue be sure to enter a valid issue ID. The problem we have now is that will probably want to limit approving an issue to just those in a certain group, or with a certain project role. Also, we don’t want to show the menu item if the issue has already been approved. Which brings us to Conditions.
Conditions
The condition is used to define whether the link should be shown or not, and it can use anything available in its context, plus details of the current user. If the item is on an a view-issue page, you will get the issue. If it is on a project overview section then you may only get the project.
In Jira, you are provided in the binding with a jiraHelper object, which is an instance of JiraHelper. You can use its methods to retrieve the current project etc. If the issue is available in the context, then that is bound in the script as issue. This means that you can reuse most of the conditions from workflow functions etc. The issue will be available when selecting a section like opsbar-operations, that is, sections that only appear on the View Issue page.
Let’s say that we want to only show the Approve menu item where the the current issue does not already have the approved label… we can use:
! ("approved" in issue.labels*.label)Enter this in as the Condition. It can either be entered inline or written to a file underneath a script root.
You should be able to see now that it doesn’t appear when the issue is not already labelled approved.
Conditions must be written defensively. What is available in the context or jiraHelper map depends on the particular web section, and the page that it’s viewed on.
For instance, a link in the top section (system.top.navigation.bar) will never have access to the current issue. This differs from the Confluence behaviour, where it may or may not have access to additional items.
If you are using a section like operations-top-level, you can assume you will always have the issue context variable defined.
As well as using a script, you can use a concrete class that implements Condition. Why would you want to do this? Because you may wish to extend your own existing Condition, or one provided by the application.
Dialogs (Advanced)
There is some support for showing dialogs, although if you require complex interactions you will need to write some javascript.
To display a dialog when the user clicks a web-item, select the Run code and display a dialog option. The endpoint needs to return HTML for an AUI dialog2. The following REST endpoint code displays a dialog when clicked:
import com.onresolve.scriptrunner.runner.rest.common.CustomEndpointDelegate
import groovy.transform.BaseScript
import javax.ws.rs.core.MediaType
import javax.ws.rs.core.MultivaluedMap
import javax.ws.rs.core.Response
@BaseScript CustomEndpointDelegate delegate
showDialog { MultivaluedMap queryParams ->
// get a reference to the current page...
// def page = getPage(queryParams)
def dialog =
"""<section role="dialog" id="sr-dialog" class="aui-layer aui-dialog2 aui-dialog2-medium" aria-hidden="true" data-aui-remove-on-hide="true">
<header class="aui-dialog2-header">
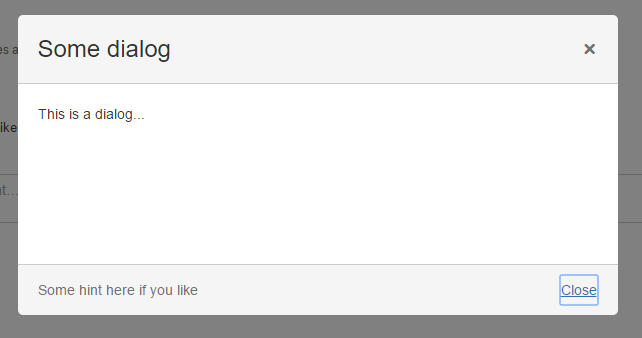
<h2 class="aui-dialog2-header-main">Some dialog</h2>
<a class="aui-dialog2-header-close">
<span class="aui-icon aui-icon-small aui-iconfont-close-dialog">Close</span>
</a>
</header>
<div class="aui-dialog2-content">
<p>This is a dialog...</p>
</div>
<footer class="aui-dialog2-footer">
<div class="aui-dialog2-footer-actions">
<button id="dialog-close-button" class="aui-button aui-button-link">Close</button>
</div>
<div class="aui-dialog2-footer-hint">Some hint here if you like</div>
</footer>
</section>
"""
Response.ok().type(MediaType.TEXT_HTML).entity(dialog.toString()).build()
}The button with the ID dialog-close-button will be automatically wired to close when clicked if you use a dialog ID of sr-dialog. If you require more complex interactions you should require some javascript and wire the elements, for example:
(function ($) {
    $(function () {
		AJS.dialog2.on("show", function (e) {
			var targetId = e.target.id;
			if (targetId == "my-own-dialog") {
				var someDialog = AJS.dialog2(e.target);
				$(e.target).find("#dialog-close-button").click(function (e) {
					e.preventDefault();
					someDialog.hide();
					someDialog.remove();
				});
				// etc
			}
		});
    });
})(AJS.$);
Removing the dialog from the DOM when the dialog is hidden (for example when pressing the ESC key) is controlled by the data-aui-remove-on-hide attribute. Removing this attribute will hide the dialog rather than remove it when the dialog is hidden. In this case you will need to handle re-showing the dialog in your JavaScript code, the web item trigger will re-render a completely new dialog for you.
You can include your additional JavaScript with a web resource fragment.
On clicking the link the dialog will display:
Redirects
Sometimes you want to run some code and then redirect to another page, or even the same page after updating it. In that case, just return a redirect. The following example adds a label to the current page/issue and then refreshes it, by redirecting to the same page:
import com.atlassian.jira.component.ComponentAccessor
import com.atlassian.jira.issue.label.LabelManager
import com.atlassian.sal.api.ApplicationProperties
import com.atlassian.sal.api.UrlMode
import com.onresolve.scriptrunner.runner.ScriptRunnerImpl
import com.onresolve.scriptrunner.runner.rest.common.CustomEndpointDelegate
import com.onresolve.scriptrunner.runner.util.UserMessageUtil
import groovy.transform.BaseScript

import javax.ws.rs.core.MultivaluedMap
import javax.ws.rs.core.Response

@BaseScript CustomEndpointDelegate delegate

def labelManager = ComponentAccessor.getComponent(LabelManager)
def applicationProperties = ScriptRunnerImpl.getOsgiService(ApplicationProperties)
def issueManager = ComponentAccessor.getIssueManager()
def user = ComponentAccessor.jiraAuthenticationContext?.loggedInUser

labelIssue(httpMethod: "GET") { MultivaluedMap queryParams ->

    def issueId = queryParams.getFirst("issueId") as Long
    def issue = issueManager.getIssueObject(issueId)

    labelManager.addLabel(user, issueId, "approved", false)
    UserMessageUtil.success("Issue approved")

    def baseUrl = applicationProperties.getBaseUrl(UrlMode.ABSOLUTE)
    Response.temporaryRedirect(URI.create("${baseUrl}/browse/${issue.key}")).build()
}
Make sure to select Navigate to a link as the intention setting.
Further examples
Displaying a message if a page is publicly visible ( Atlassian Answers)
Showing recent projects from a particular project category ( Atlassian Answers )