Adds a Comment to Linked Issues when this Issue is Transitioned
Use Adds a Comment to Linked Issues when this Issue is Transitioned to automatically add a custom comment to linked issues after the selected issue is transitioned. For example, you can use this post function if you want to add a comment on a service desk request when the development issue that causes the request has been transitioned to Done.
Build a comment
When writing a comment, you can include static text (text that doesn't change) and dynamic content (text that changes based on the issue's properties or context). Below are some examples of how to write a comment with dynamic content.
Reference the current issue key:
groovyThis is a comment related to issue ${issue.key}.
Reference the current issue summary:
groovyThe issue titled '${issue.summary}' has been updated.
Reference the current issue resolution:
For this example to work as expected, make sure the post function sits after the post function that updates the resolution of the issue. Check out our documentation on Post function order for more information.
groovyThe issue has been resolved with the resolution: <% out << issue.resolution?.name %>.
Reference the assignee's display name:
groovyThe issue is now assigned to <% out << issue.assignee?.displayName %>.
Use this post function
- Go to Administration > Issues > Workflows.
- Select Edit on the workflow you want to add a post function to.
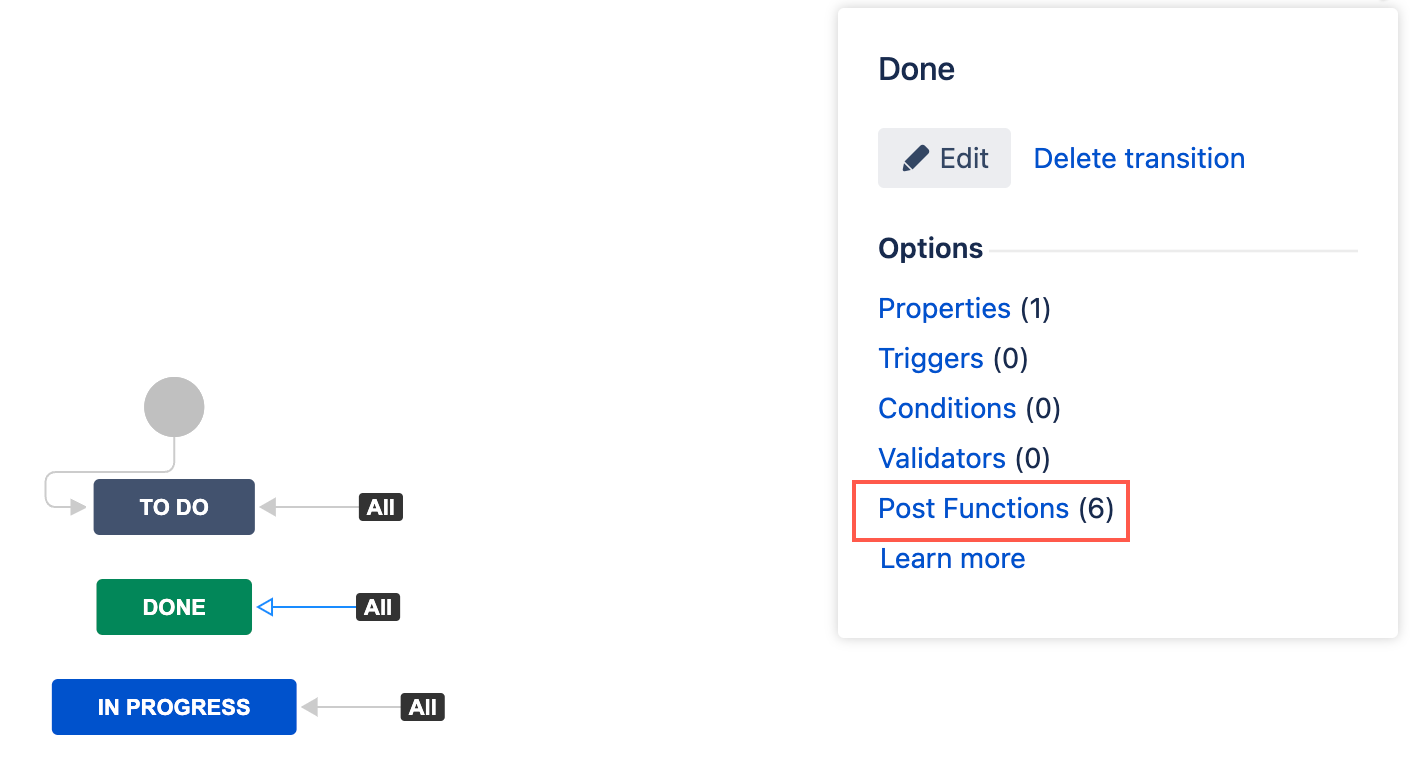
- Select the transition to which you wish to add a post function to.
- Under Options, select Post Functions.
- On the Transition page, select Add post function.
- Select Adds a comment to linked issues when this issue is transitioned.
- Select Add.
- Optional: Enter a note that describes the post function (this note is for your reference when viewing all post functions).
- Optional: Enter a condition, for example,
issue.issueType.name == 'Bug'. If no condition is specified, then this post function will always run. - Select the Issue Link Type.
- Enter the comment to post on linked issues in the Comment field.
- Select Add.
- If applicable, reorder your new post functions using the arrow icons on the right of the function (they can only move one line at a time). Check out our documentation on Post function order for more information.
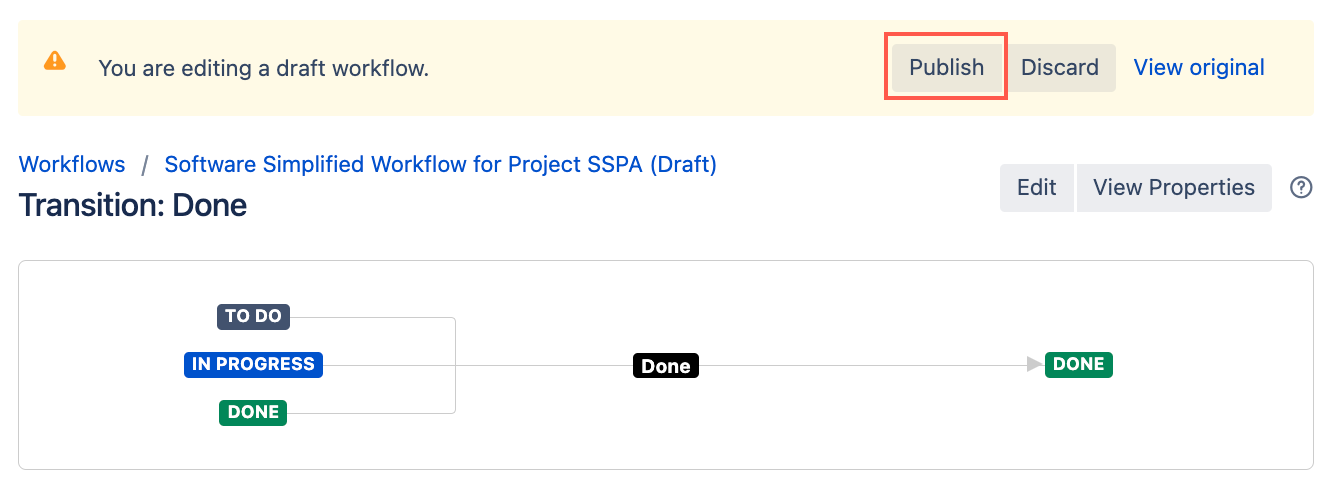
- Select Publish and choose if you want to save a backup copy of the workflow.
You can now test to see if this post function works.


