Add a Comment to this Issue
The Add a comment to this issue post function posts a comment to an issue when it is transitioned.
For example, when a support ticket transitions from Open to In Progress, we want a comment to be added to the ticket to let the client know we are working on the issue.
Use this post function
- Go to Administration > Issues > Workflows.
- Select Edit on the workflow you want to add a post function to.
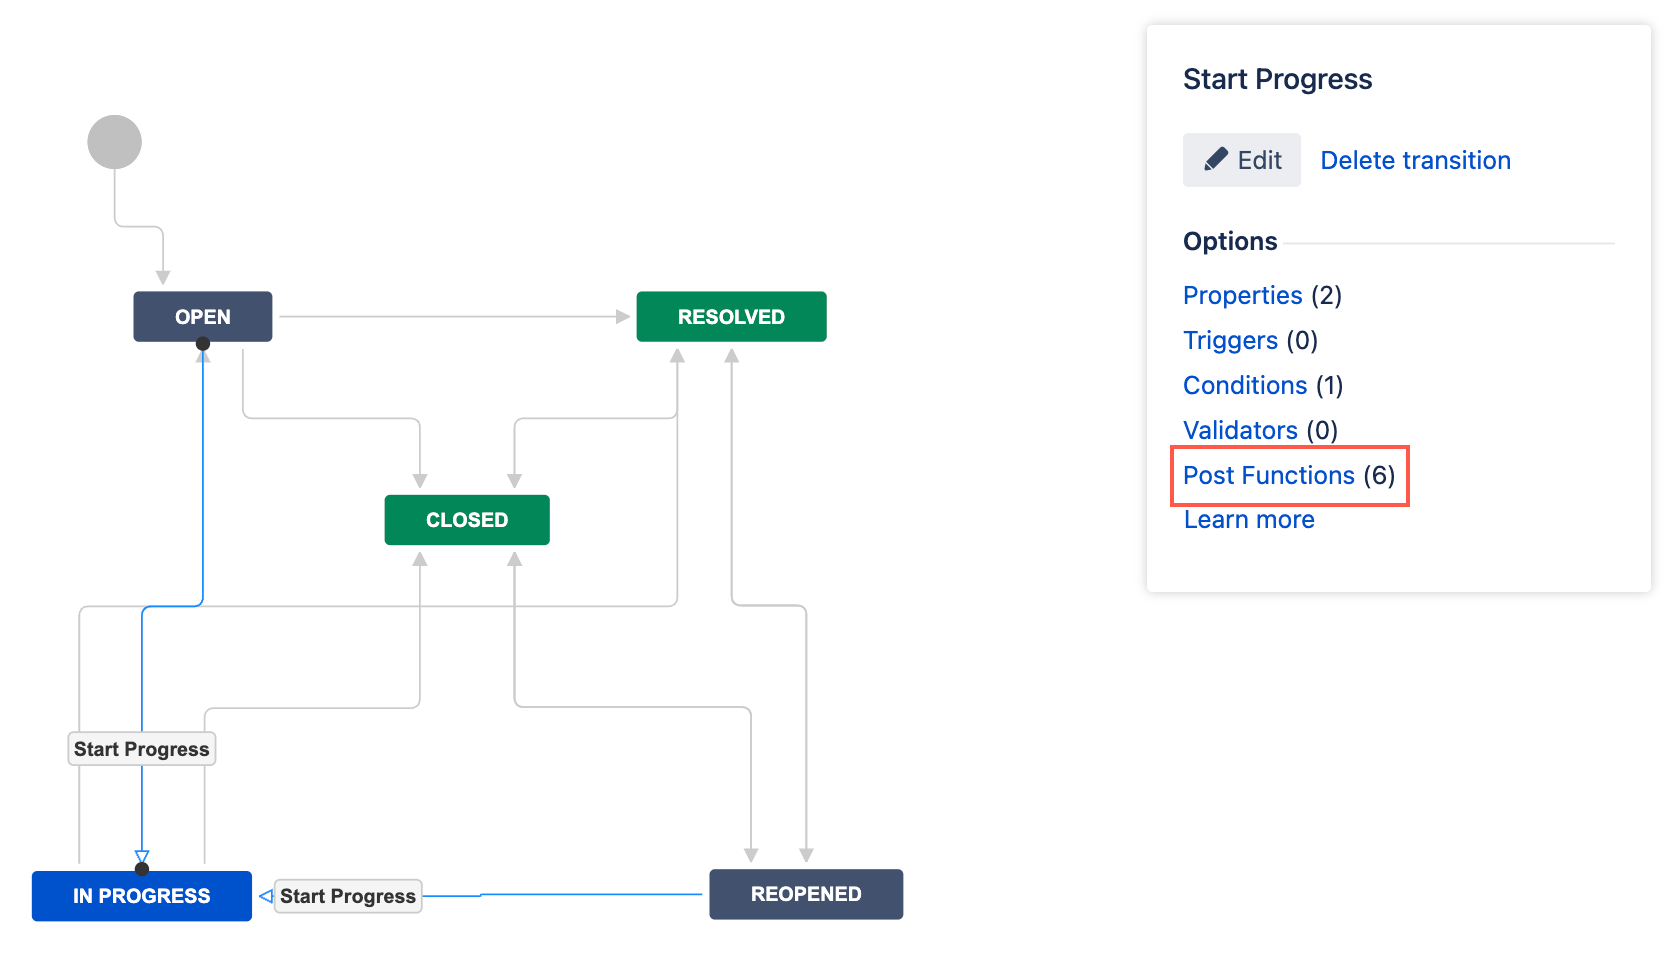
- Select the transition to which you wish to add a post function.
- Under Options, select Post Functions.
- On the Transition page, select Add post function.
- Select Adds a comment to this issue.
- Select Add.
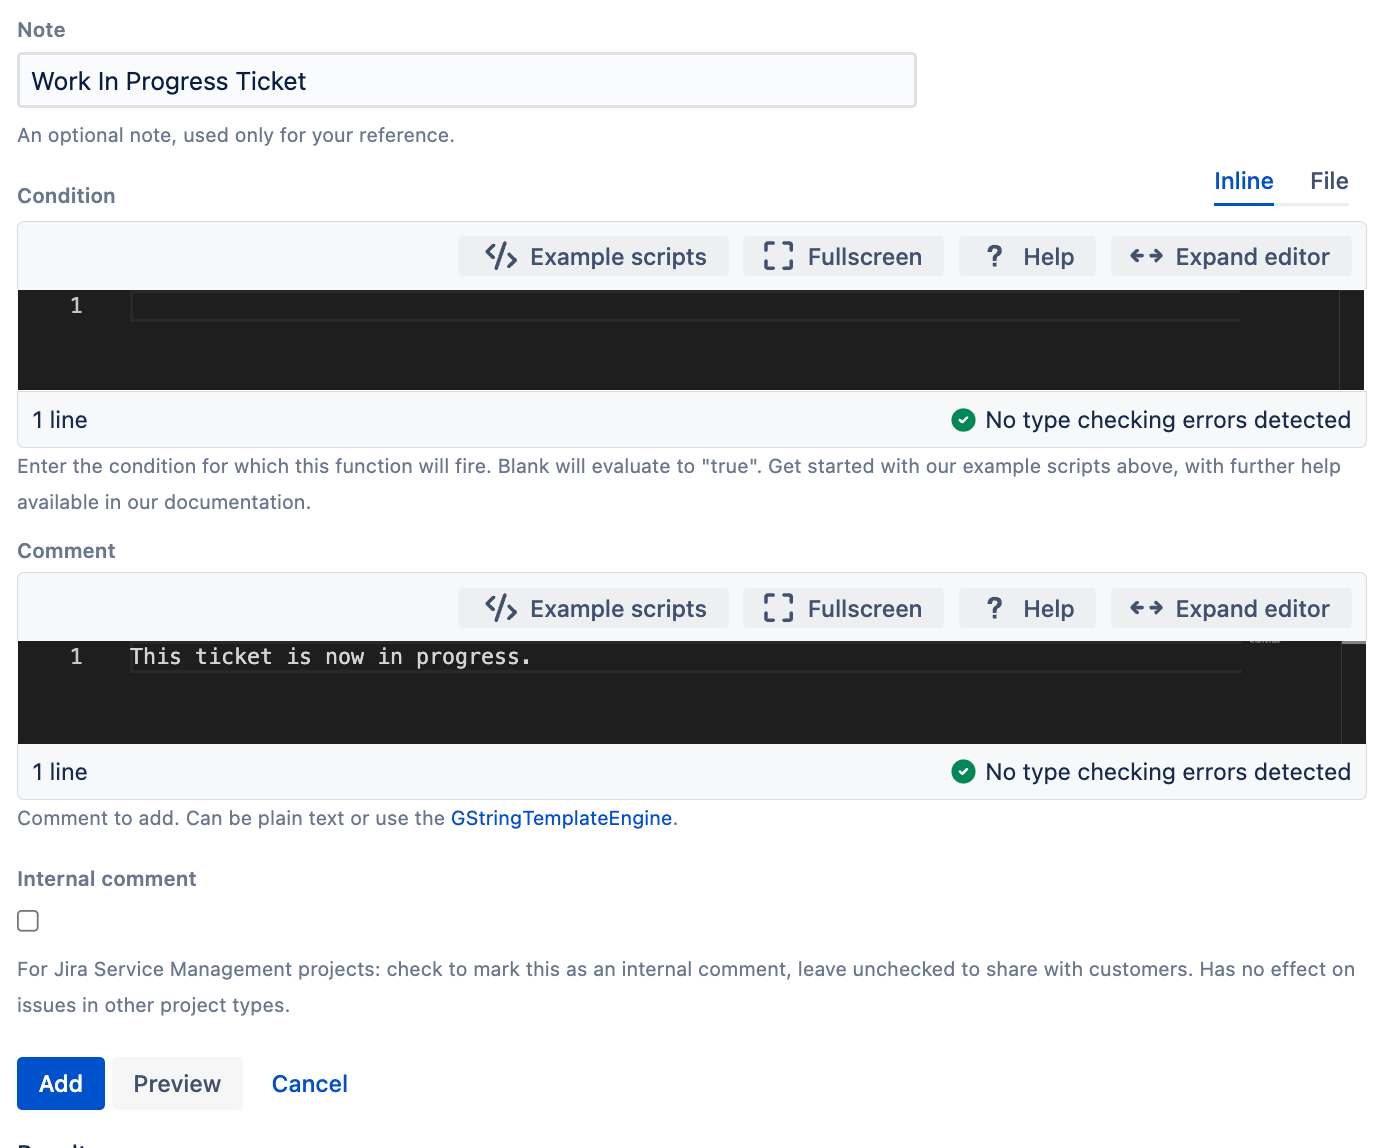
- Optional: Enter a note that describes the post function (this note is for your reference when viewing all post functions).
- Optional: Enter a condition. If no condition is specified, then this post function will always run.
- Enter the Comment to be added to the ticket after the transition. This can be written in plain text or you can use the GStringTemplateEngine.
- Optional: Select to make the comment an Internal Comment. This is only relevant for Jira Service Management projects.
- Select Preview to see an overview of the change.
Select Add.
If applicable, reorder your new post functions using the arrow icons on the right of the function (they can only move one line at a time).
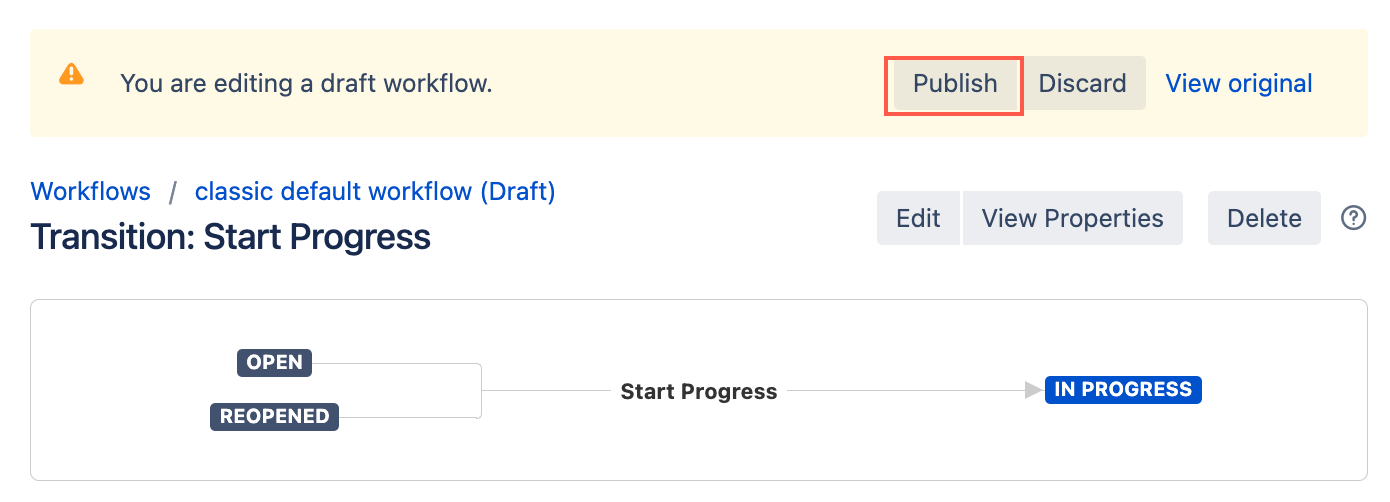
Select Publish and choose if you want to save a backup copy of the workflow.
You can now test to see if this post function works.
Add a custom field value to a comment
When using this function you might want to include a custom field value in the comment. To do so, you could use the following:
textField value is ${issue.getCustomFieldValue('TextField')}
For example, if we wanted to include a comment with the Epic Link, we could add the following comment to this post function:
textThe issue is part of the ${issue.getCustomFieldValue('Epic Link')} Epic
The above comment appears as follows in your post function:
And appears as follows after the transition:


