Copy Field Values
Save time configuring fields by bulk copying values from one field to another using Copy Field Values. This script copies the values from a configured field to another on the same Jira instance. Copy Field Values can save time when changing the type of a field, eliminating the need for manual input of values; or when creating fields with the same values.
Notifications
When you use this built-in script to bulk update issues, users are not notified of the change as per the project notification scheme.
Supported fields
All text and select custom fields are supported, as well as the Summary, Description, and Environment system fields.
You can copy fields between the following field types:
Single-select to multi-select
Multi-select to single-select
Retains first value only
Multi-select to text
Comma separated values
Short text to unlimited text
Multi-select to multi-select
- Current type to current type
- Date Time Picker
- Select List
- Single choice
- Multiple choices
- User Picker
- Single user
- Multiple users
- Select List
- Cascading
- Version Picker
- Single version
- Multiple versions
- Group Picker
- Single group
- Multiple groups
- Radio Buttons
- Checkboxes
- Text Field
- Single line
- Multi-line
- Project Picker
- Single project
- Multiple projects
- Number Field
- Customer Request Type Custom
- Request Participants
- Organizations
- Color of Epic
- Epic Link Relationship
- Name of Epic
- Status of Epic
- Jira Sprint Field.
If field is not listed above or visible in your instance, then the field is not supported for this built-in script.
Using this built-in script
To copy fields between supported field types:
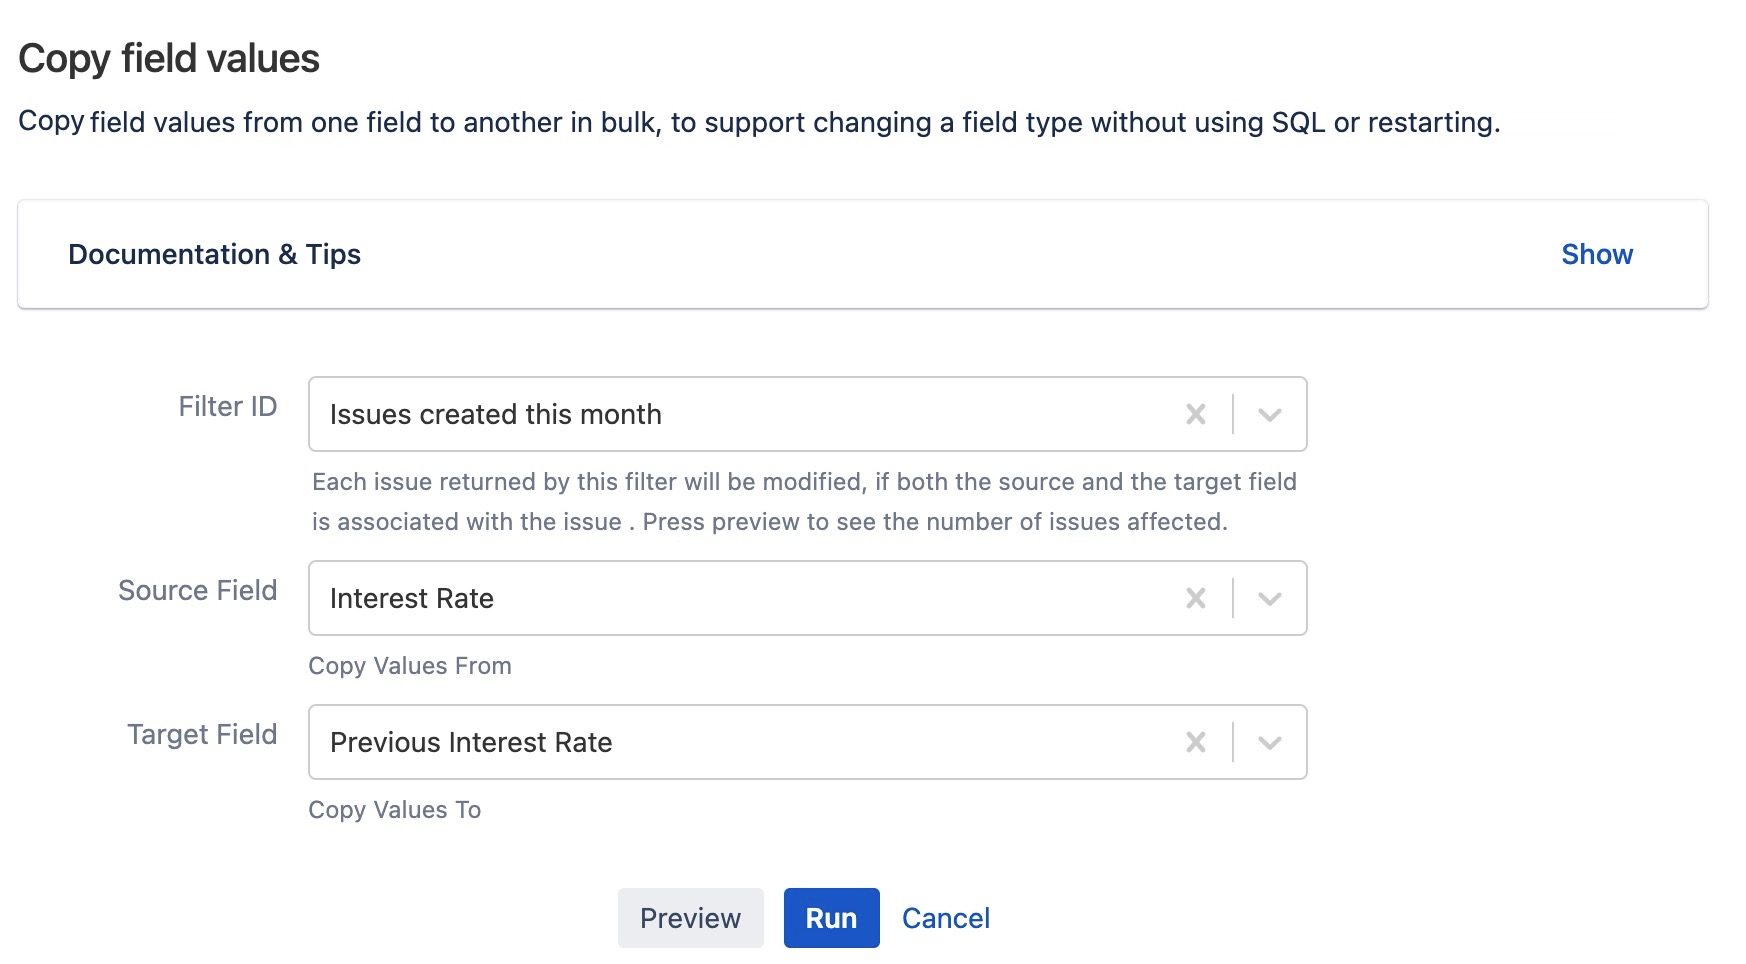
- From ScriptRunner, navigate to Built-in Scripts→Copy Field Values.
Select a Filter ID. Issues returned by this filter are modified only if they contain both the source and target fields.
Only saved JQL filters show up in Filter ID. For more information on how to create and save custom filters see Saving Your Search as a Filter.
Under Source Field, select a field. Values will be copied from this field to the Target Field.
For select lists, if an option from the source field is not configured to the available target field, it is skipped. For example, the source field has options AA and BB configured, and the target field has options AA and CC configured. In this case only option AA is copied to the target field. If none of the options in the source field exist in the target and Create Values is unchecked, the target field will be cleared.
Under Target Field, select a field. All values are copied from the Source Field to this field.
If the target field already contains values, they are overwritten by any copied values.
Click Preview to see the number of issues affected by the change.
Click Run. Source fields are copied to target fields where applicable.


