Create Issues
With HAPI you can quickly and easily create issues and set parameters.
Creating issues
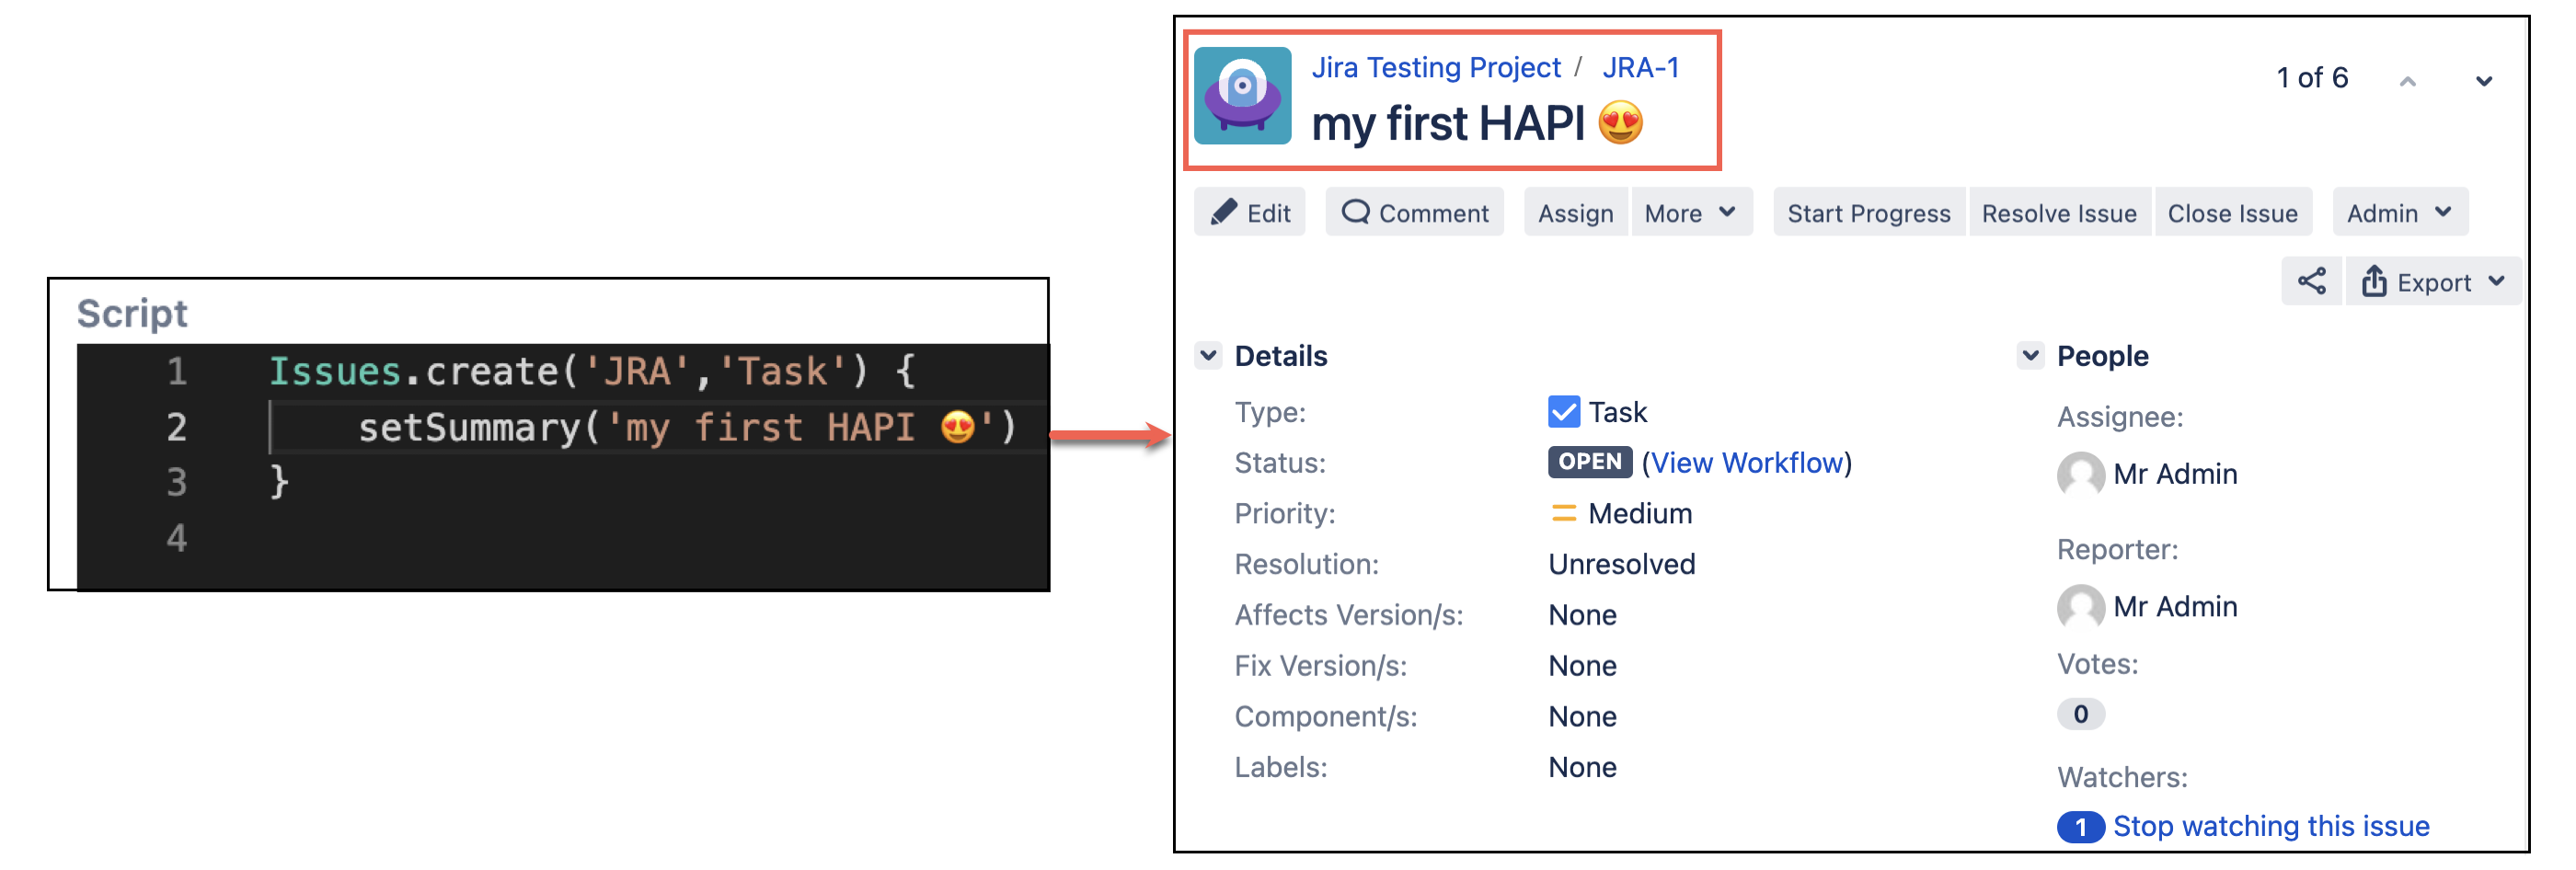
You can use the following code to create an issue:
You can also create issues using the issue type ID. For example, instead of 'Task' you might use the ID 10101.
Please note, the ID for the Task issue type might differ in your instance. See the Atlassian documentation for Finding the ID for Issue Types.
            Issues.create('ABC', 'Task') {
                setSummary('my first HAPI 😍')
            }
The script above only sets the four fields that are always required when creating an issue in Jira:
- The project
- Issue type
- Summary
- Reporter (taken from the current user).
The above code will fail if other mandatory fields are set through the configuration scheme. Either set them or test on a project with the default configuration scheme.
Fill out more fields when creating issues
You can fill out more fields when you create an issue. See our Javadocs for a full list of fields.
To fill out more fields, enter the following:
After you enter set you can use the keyboard shortcut of control + space to show available completions.
groovyIssues.create('ABC', 'Task') {
    setSummary('my issue created with HAPI ')
    set
}
Creating a subtask
To create a subtask, use createSubTask and specify the subtask issue type. For example:
            def issue = Issues.getByKey('ABC-1')

            issue.createSubTask('Sub-task') {
                setSummary('This is the summary')
} 

