Bulk Purge Trash Job
When you delete a Confluence page, it is moved to the space's trash. Deleted pages can be restored from the space's trash, but they also continue to take up database storage space. It is good housekeeping practice to regularly clear a space's trash to minimize database storage requirements.
You can use Bulk Purge Trash to create a job that runs on a set schedule to purge the trash from all the spaces specified in the job.
Follow these steps to set up the script:
- Navigate to General Configuration > ScriptRunner > Jobs.
- Select Create Job.
- Select Bulk Purge Trash.
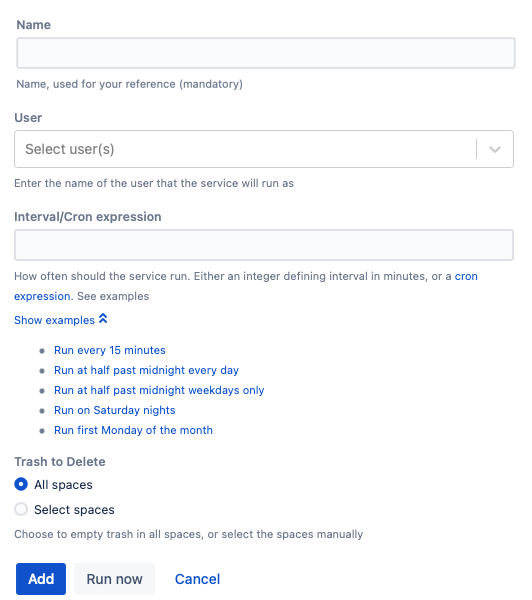
- Enter a Name for your job.
Select the User.
When this job runs, this user is entered as who made the change. If you are purging from multiple spaces, you must ensure that the user account specified has appropriate permissions on all spaces.You can create a user to assign for jobs like this. For example, Automated Purge Trash.
Enter an Interval/Cron Expression.
Determine how often you want this job to run. You can select Show Examples to use an included expression or enter your own. You have two options for this field:- If you want it to run on a schedule, enter the minutes. For example, 30 for every thirty minutes or 120 for every two hours.
- If you want it to run at a certain time or day, enter a cron expression.
- If you want it to run on a schedule, enter the minutes. For example, 30 for every thirty minutes or 120 for every two hours.
- Choose the Location where you want this job to work.
Your options are:- All Spaces
- Selected Space
If you choose Selected Space, the Space field appears, where you can select what space you want to work with.
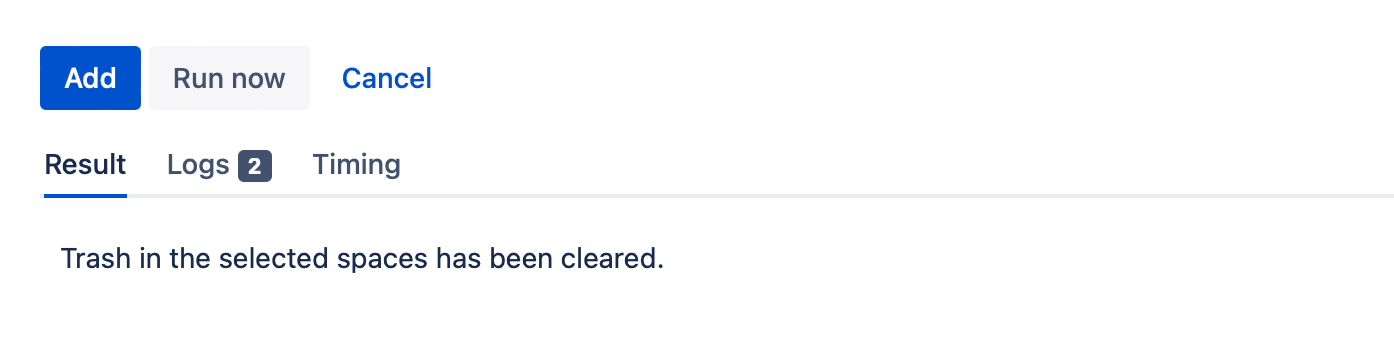
Select Add.
You can also click the Run Now button, which displays a results table showing whether the job was completed successfully and the log for the job execution.