
Web Resource
Using web resources, you can include JavaScript and CSS resources in certain contexts, like blog posts, or the editor.
You can read more about web resource modules for Confluence.
Setup
Starting with Confluence Version 9, it is no longer possible to configure a custom Web Resource directory for storing your resource files (such as custom JavaScript or css files).
All Web Resources should now be kept in web-resources/com.onresolve.conluence.groovy.groovyrunner. This path is located in the Confluence Shared home directory if you have a shared home directory configured (such as when using clustered configuration). Otherwise it will be in the default home directory. For more information on shared home directory configuration please refer to Atlassian documentation.
Examples
Modifying CSS
This is an example to modify the CSS only on blogposts.
Create a resource:
test-resources/red-blogposts.css.Create the
test-resourcesfolder within theweb-resources/com.onresolve.confluence.groovy.groovyrunnerdirectory.Create a file named
red-blogposts.css.Edit that file in a text editor.
Enter the following contents:
body {
    color: red !important;
}
- Go to Administration > Fragments > Create Fragment.
- Select Install Web Resource.
Configure the form to look like this:
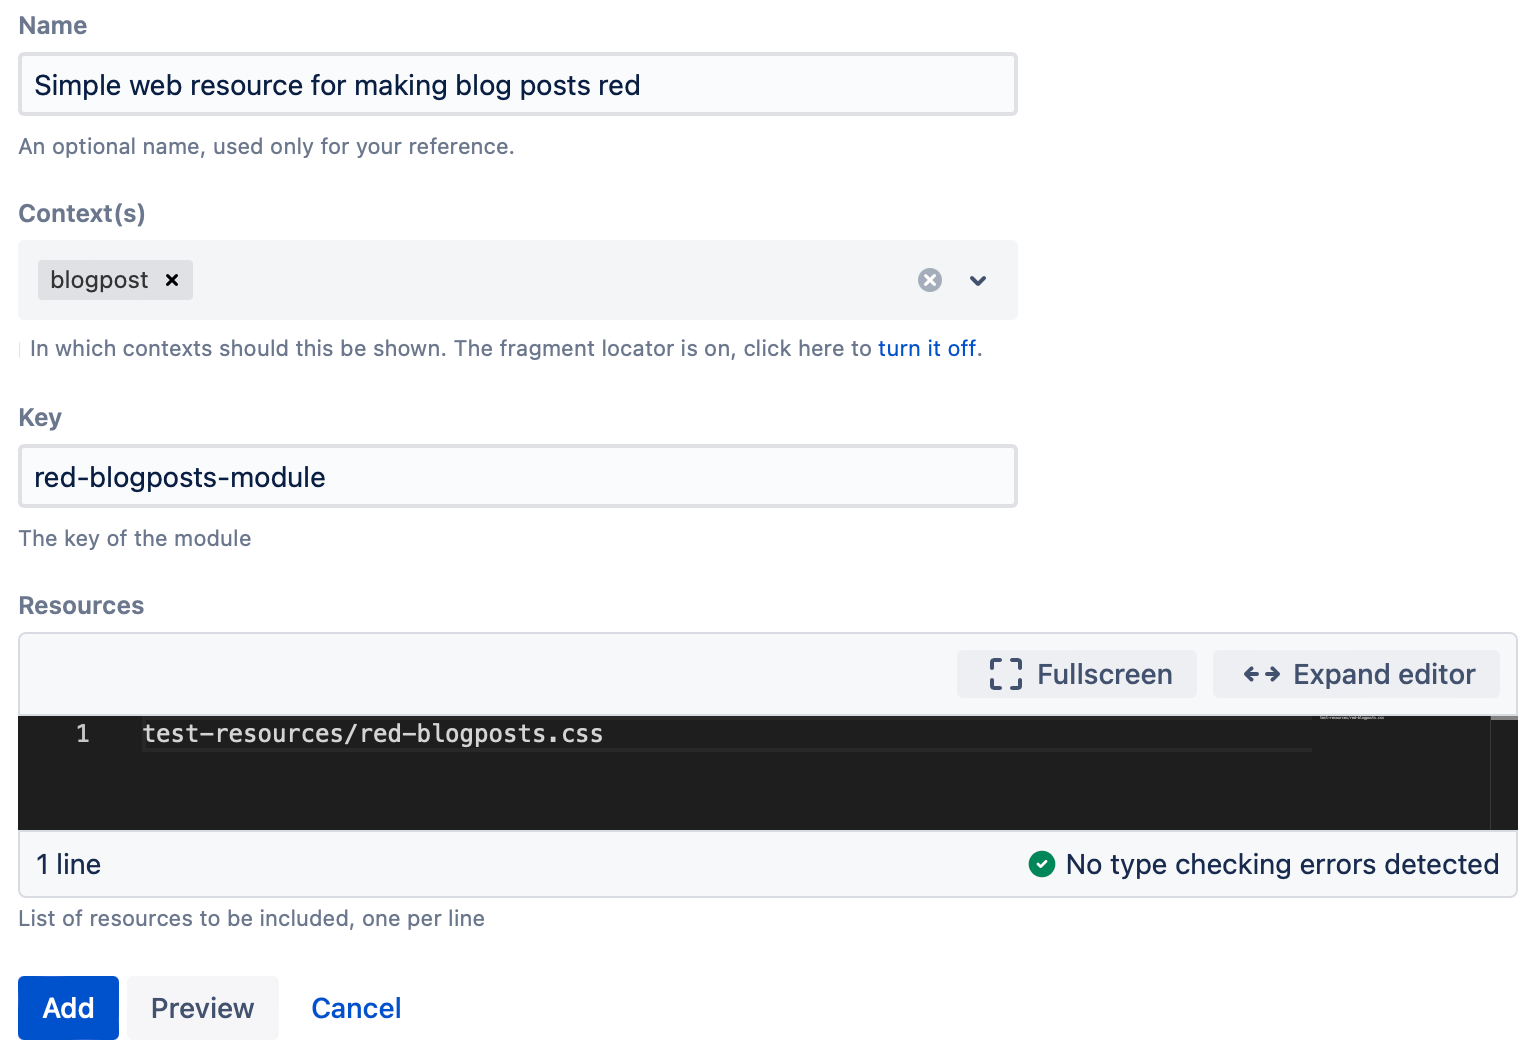
Click Add.
If you get an error, make sure you created the
test-resourcessub-folder.Create a new blog post.
Your blog post will look like this: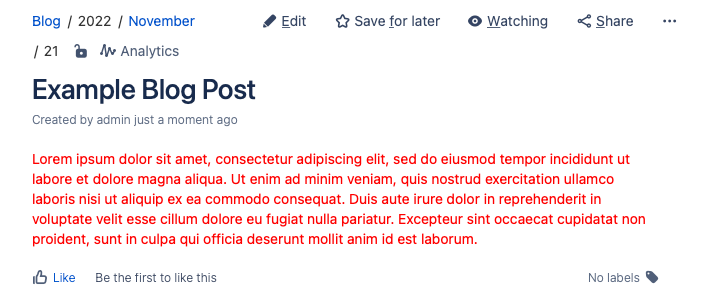
Further Examples
- A more complicated example would be to wire up the buttons of a custom dialog using a JavaScript resource