
Managing Projects
Creating a Project
A JIRA project is a collection of issues. In Kanoah CRM, deals, contacts, activities and organizations are issues, so you can take advantage of all features available on JIRA. A JIRA project can also be configured and customized to suit the needs of you and your team. For all of the following procedures, you must be logged in as a user with the JIRA Administrators global permission.
PROCEDURE
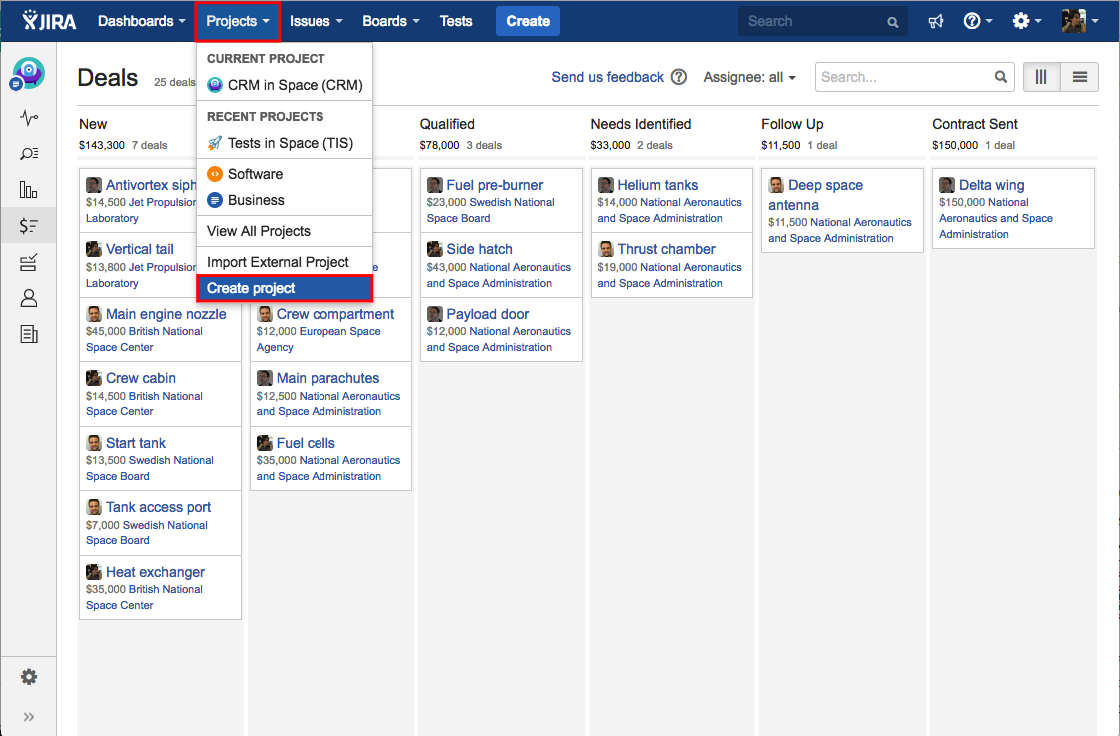
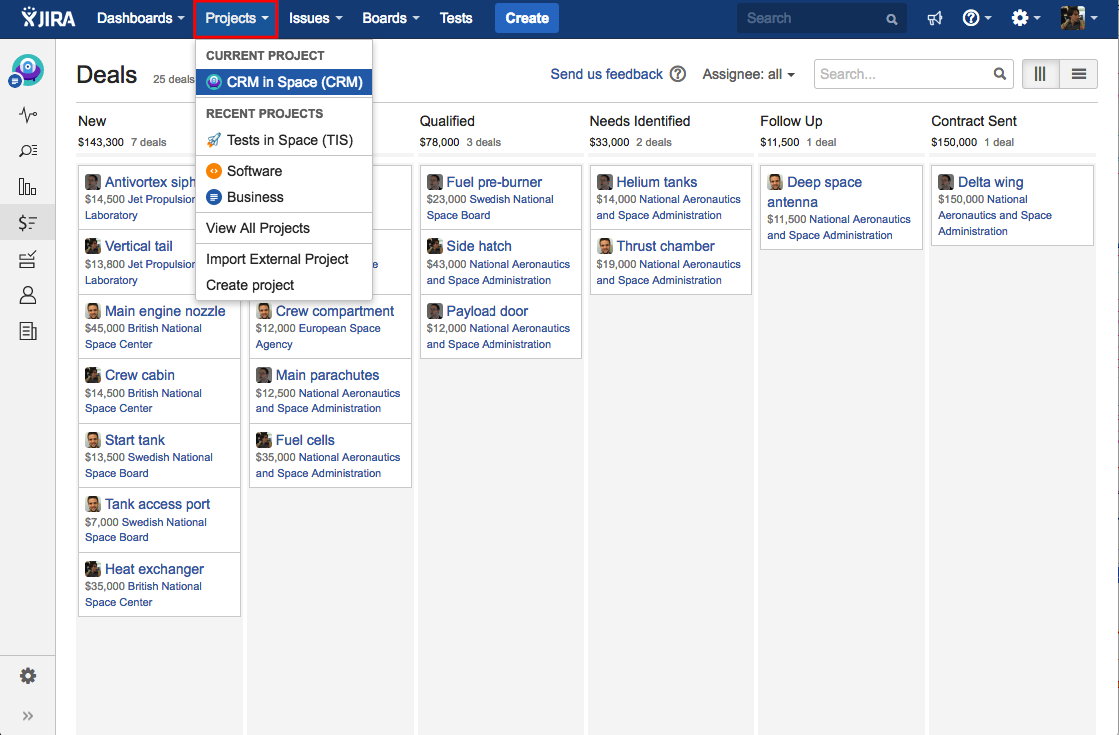
1. Head to Projects, then click on Create project option from the dropdown list.
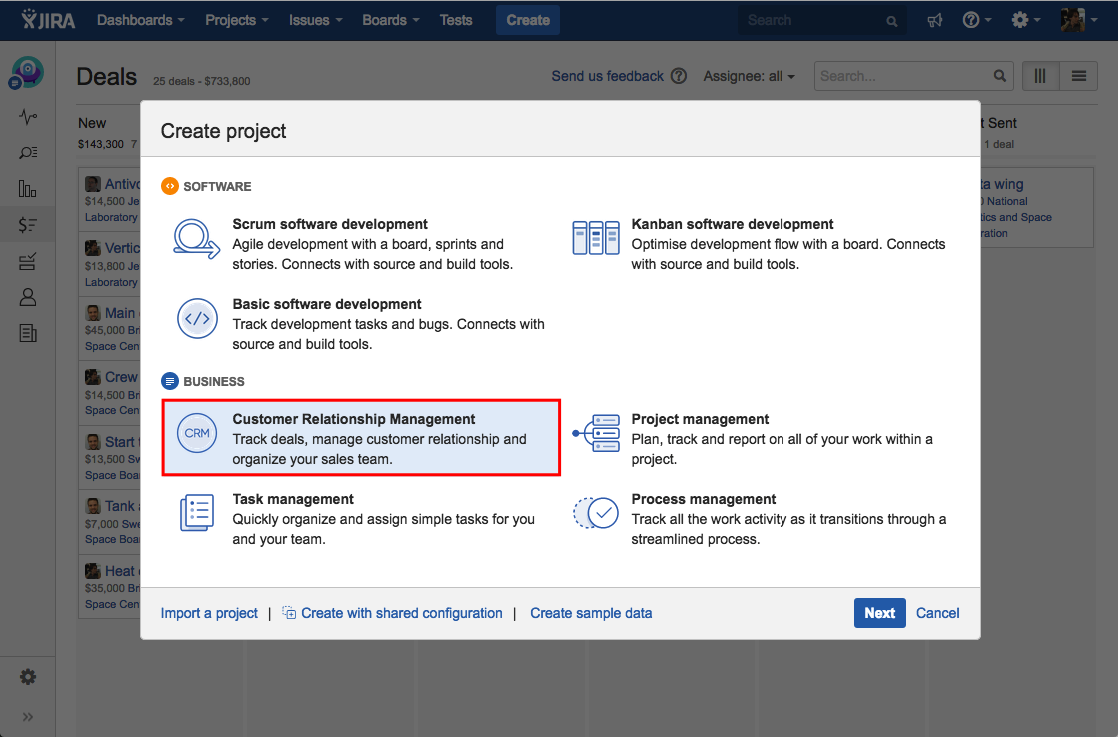
2. Select the option Customer Relationship Management from the Business category. Hit the Next button afterwards.
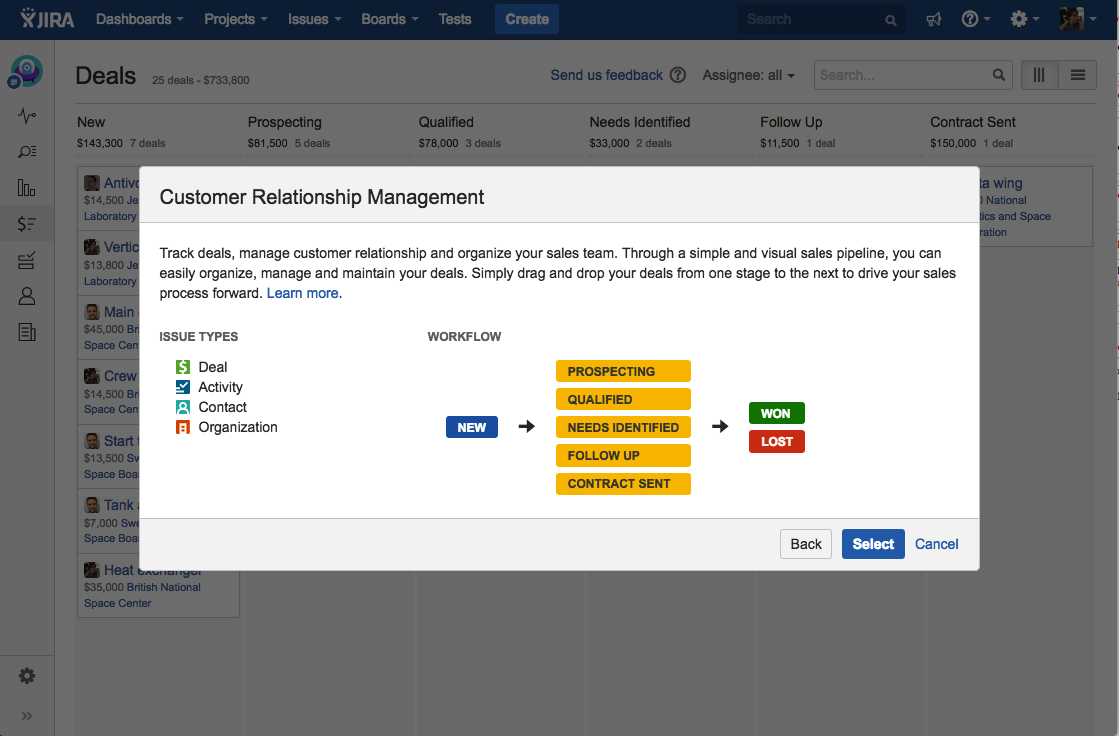
3. The next screen shows the Issue Types and the Workflow. After you finish reading, hit the Select button in order to continue with the process.
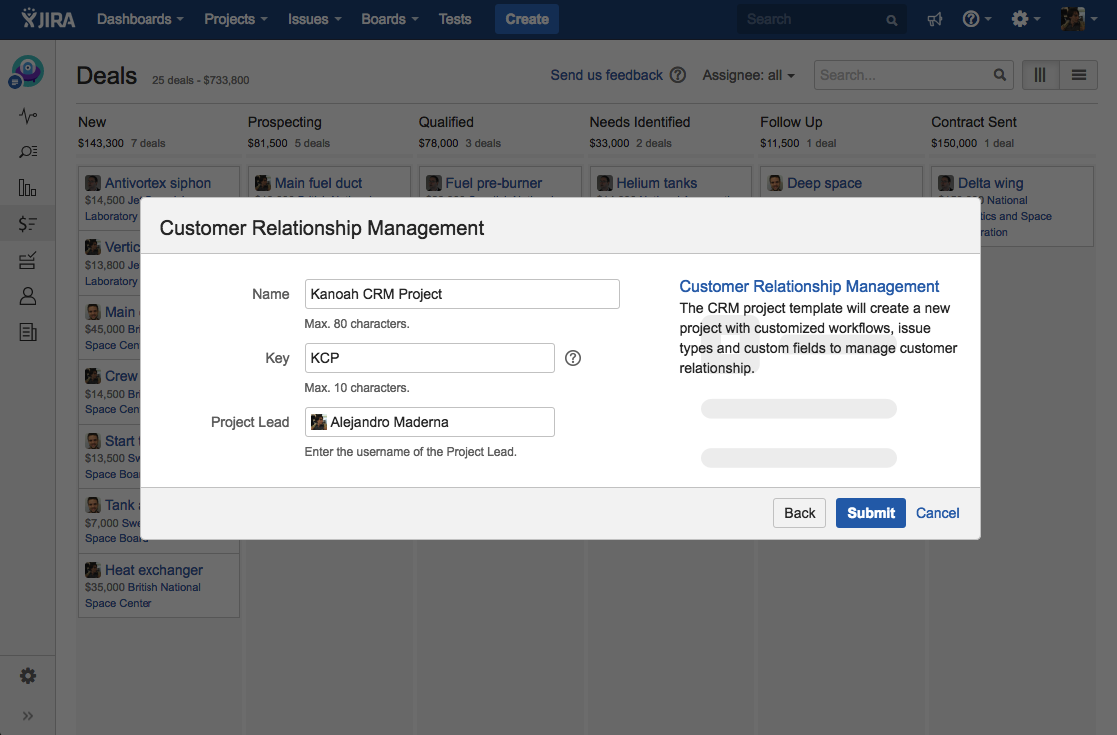
4. Enter the Project Name, Key and the Project Lead. Then click Submit.
Accessing and Viewing a Project
PROCEDURE
1. Head to Projects, then click on the desired Project from the dropdown list.
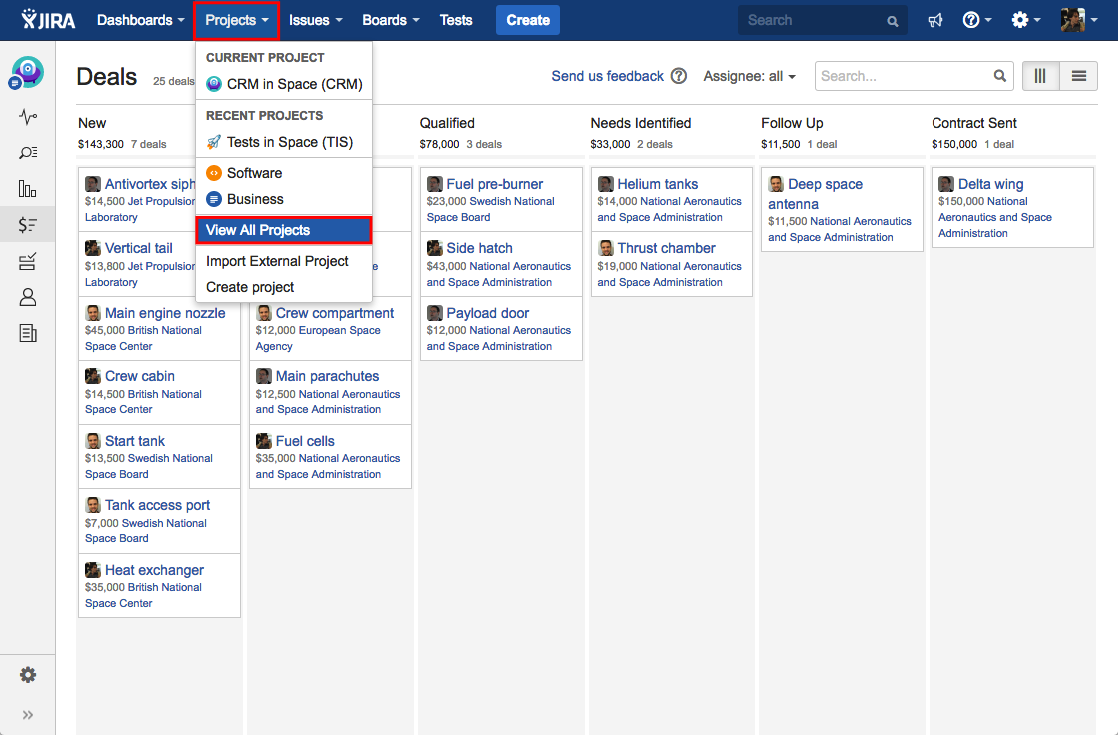
2. Optional: Click on the option View All Projects in order to view the list of the available projects.
3. Notice that If you have viewed the project before, you will be taken to the last screen you visited for that particular Project.
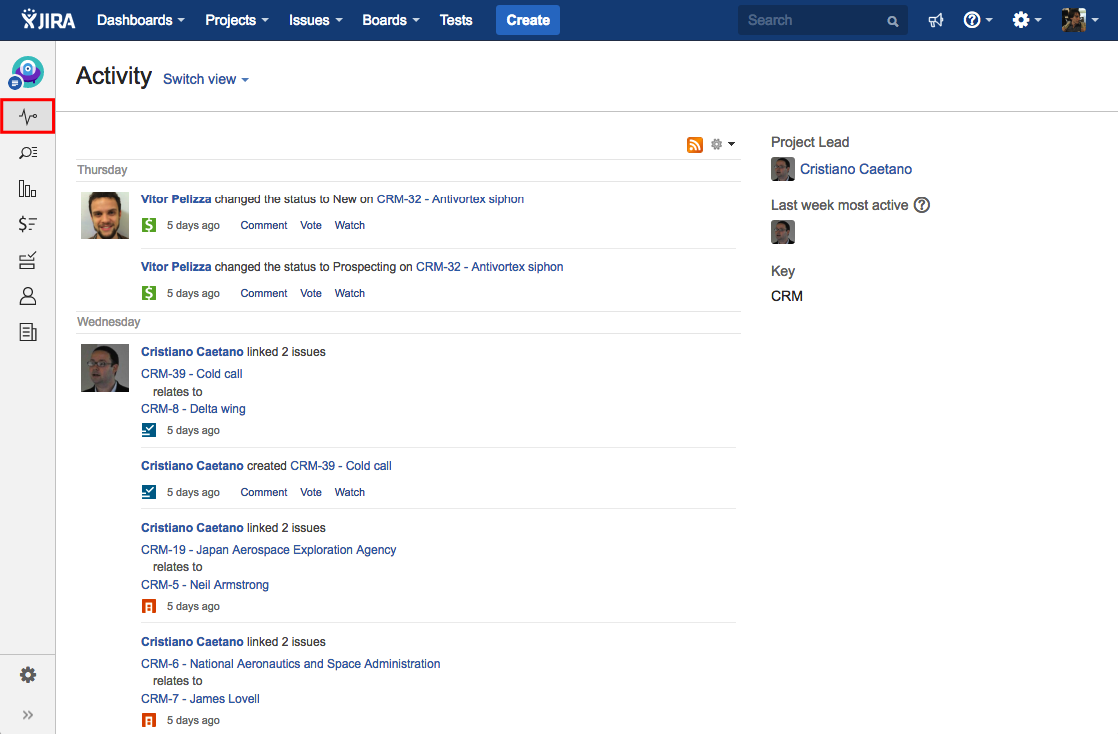
4. You can view the following items on the project navigation sidebar:
- Summary - Shows recent activity in your project, the project lead, the most active users within your project, and the project key.
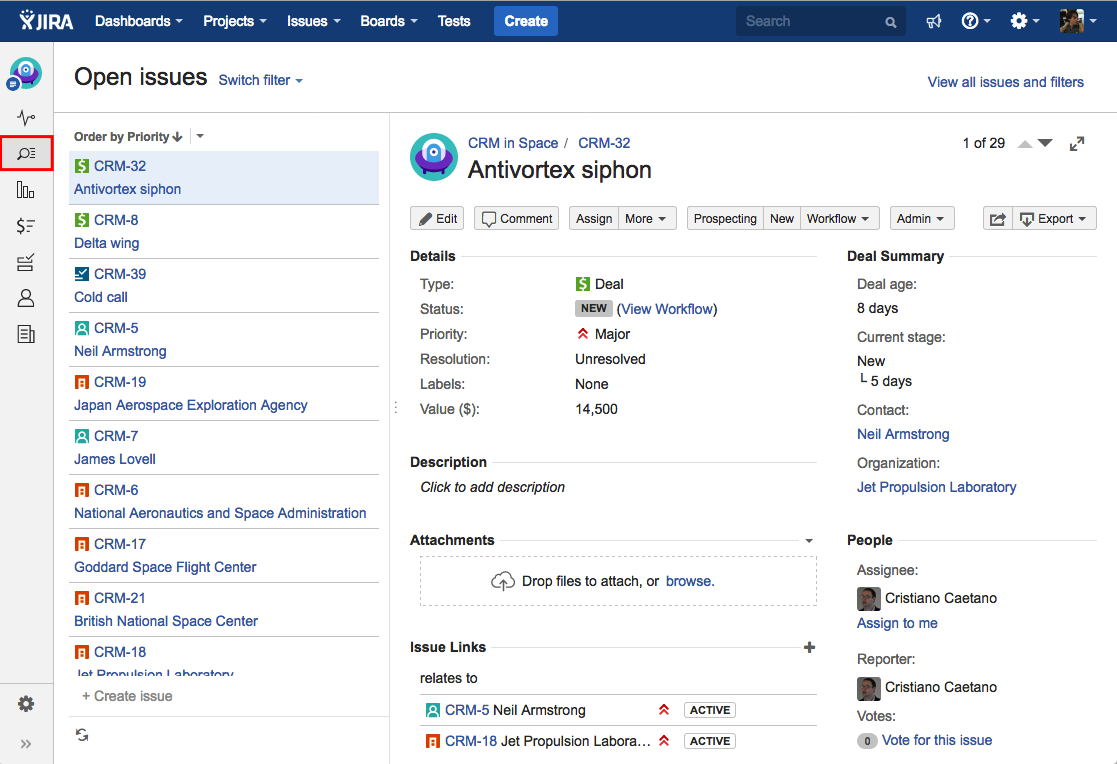
- Issues Navigator - Shows a list or detailed view of all issues in your project.
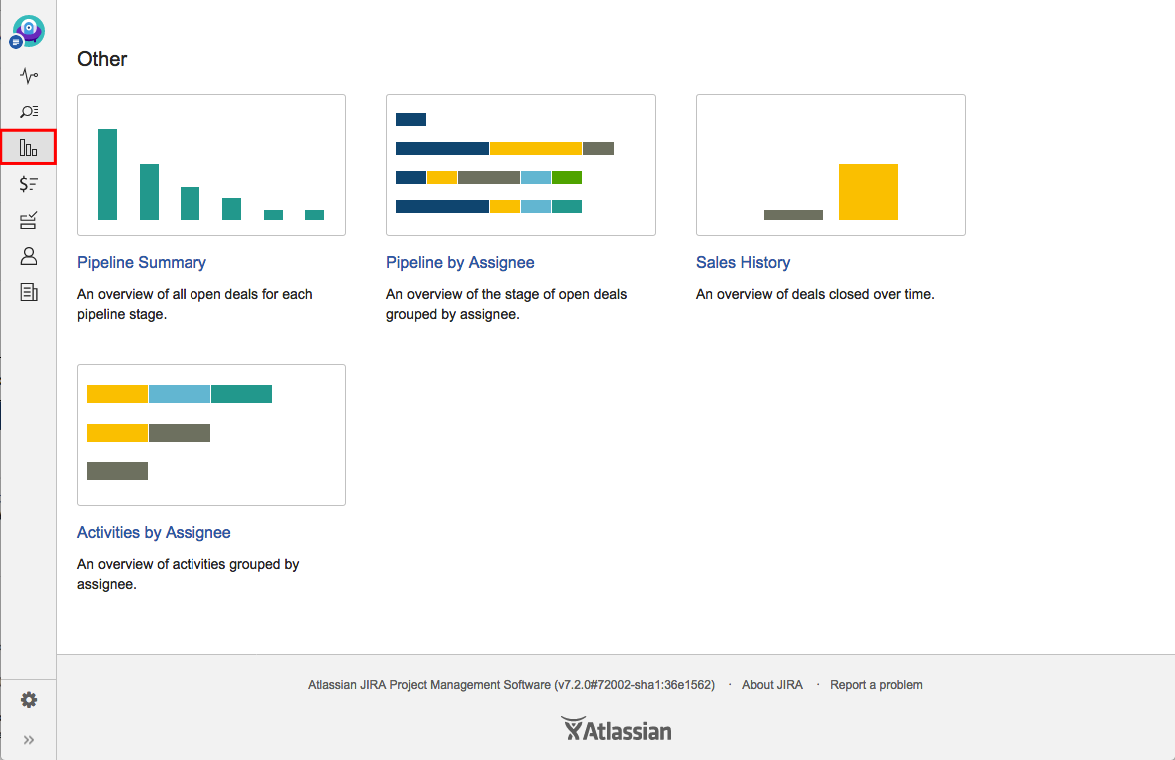
- Reports - Shows reports and statistics in your project. Looking for Kanoah CRM Reports? Scroll down to the bottom of the page.
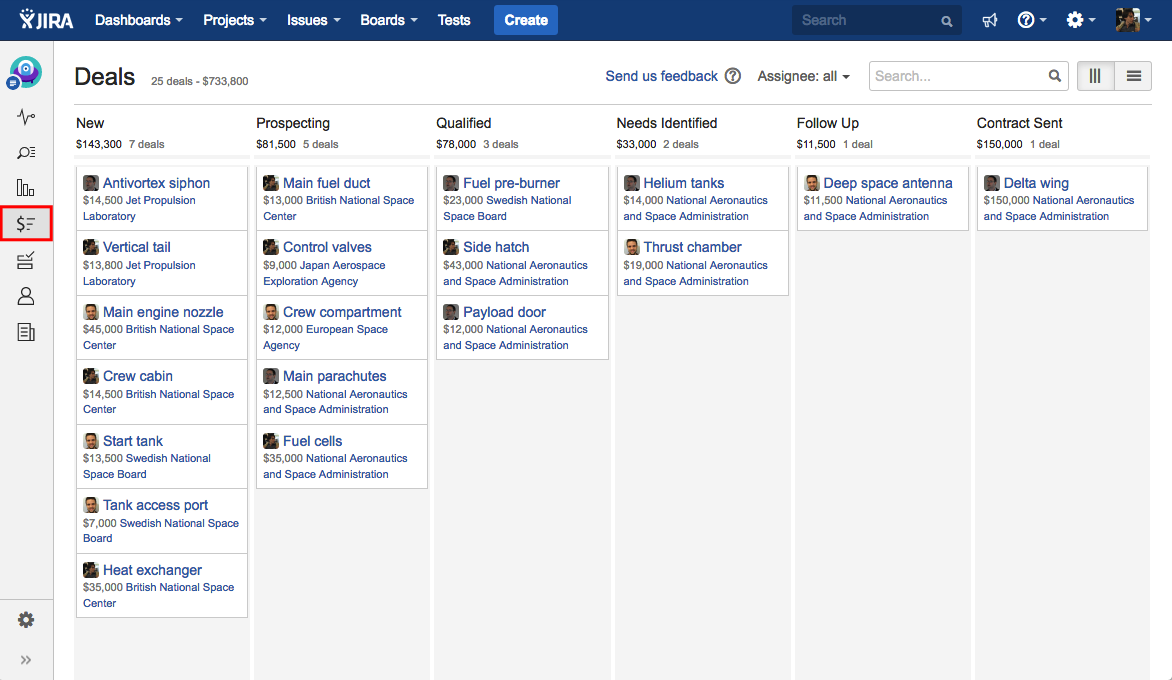
- Deals - Shows all deals in your project.
- Activities - Shows all activities in your project.

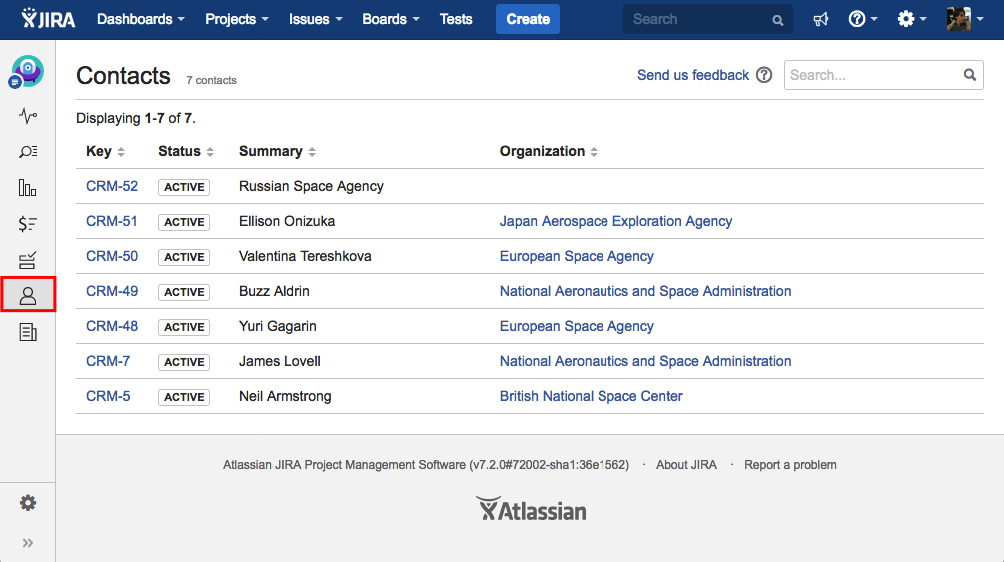
- Contacts - Shows all contacts in your project.
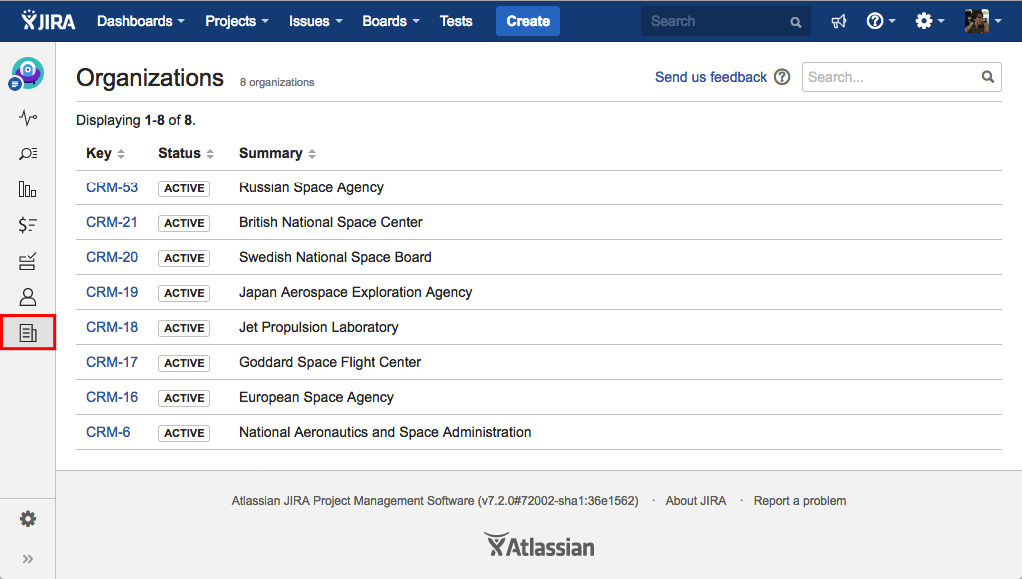
- Organizations - Shows all organizations in your project.
Configuring a project
PROCEDURE
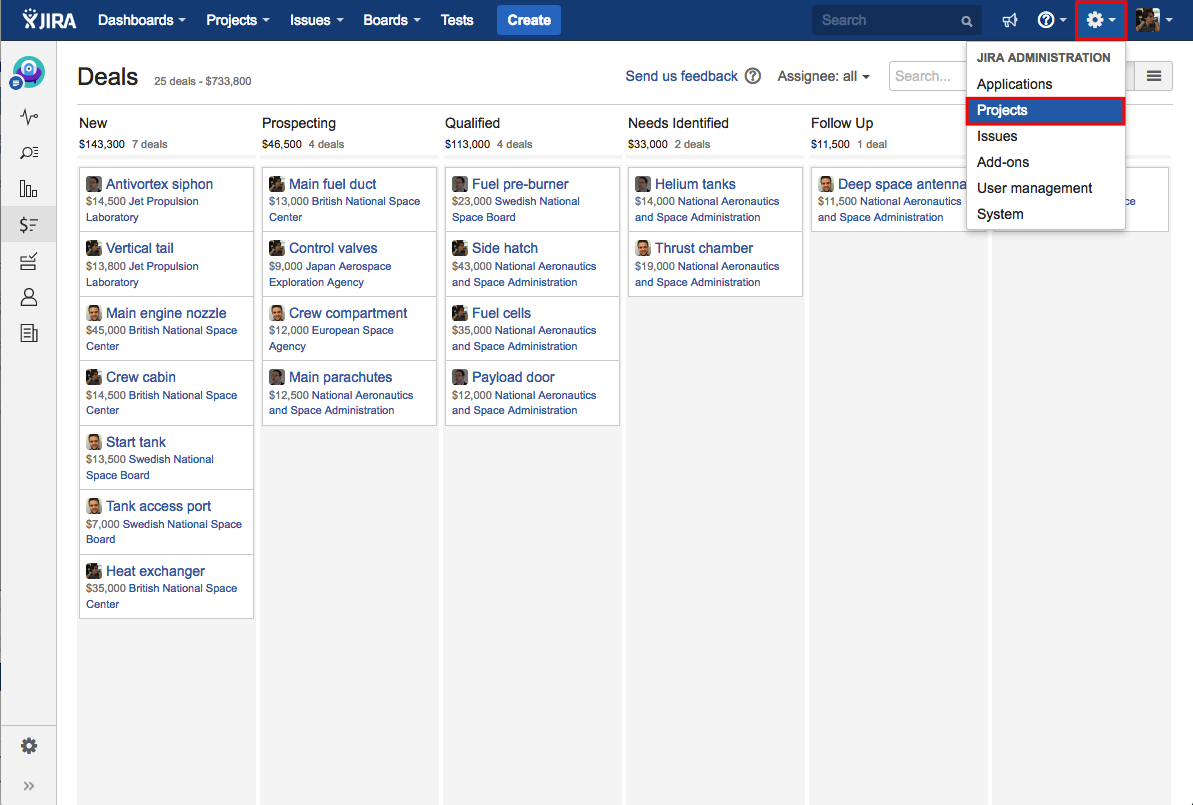
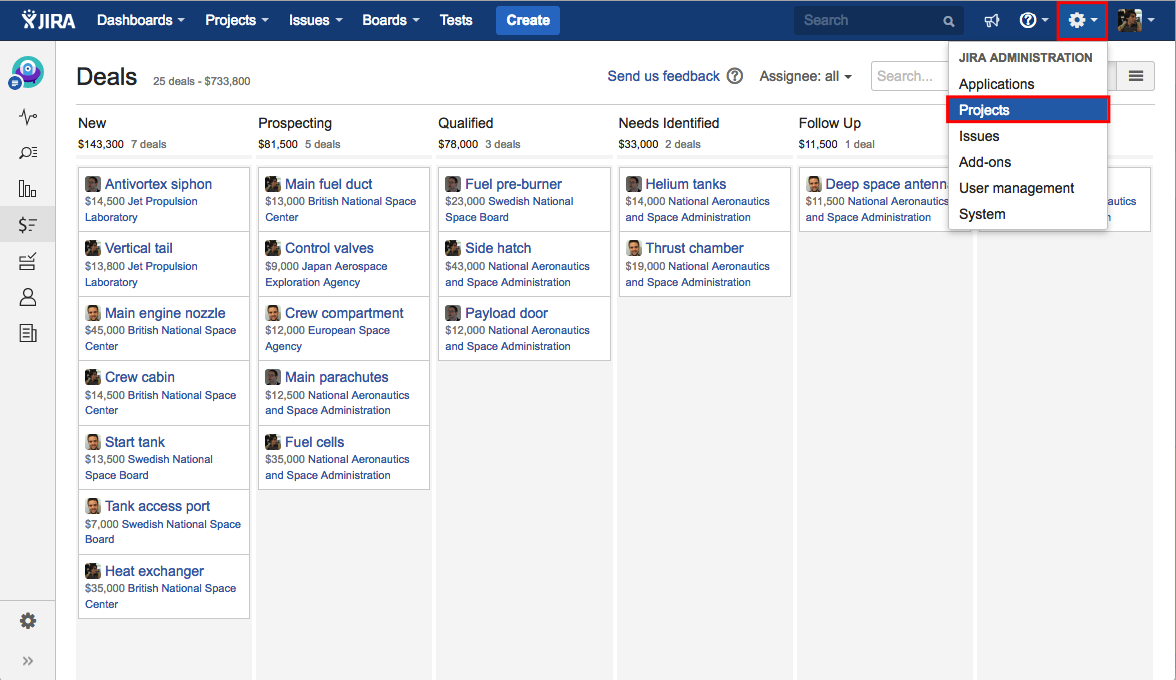
1. Click on the gear-shaped icon located on the upper right corner, and select the option Projects from the dropdown menu.
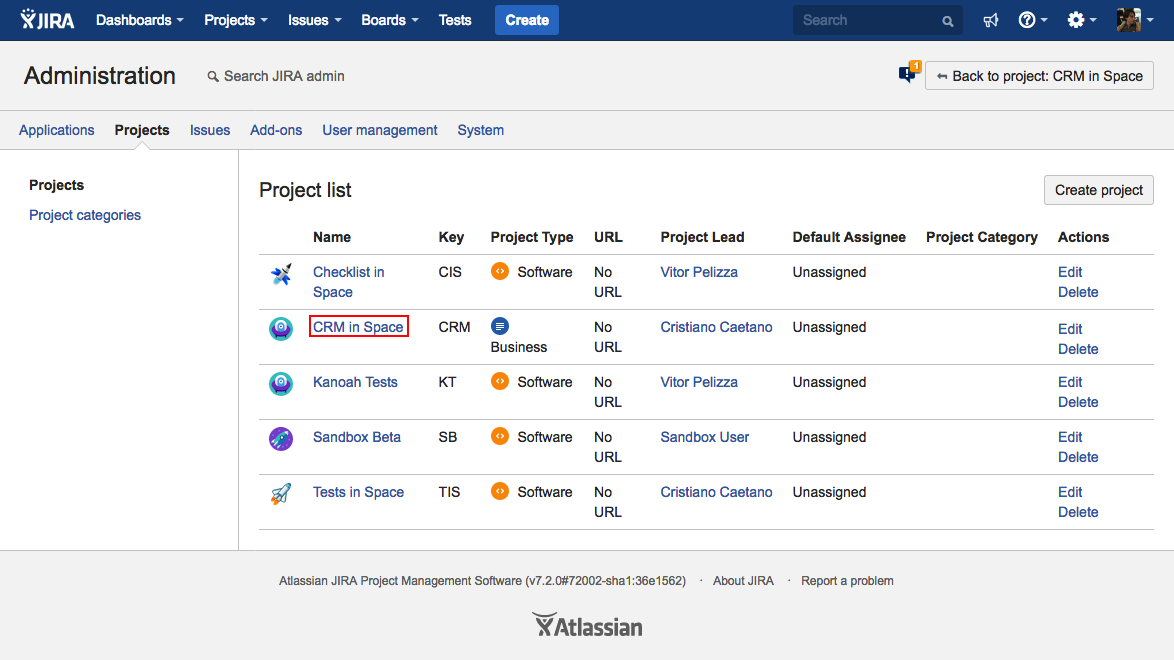
2. Click on the desired Project.
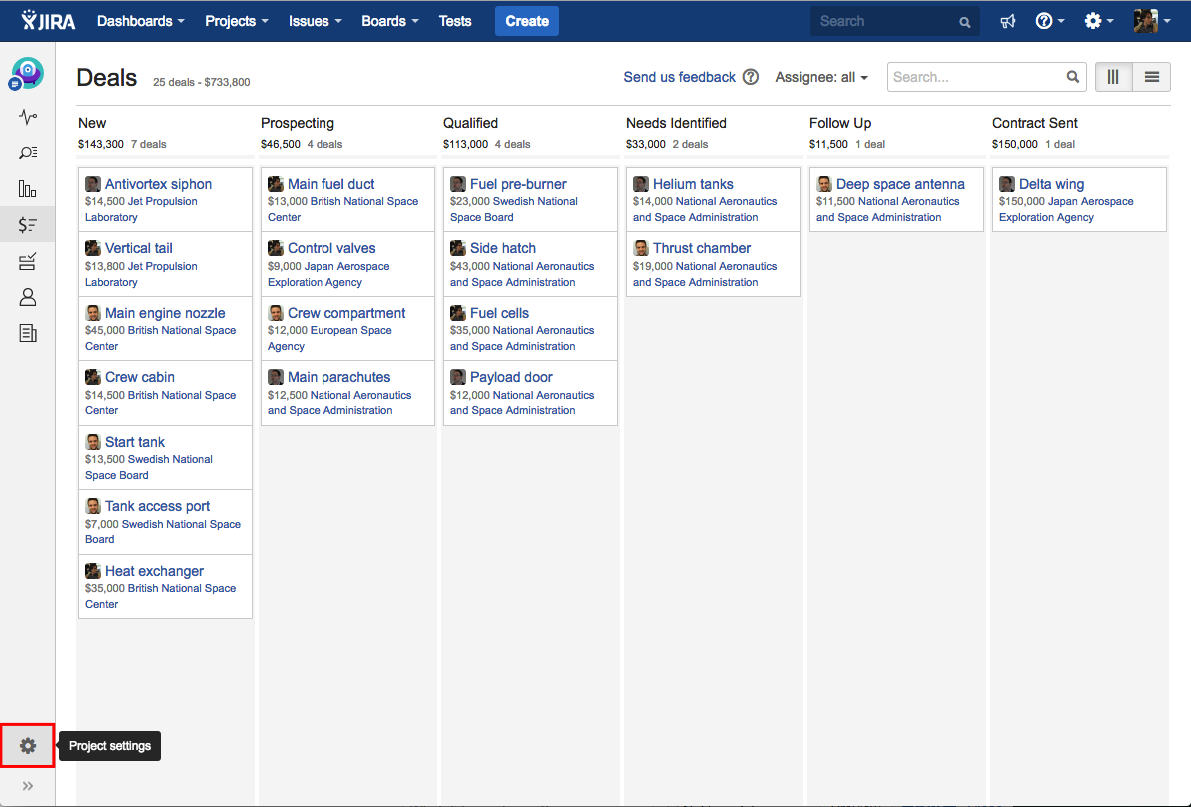
2. Optional: Click on the gear-shaped icon located at the bottom of the left panel.
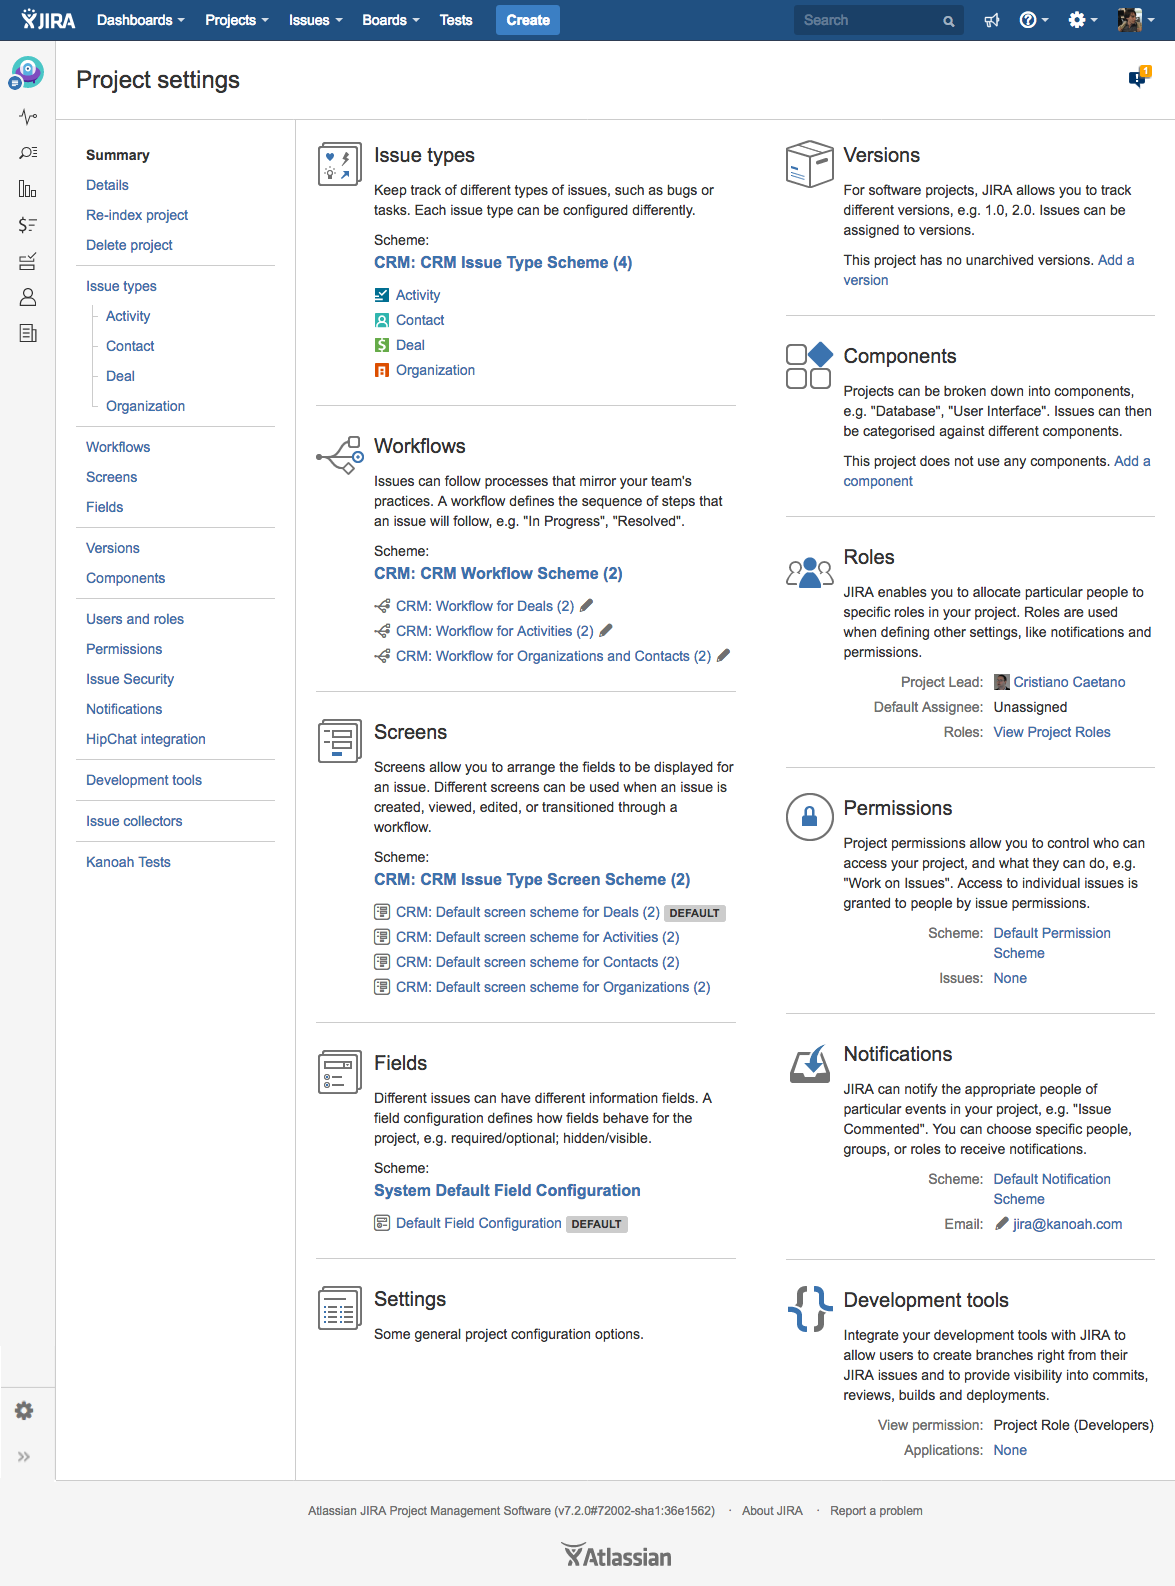
3. Use the tabs on the left to navigate between the different project settings.
Deleting a Project
PROCEDURE
1. Click on the gear-shaped icon located on the upper right corner, and select the option Projects from the dropdown menu.
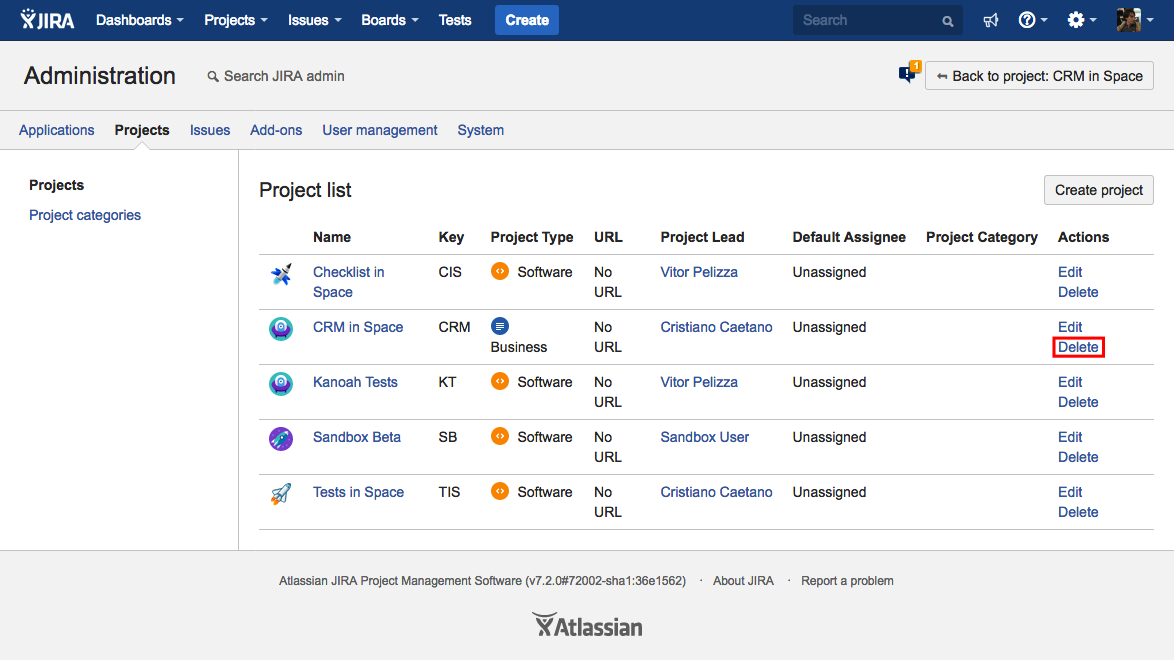
2. Click on the Delete link, located on the last column of your desired Project.
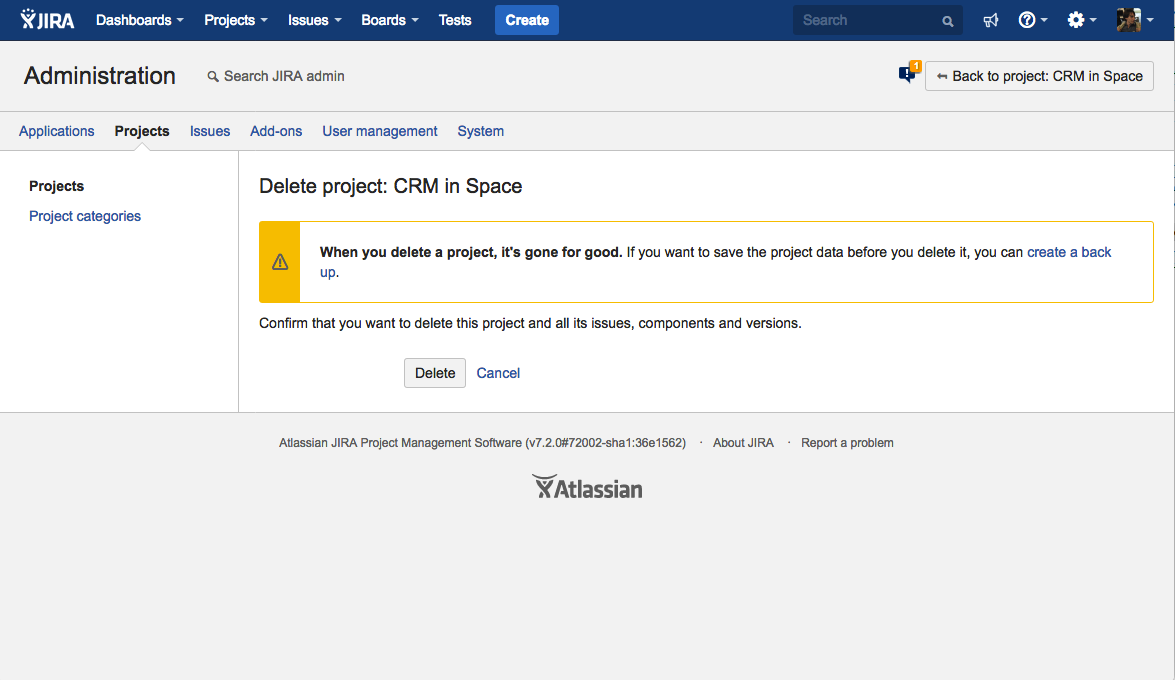
3. Hit the Delete button in order to proceed with Project deletion. WARNING: This operation cannot be undone. If you wish to save the project data, create a backup first.
Have a question for us?
Contact us through our Support Portal.