
Managing Contacts
Creating a Contact
A contact represents a customer or an individual in the organization associated to a deal.
PROCEDURE
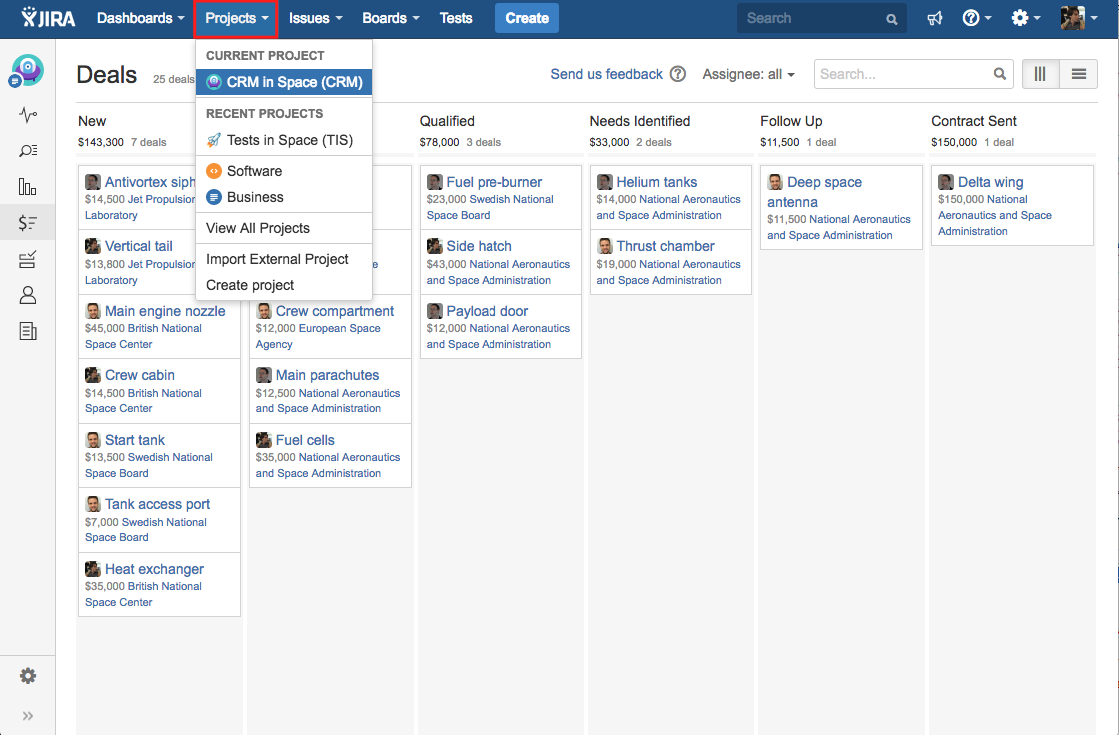
1. Head to Projects, then click on the desired Project from the dropdown list.
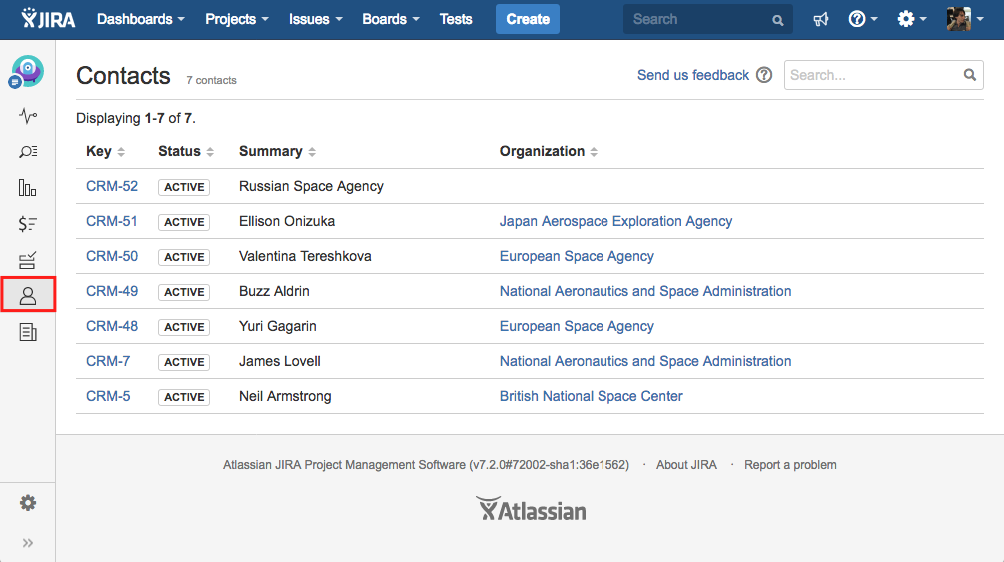
2. Click on Contacts, located on the Project navigation sidebar. The list of contacts is displayed afterwards.
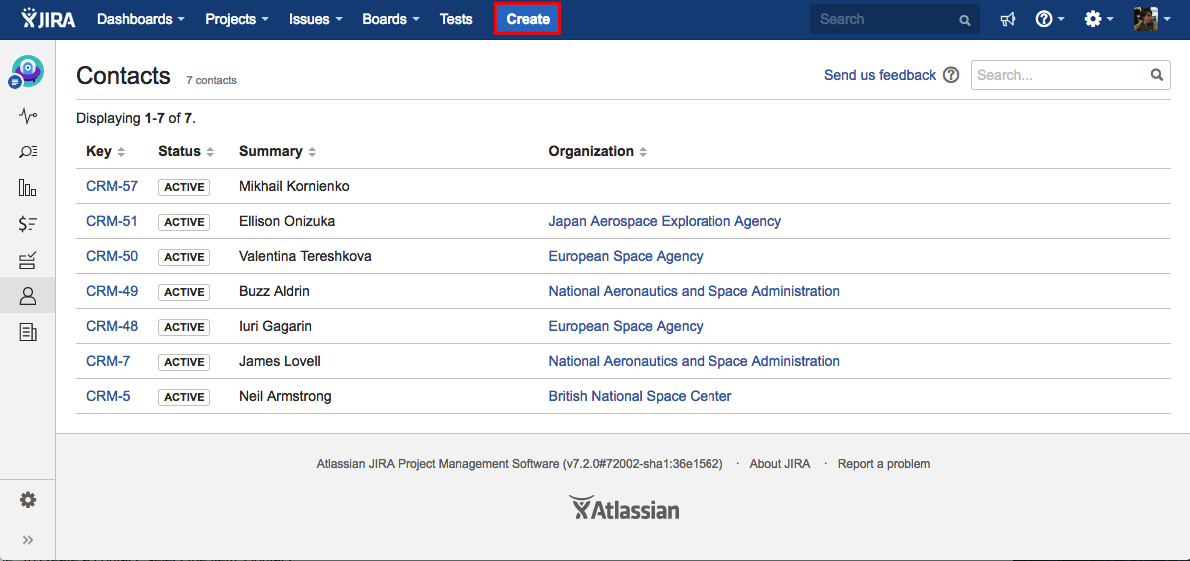
4. Click on the Create button from the Jira navigation bar, or hit the C key anytime.
5. Enter the following details on the Issue Creation dialog:
- Issue Type - Select the type Contact from the dropdown list. The option selected for the previous issue will be selected by default for the next issue.
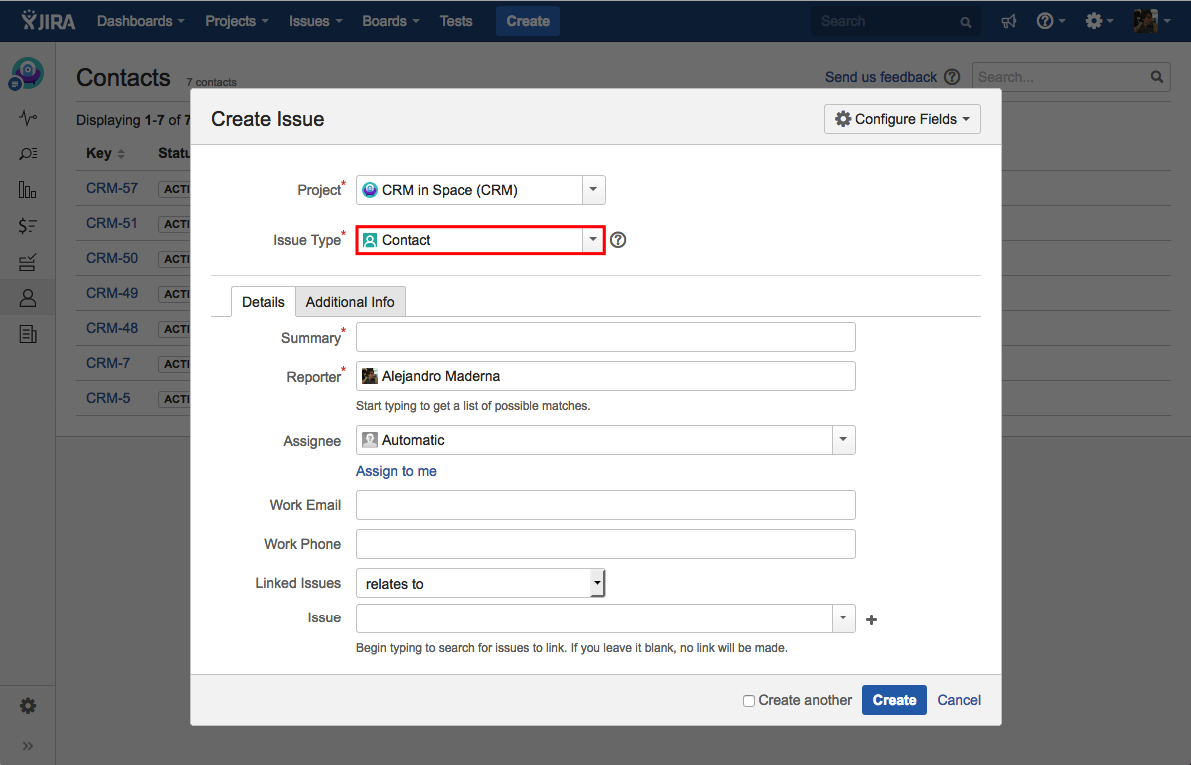
- Summary - The name of the contact.
- Reporter - The person who entered the contact into the system.
- Assignee - The person to whom the contact is currently assigned.
- Linked Issues - A list of links to related issues (you can link activities, deals and organizations for a Contact).
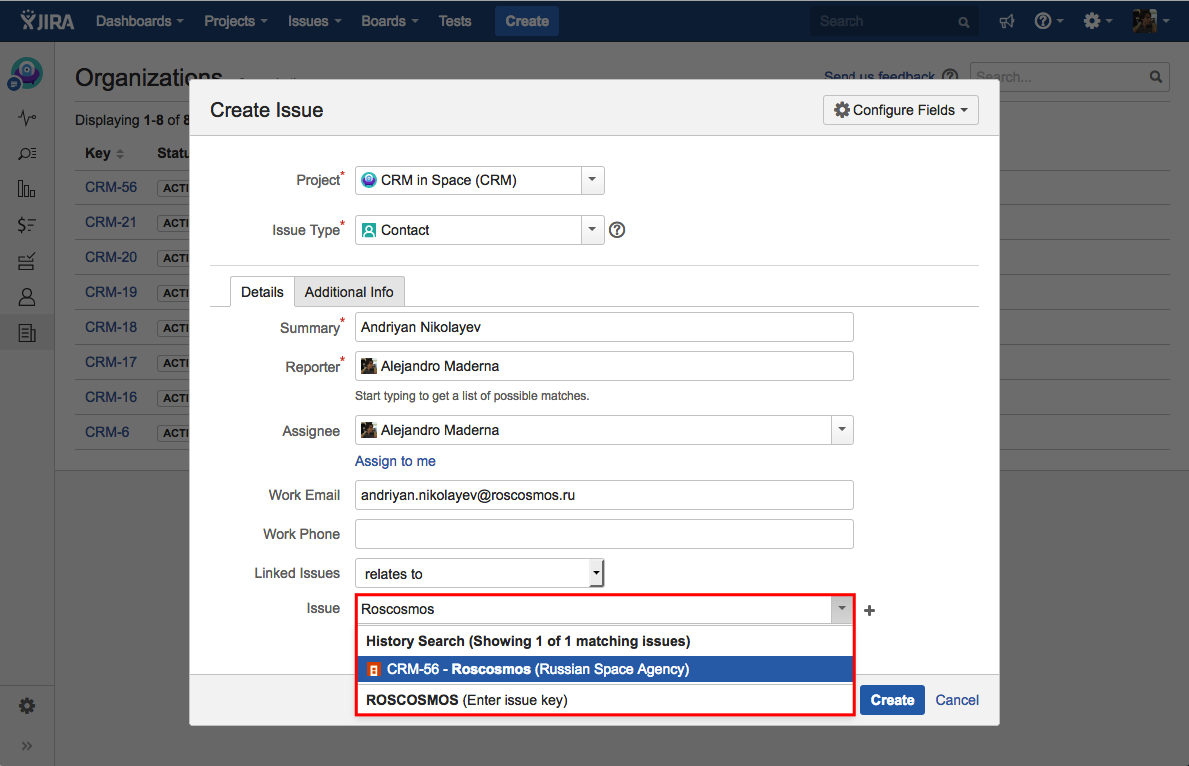
6. Then click the button Create.
Viewing Contacts
PROCEDURE
1. Click Projects (in header). Then click on the name of the desired project.
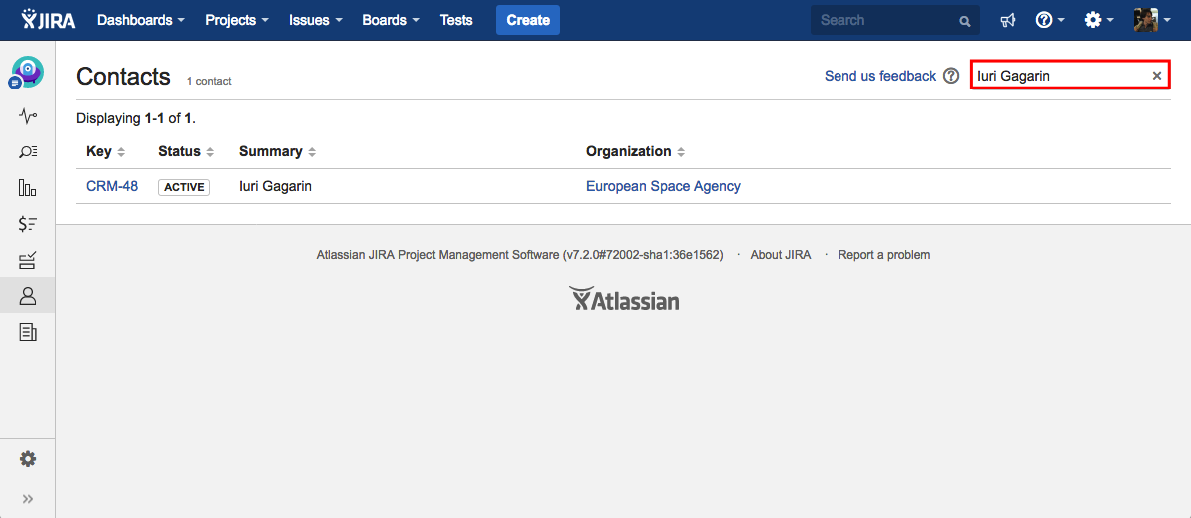
2. Click on Contacts, located on the Project navigation sidebar. The list of contacts is displayed afterwards.
3. Optional: You can search Contacts by summary using the search bar.
Editing a Contact
PROCEDURE
1. Click Projects (in header). Then click on the name of the desired project.
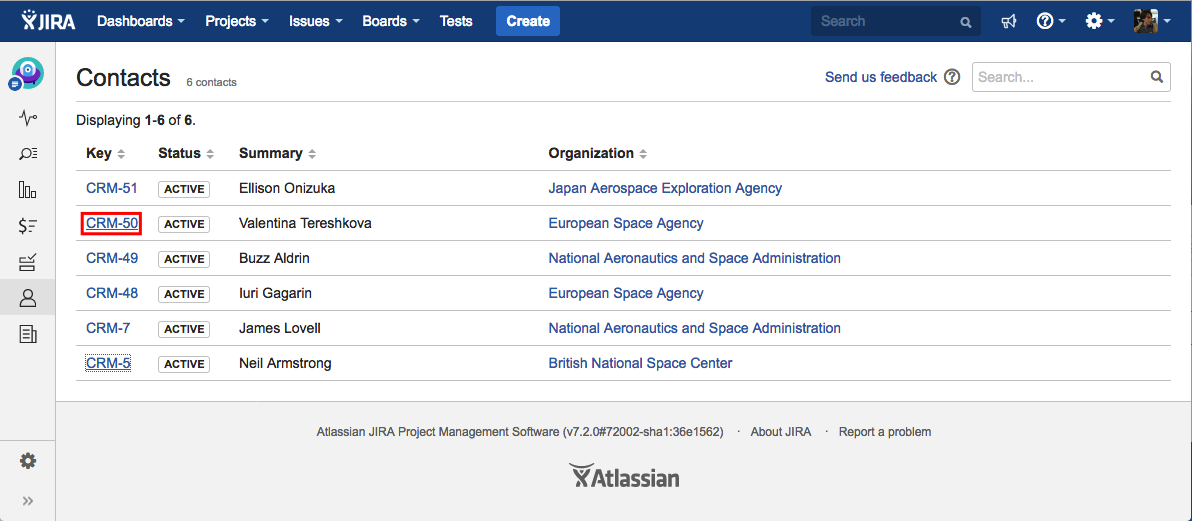
2. Click on Contacts, located on the Project navigation sidebar. The list of contacts is displayed afterwards.
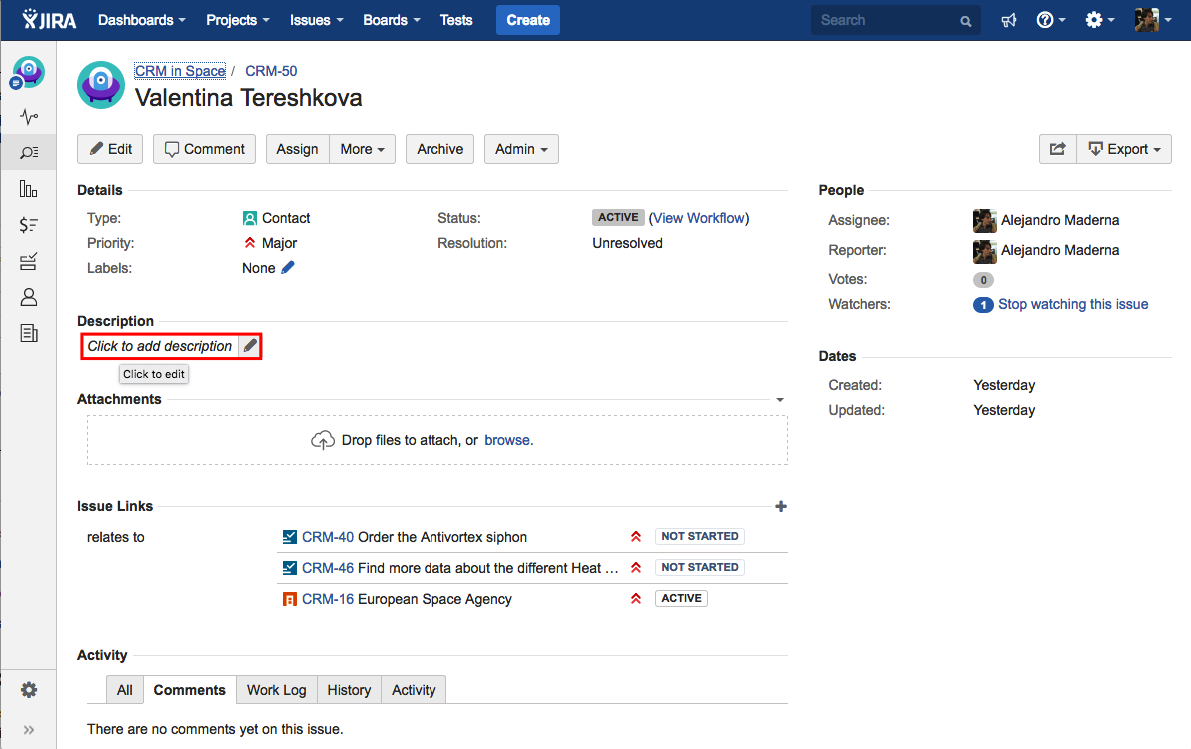
3. Click on the contact's name to display the page with the contact's fields and additional information.
4. Hover the mouse over any field and then click on the pencil icon to edit inline the field's value.
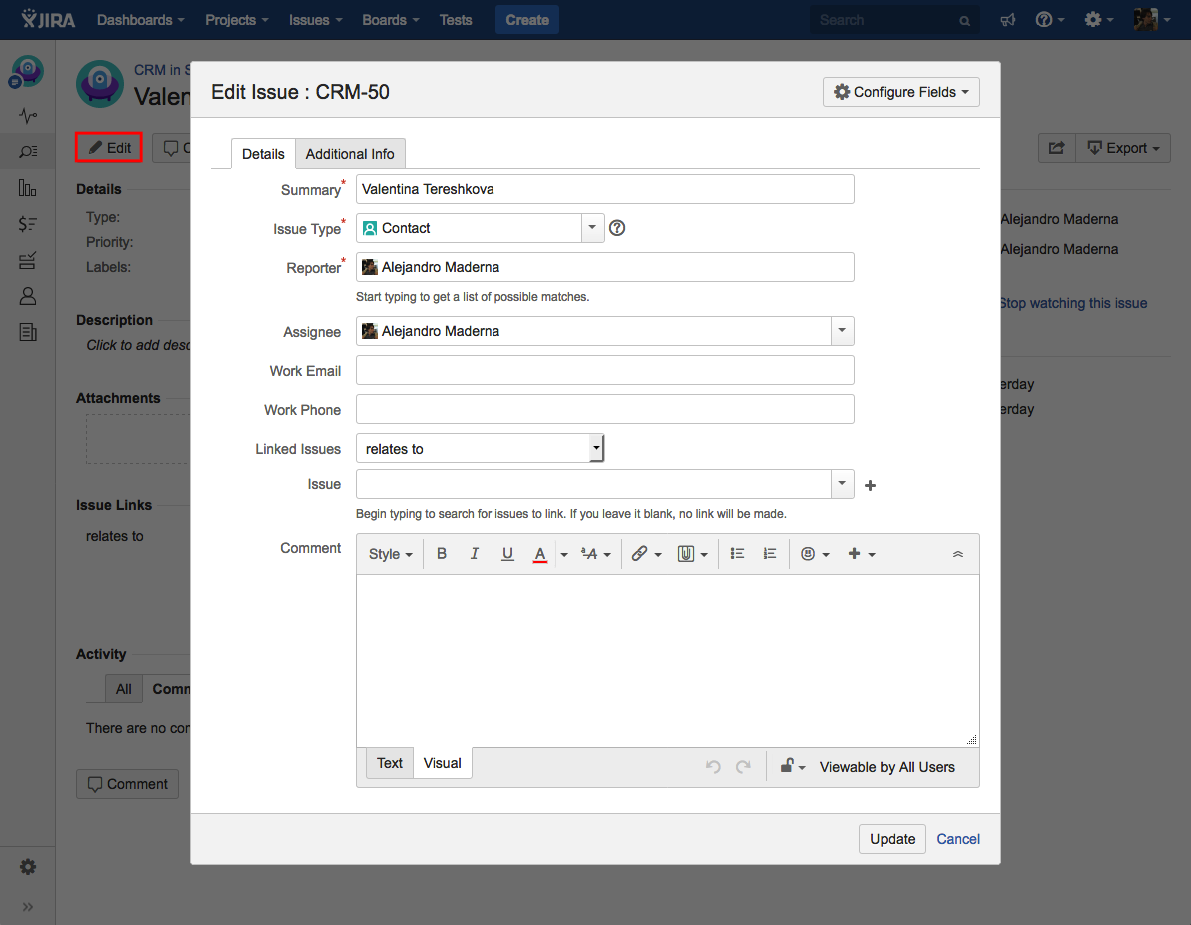
5. Optional: Click on the button Edit or type 'E' to display the Edit Issue dialog.
6. Optional: Attaching files and screenshots to contacts.
7: Optional: Editing multiple contacts at the same time.
8: Optional: Moving a contact to another project.
9. Optional: Commenting and collaborating on a contact.
Linking Contacts to Activities, Organizations and Deals
Issue linking allows you to create an association between two existing issues on either the same or different Jira servers. Issue linking also allows you to: Create a new linked issue from an existing issue in a service desk or business project; Create an association between an issue and a Confluence page; Link an issue to any other web page. To create links on issues, you need to have the Link Issues permission in the project(s) to which the issues belong. Lean more about issue linking.
PROCEDURE
1. Open the contact you wish to link to another issue.
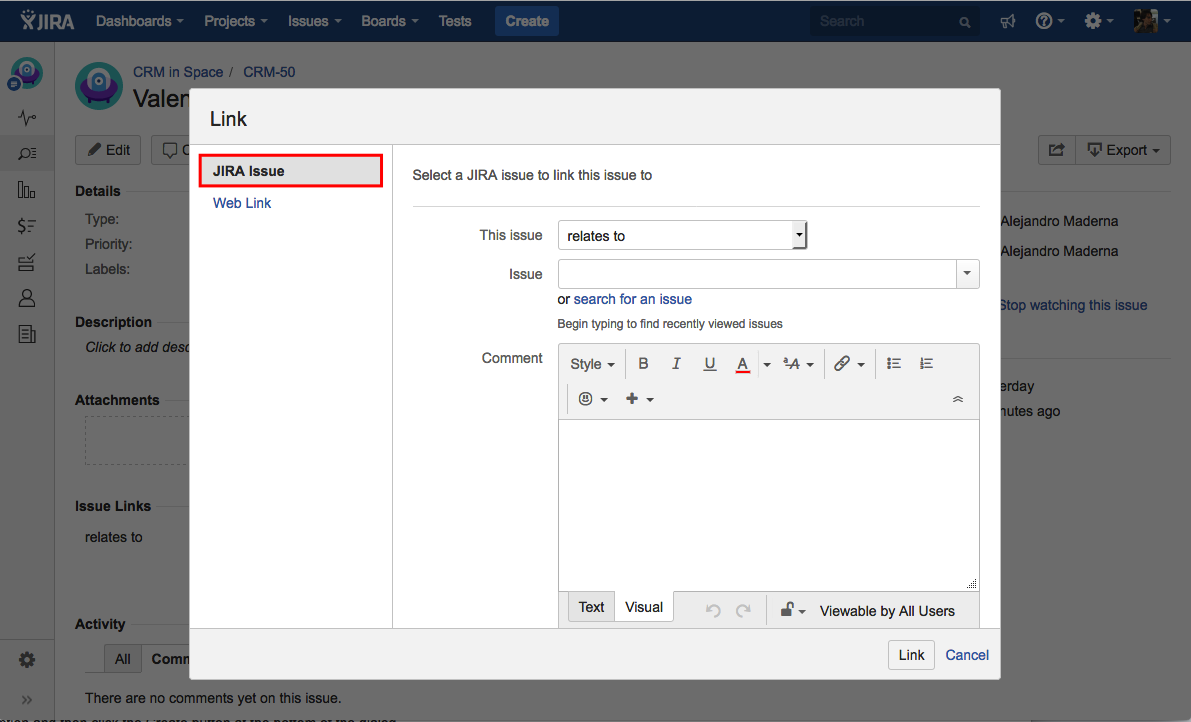
2. Select More > Link to display the Link dialog box.

3. Ensure that the Jira Issue item is selected at the left of the dialog box.
4. In the Issues field, specify the existing issue(s) to be linked to your currently viewed/selected issue. You can type the full issue key then press the 'Enter' key between each typed issue key.
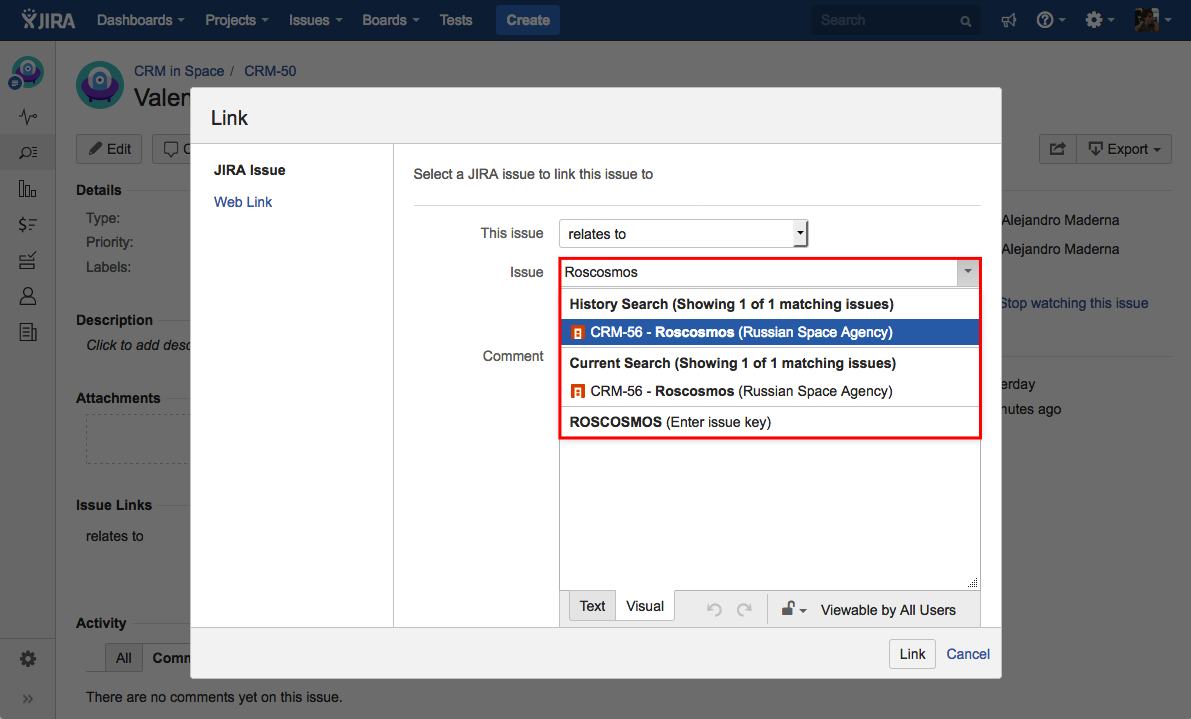
4.1 Optional: You can also input the issue key.
4.2 Optional: Click on search for an issue in order to manually search for other issues that have not been listed on the previous search methods.
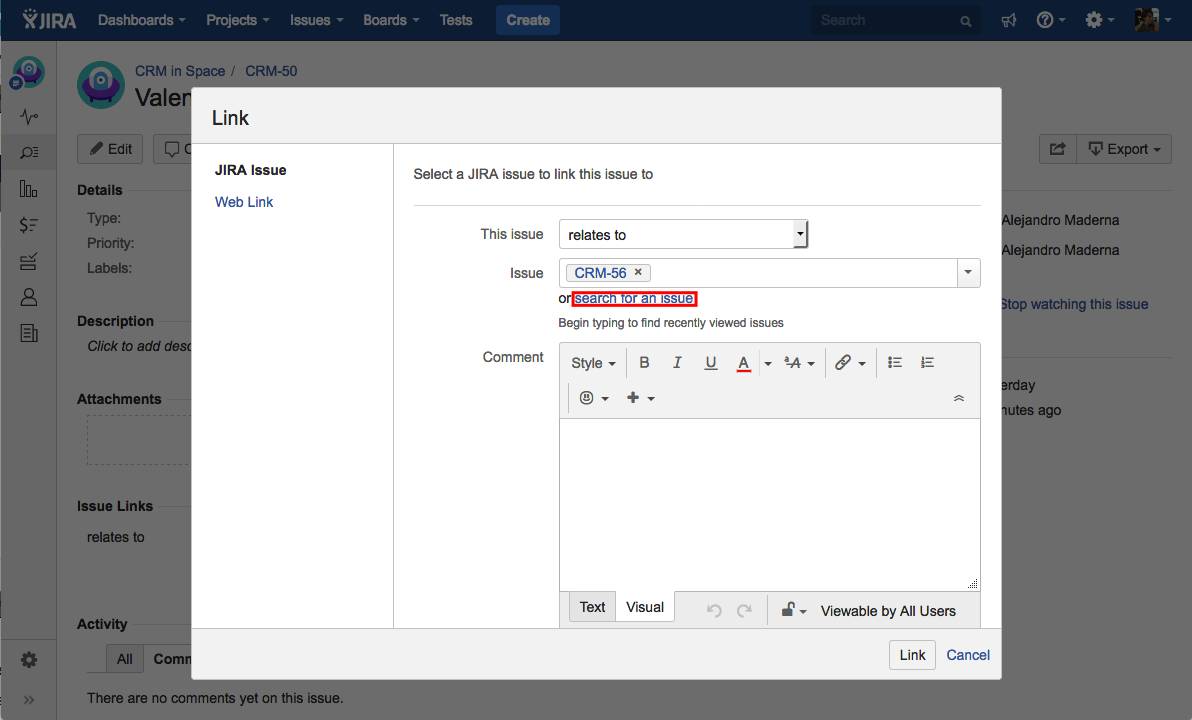
4.2.1 Search for your issue by key or summary, or input the Project key in order to display the full issue list. The rest of the process is the same as described on the steps above.

5. Optional: You can create a new issue and link it to the current one.
5.1. Hit the More button and select the option Created Linked Issue from the dropdown list.
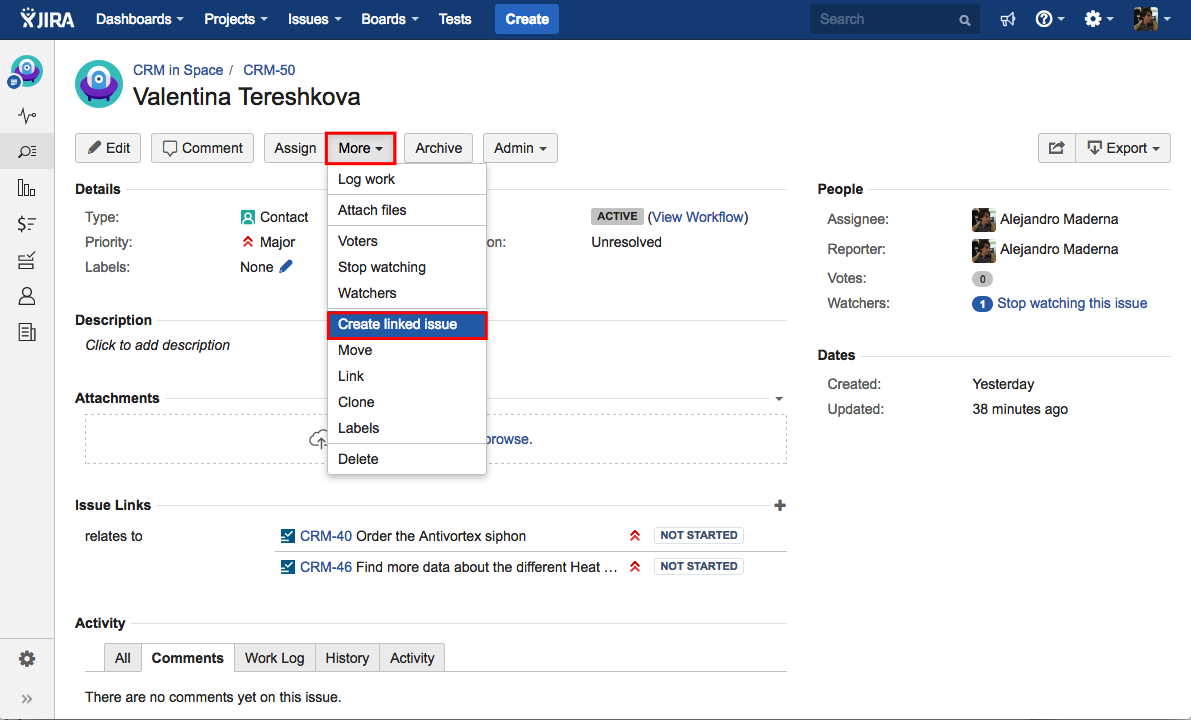
5.2. Enter the Summary and Description and then click the Create button at the bottom of the dialog.
Searching for Contacts
Can't find the issue that you are looking for? On Jira any user can search for issues, although they will only see issue results from projects where they can view issues (i.e. 'Browse Project' permission). The advanced search allows you to build structured queries using the Jira Query Language (JQL) to search for issues. In Kanoah CRM, deals, contacts, activities and organizations are issues, so you can take advantage of all searching features available on Jira. Learn more:
Adding a Custom Field
Jira lets you add custom fields in addition to the built-in fields. To do so, you must be logged in as a user with the Jira Administrators global permission. Learn more about Adding custom fields.
Have a question for us?
Contact us through our Support Portal.