Create Saved Views
Saved Views allow you to capture your filters and columns so you can easily return to them. You can set up a view for each report you have to run or for different stakeholders to help them quickly get to grips with your project. You can also use one of your saved views as the default view for your project. This means that when anyone visits that project in Hierarchy for Jira they will see the view you have created. This is helpful if you have a view that most of your users will need to see.
When you create a share link to your hierarchy page, you will share the view you have selected.
Create A New View
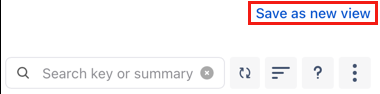
First, set up all your columns and filters to display all the information you need. Then select Create New View.
Give your view a helpful name eg Monthly Report.
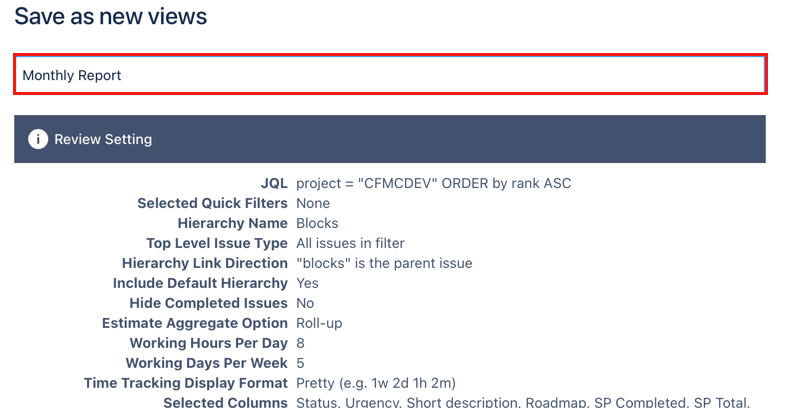
You can review the settings to make sure you are happy. Then scroll to the bottom of the pop-up dialog and select Save.
Edit An Existing View
When you make any changes to the columns or filters while you are inside a view, a new button appears. If you want to make the changes part of the view, select the new Save View button.

The view is updated, and the button disappears.
You can also save any changes you make to the column sizes. This means that when you return to a saved view the columns are already sized to your liking.
Open a Saved View
To see the saved views for a project, navigate to that project's hierarchy board. Then select Views. The dropdown will show you all the saved views for that project.
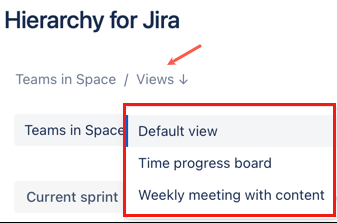
Select the view you are interested in and the hierarchy page updates.
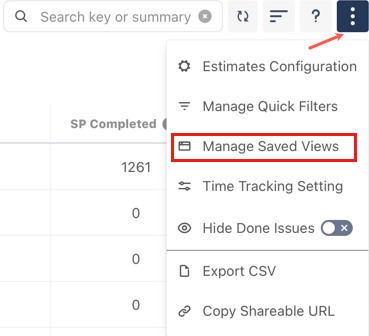
Manage Saved Views
From the Manage Saved Views screen, you can delete unneeded views and choose a saved view you want to use as default. The Manage Saved Views screen is in the Actions Menu.
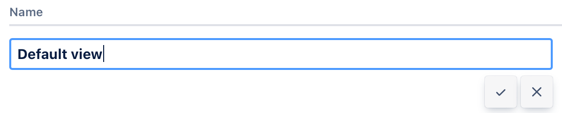
From this menu, you can edit the name of any saved view.
- Select the name of the saved view and update the name as required.
- Select the tick button to save your changes.