Destination List
Summary
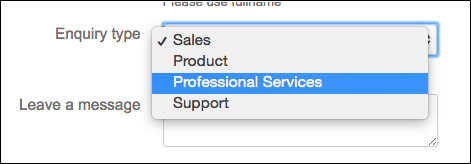
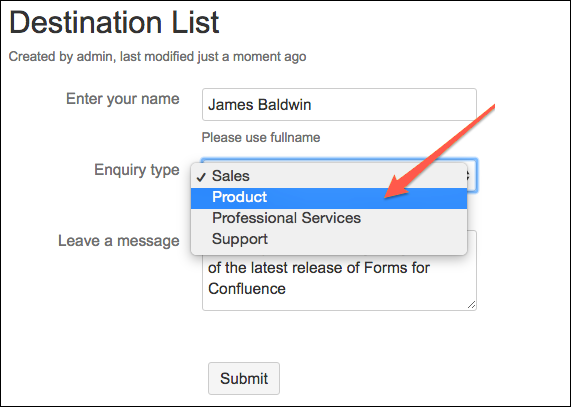
The Destination List macro allows respondents to specify where their response will be sent, overriding the default form destination specified in the Form macro.
Using the Destination List macro, you can specify alternative Form IDs, email addresses, or users, allowing you to make one form that can be repurposed for different departments or sent to other admins/teams.
Forms for Confluence versions up to version 8.0.7.
If a destination or subject is left blank, the values for these fields will be taken from the Form macro.
Forms for Confluence versions from version 8.0.8.
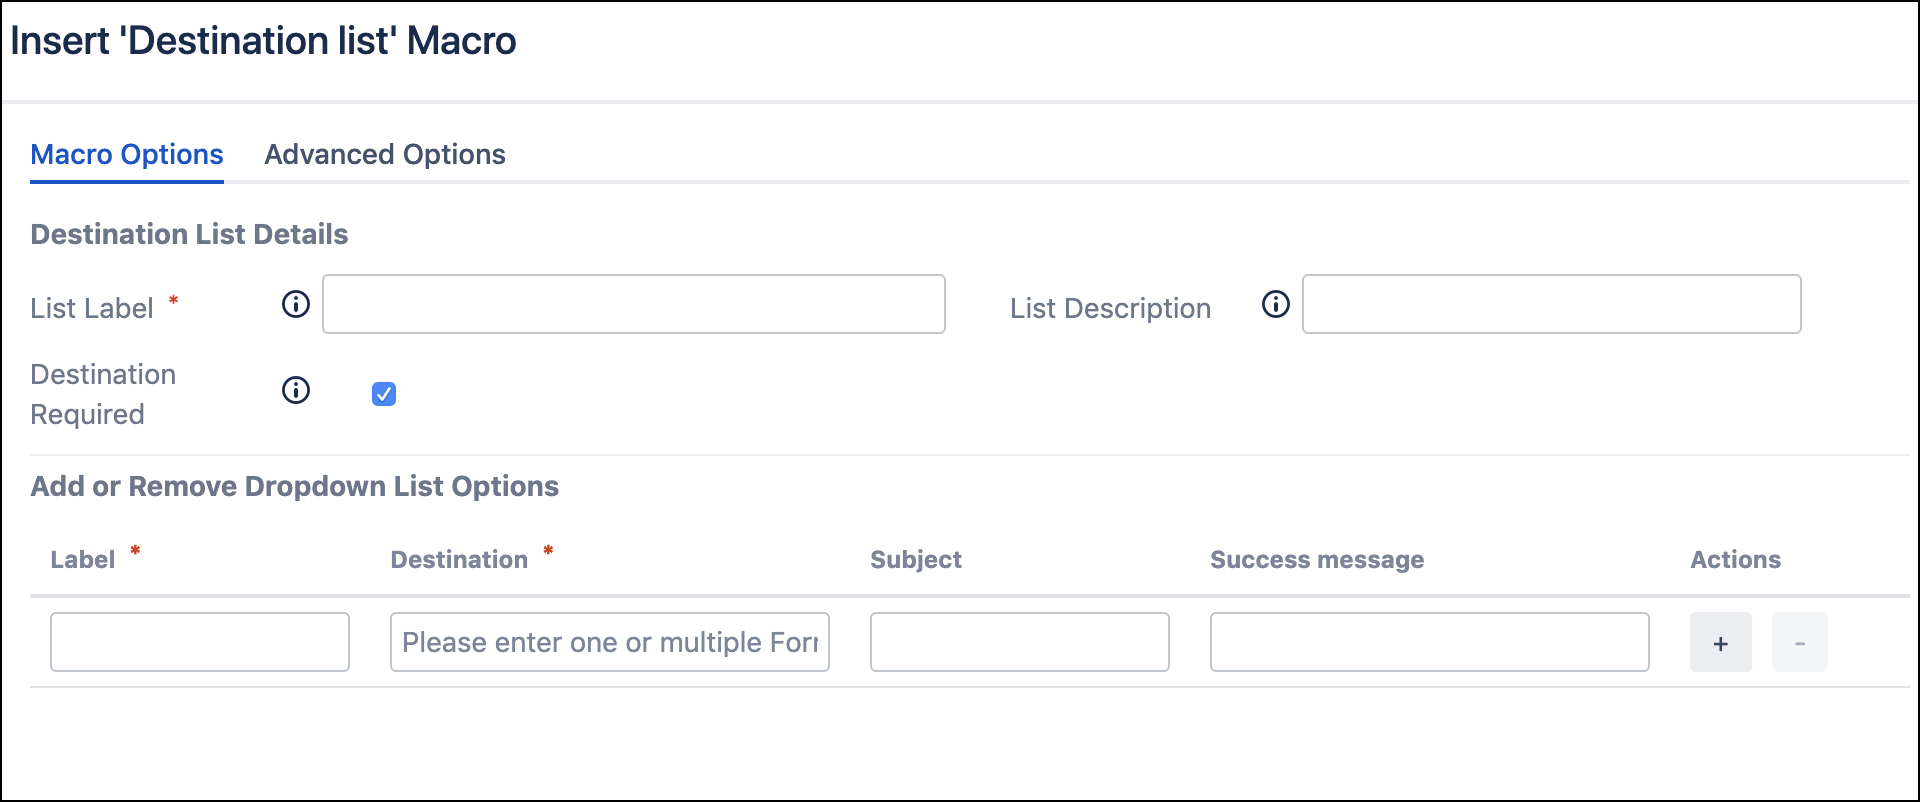
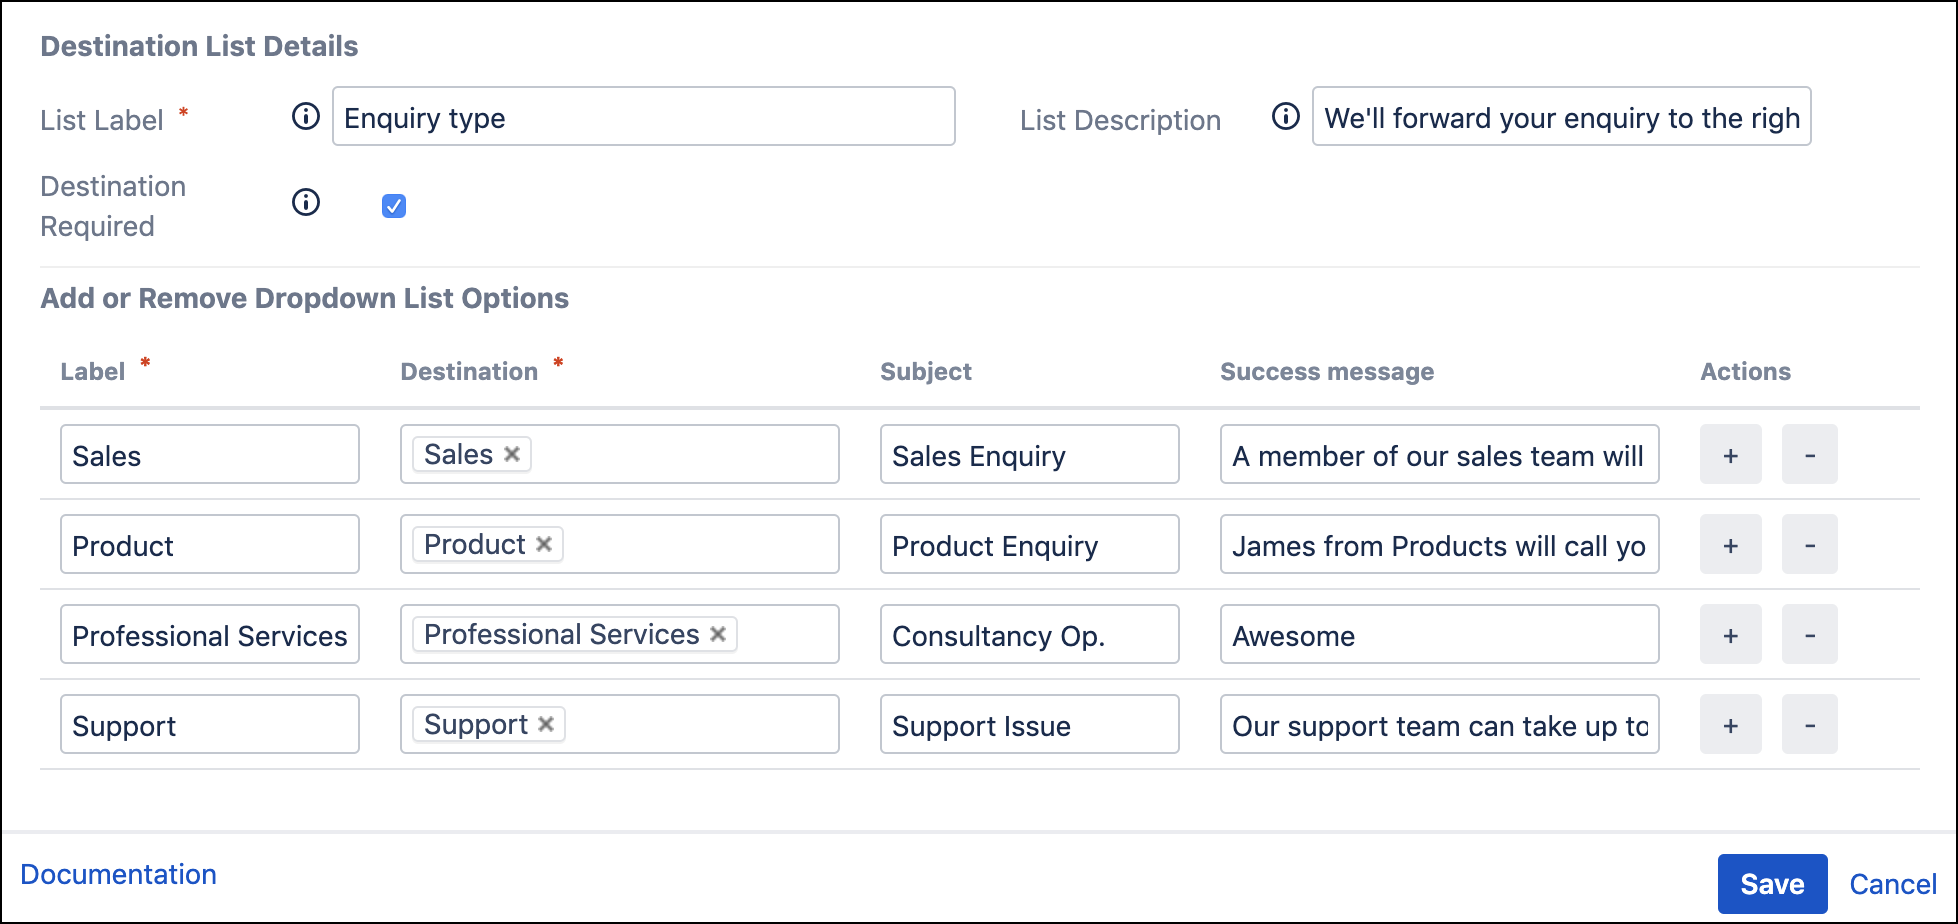
The Destination field is required by default, but this can be disabled via the Destination Required checkbox.
This ensures that when adding a destination list to a form, the destination isn't accidentally skipped resulting in the form being sent to the default form location.
Existing forms where the destination has not been specified will continue to work. Still, when editing the Destination List macro, you either need to complete the Destination field or deselect the Destination Required checkbox.
Instructions
- Create a form. Enter a value in the Destination field. This acts as a default for any options in the Destination List that don't provide a destination.
- Add a Destination List macro. This creates a list of options.
- Set a Label for your destination list.
- Set a Description for your destination list.
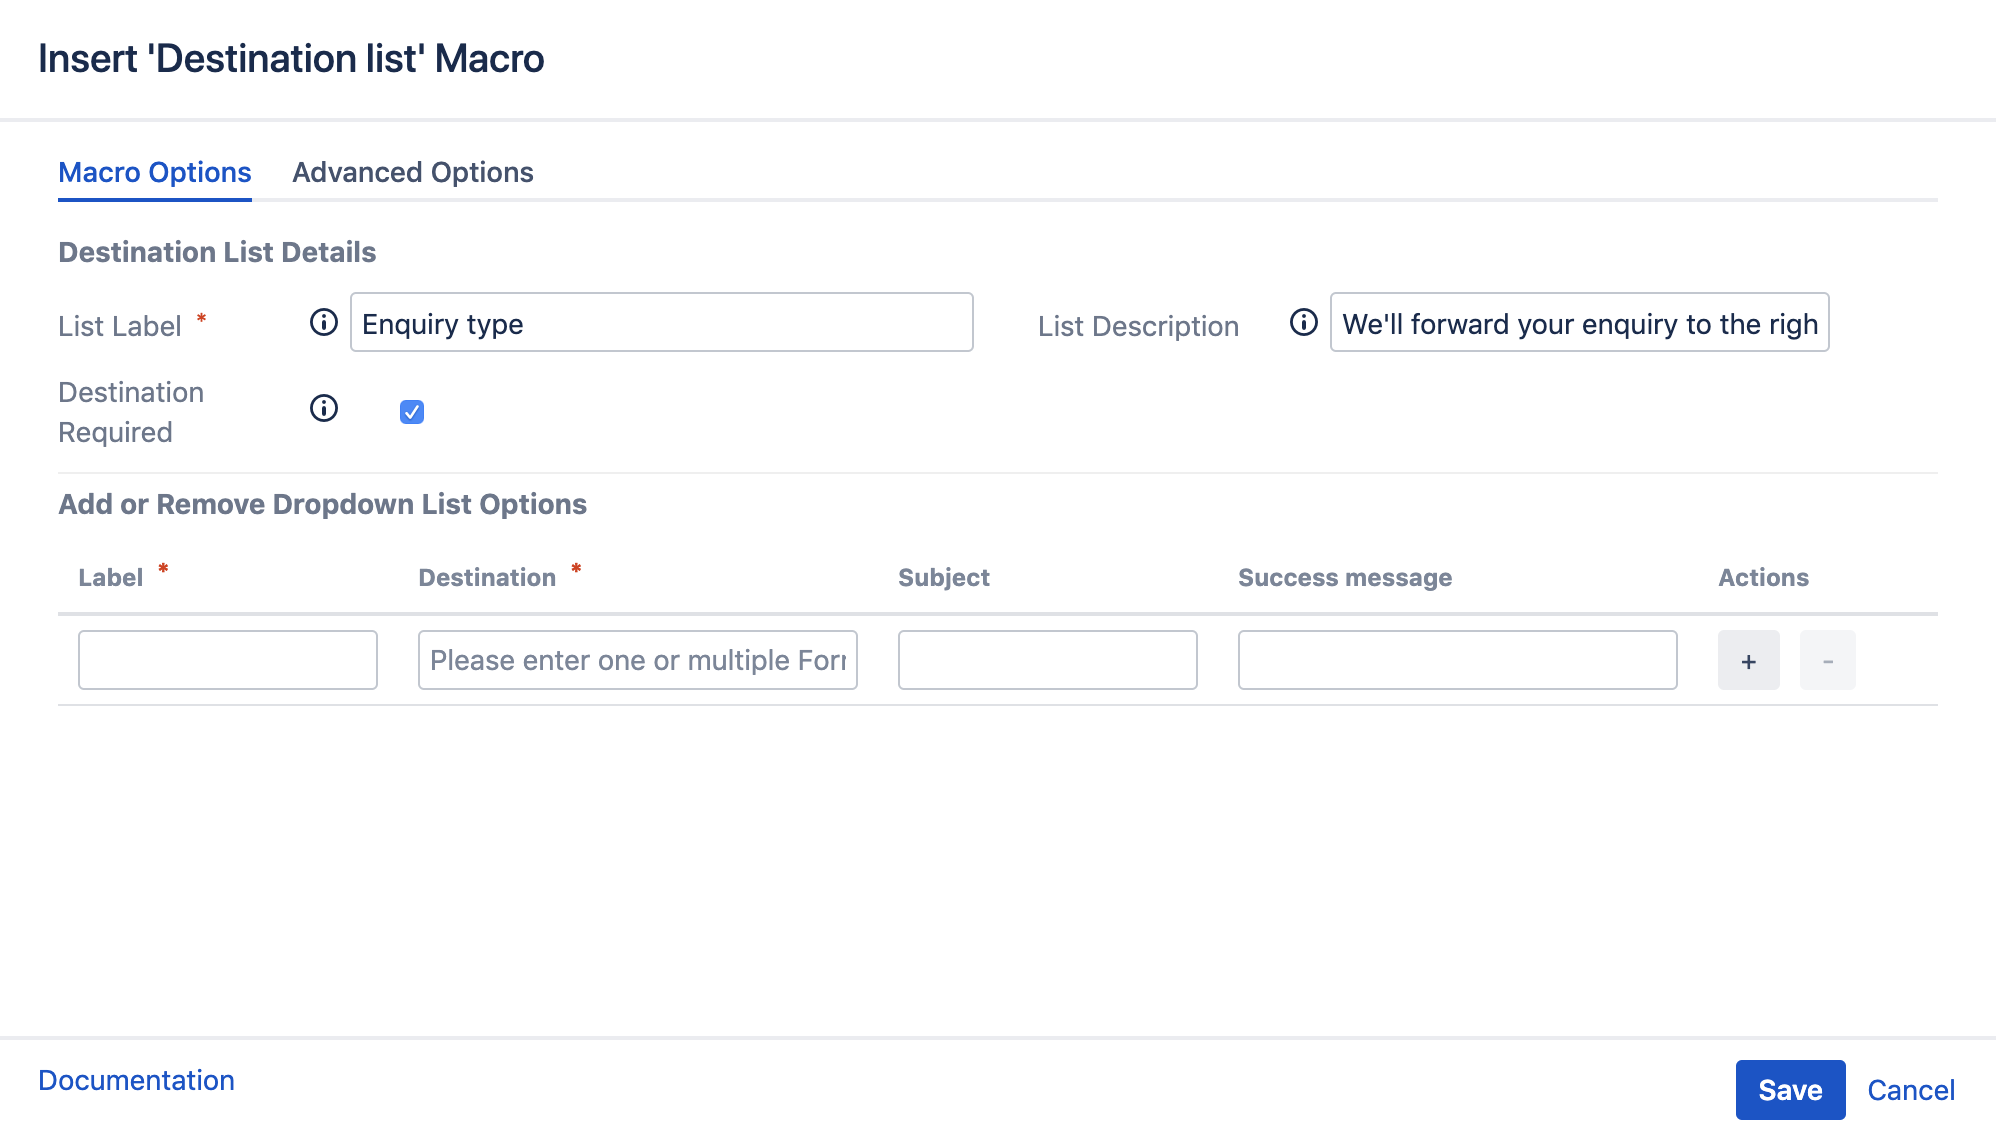
- Set a Label for this option.
- Set a Destination for this option.
- (Optional) Set a Subject for this option.
(Optional) Set a Success Message for this option. Create an option:
If the Destination, Subject, or Success Message are left blank, the corresponding value from the Form macro is used. If no Success Message is set (via a Form ID or a success macro the on-page), the default Success Message is shown.
- Add a further option using the "+" selection.
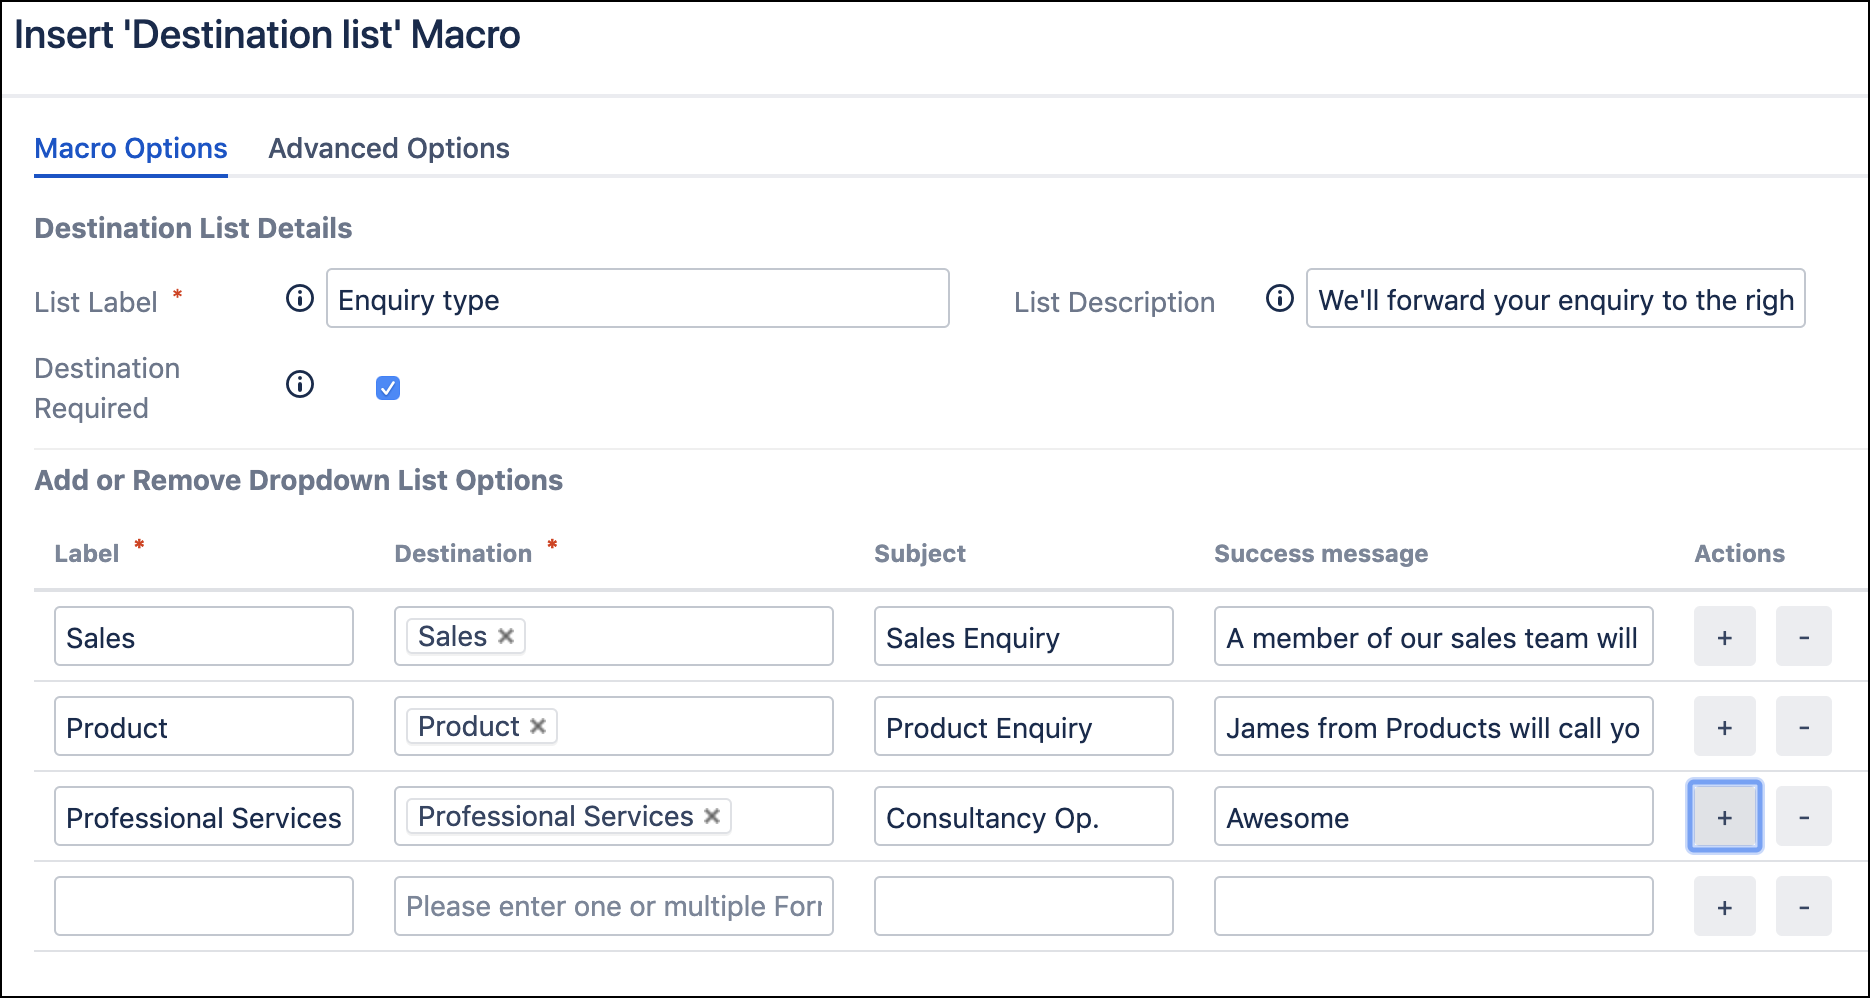
- Repeat Steps 5 and 6 until you have added all the required list options.
- Save the macro to see a placeholder image of the field on the saved page.

- Save the page to see the final field on your form.