
CCMA Migration Process
What you need before you start:
- A Confluence Server instance (with the latest update of Atlassian Migration Assistant)
- A Confluence Cloud instance with Forms for Confluence Cloud installed
- On both instances:
- Confluence admin permissions
- Space admin permissions.
How to prep:
- Review the What migrates with the Confluence Cloud Migration Assistant page.
- Review our CCMA Limitations and Disparities documentation.
- Back up your Server/Data Center instance.
- Ensure you have enabled the latest Confluence Cloud Migration Assistant installed in your server/data center instance.
Migrations
The process for migrating Forms data using the Confluence Cloud Migration Assistant is as follows:
- Set up an appropriate Confluence for Cloud instance as the target instance for migration.
- Refresh the connection between the Confluence instance and the migration service.
- Migrate your content, users, and the current workflow state using the Confluence Cloud Migration Assistant *.
*It is recommended that you create a migration for each individual space.
Migrations dashboard
The Migrations Dashboard is the action and information hub for the Confluence Cloud Migration Assistant. The dashboard indicates the user who executed an action, the progress, status, and other actionable items for each migration event. This is also the page where the Create new migration button can be found.
How to access the CCMA Dashboard:
- From a Forms for Confluence Cloud instance, click the Administration icon at the top of the page.
Click General Configuration in the drop-down menu.
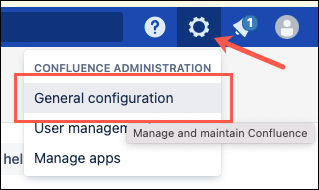
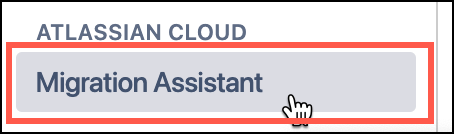
The General Configuration screen opens. Find the Atlassian Cloud section in the left-hand menu and click Migration Assistant.
- The Migrations dashboard opens.
To perform your first migration from the Migrations dashboard:
Step 1- Asses
Click Create new migration.

- The Assess apps pop-up appears. Click Assess apps.
- The App Assessment window opens, and the Forms for Confluence app appears in the table on the page.
- Optional: Click View differences to see any conflicts between the existing data and the migration action.
- Optional: Change the Status of the Forms app, or others, depending on precise need.
- If satisfied, click Done; the Migration Assistant home page opens.
Step 2- Prepare
- Click Prepare Your Apps. The Preparation wizard opens.
- Use the Choose your destination cloud site dropdown option to connect a cloud site.
Click Continue. - The Install options appear.
- Optional: Install apps in cloud.
- Click Continue. The Migration Agreement appears.
- Click Done.
Step 3- Migrate
- Now returned to the Migrations dashboard, click Create new migration.
The Migration Overview window opens. Click Connect to cloud.
The Connect page opens. Add an original title in the Name your migration field.
The Choose your destination cloud site dropdown is pre-filled from the earlier selection in the Preparation Wizard.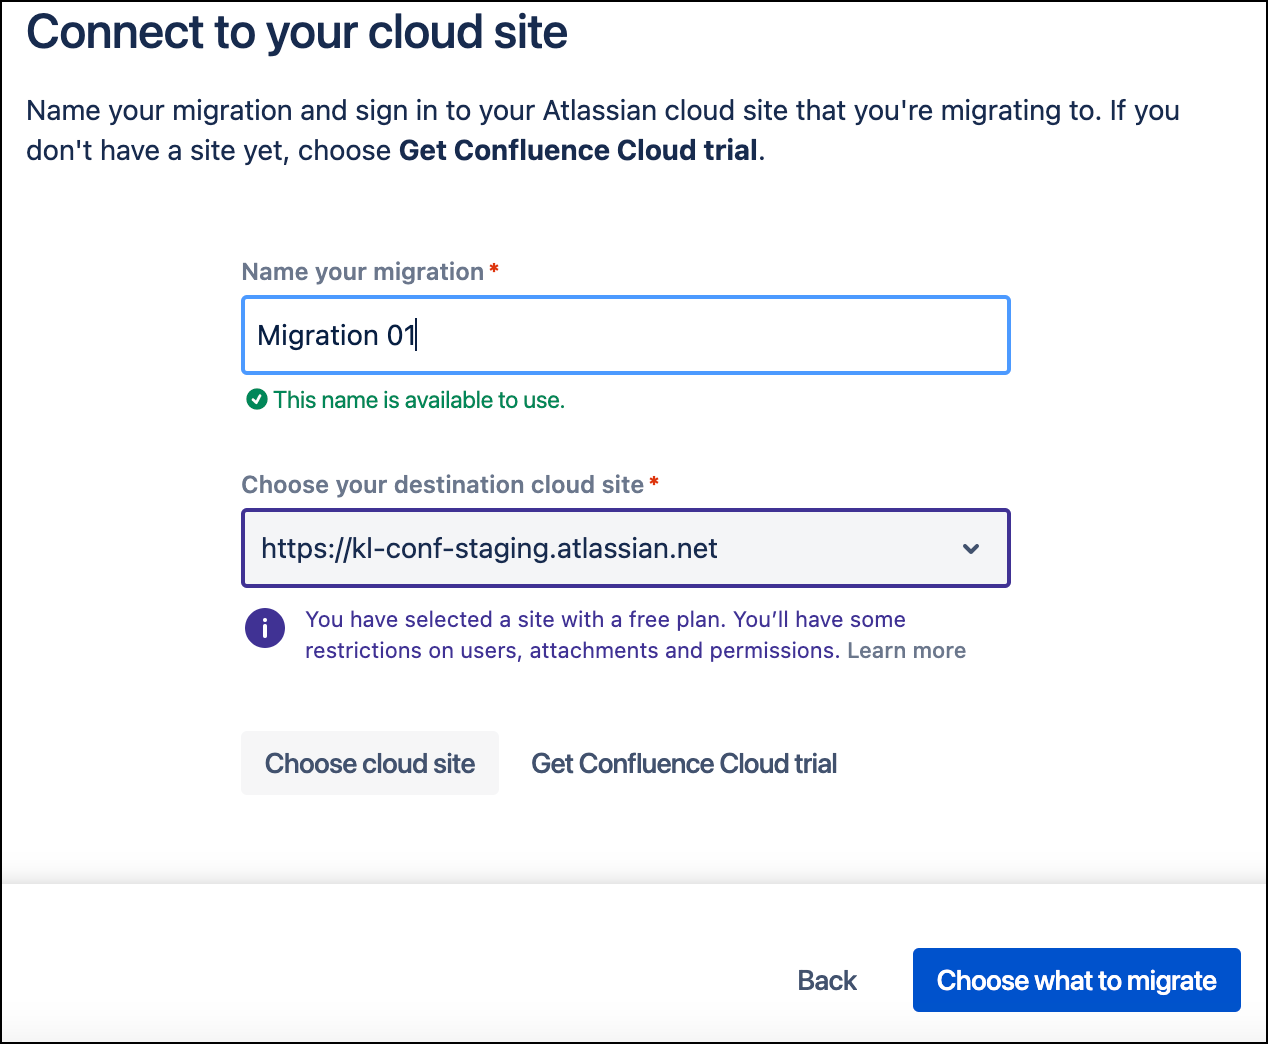
- Click Choose what to migrate. The Choose window opens.
- Select desired Spaces, Users and groups, and Apps. Click Next.
The Choose spaces options appear. Select the associated checkbox for the connected space to be migrated.
Click Add to migration.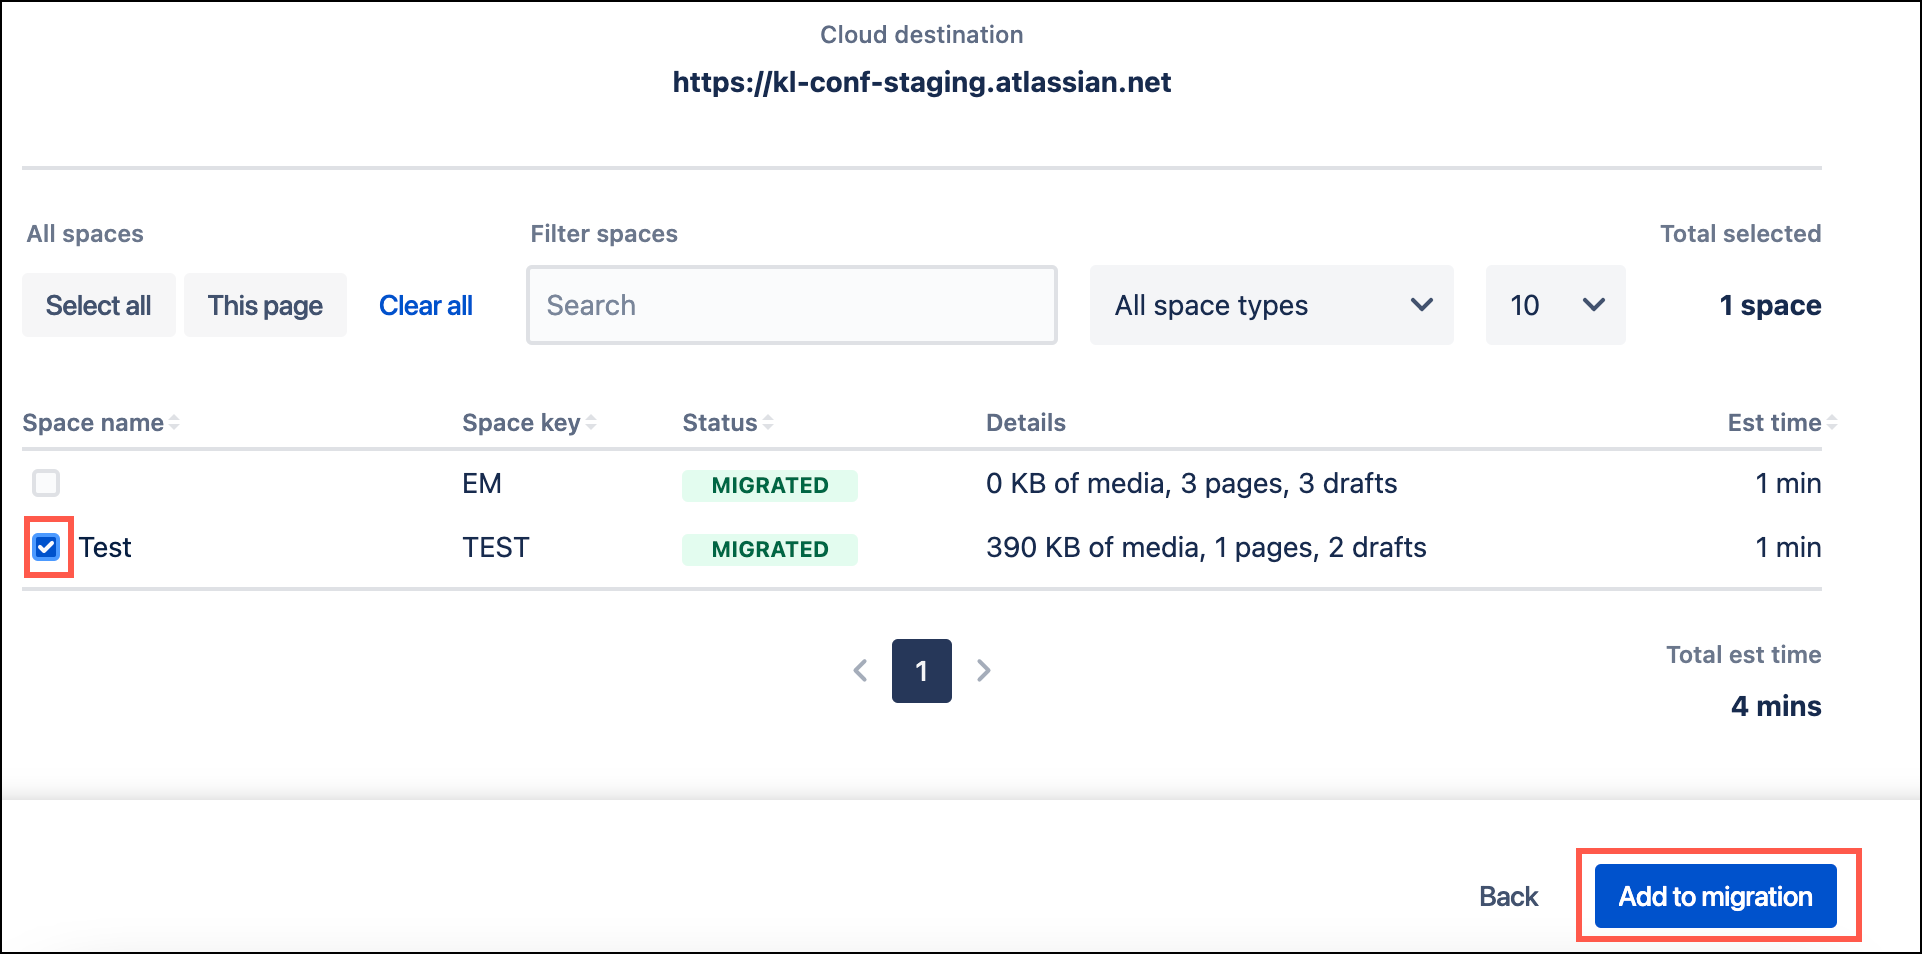
- The Check for errors window opens. View results and manage errors if desired.
- Click the Carrot next to any error to see more information. Click Refresh all to see the effect of an action at any time.
- When satisfied, click Review Migration.
The Review Migration window opens. - If satisfied with the Migration details, click Run now.
- The migration begins and appears under a Running status on the Migrations dashboard.
