
Rollover
The Rollover macro lets you easily add CSS rollover effects to your content. This macro requires additional CSS styling, which can be added using the CSS Stylesheet macro, the Confluence Stylesheet or a product such as Adaptavist ThemeBuilder.
The instructions on this page use our CSS Stylesheet macro.
With some knowledge of CSS you can create some interesting effects with the Rollover macro.
Instructions
- Navigate to the page you want to edit.
- Click Edit.
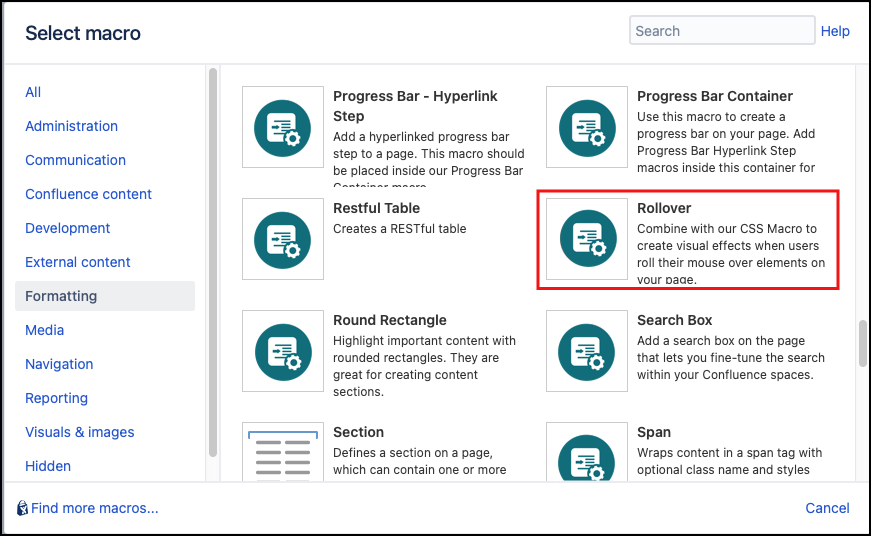
- Click Insert More Content > Other Macros.
- Select the Rollover macro from the Macro Browser
Complete the desired fields.
Parameter Description Type Default Required Target ID
This should match the ID of the element you are applying the effect to. Add a # to the start of the ID.
ex. The ID parameter in a Div macro is target. Then the Target ID in the Rollover macro should be #target.
string
none

Normal CSS Class
CSS class name for the normal (roll-out) state.
Use in combination with Global Confluence CSS or a CSS Stylesheet macro that you have added to your page.
Enter the CSS class name(s) to apply to the macro (case sensitive); multiple classes can be separated by a space or comma. Do not include the.selector in the class namestring
none

Roll Over CSS Class
CSS class name for the rollover state.
Use in combination with Global Confluence CSS or a CSS Stylesheet macro that you have added to your page.
Enter the CSS class name(s) to apply to the macro (case sensitive); multiple classes can be separated by a space or comma. Do not include the.selector in the class namestring
none
URL
The page that the rollover links to when clicked
string
none
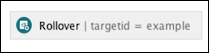
Click Insert. The macro placeholder displays.
Examples
The following example shows how to create a basic rollover using the rollover macro and the CSS Style Sheet macro.
- Edit a page and insert a Rollover macro.
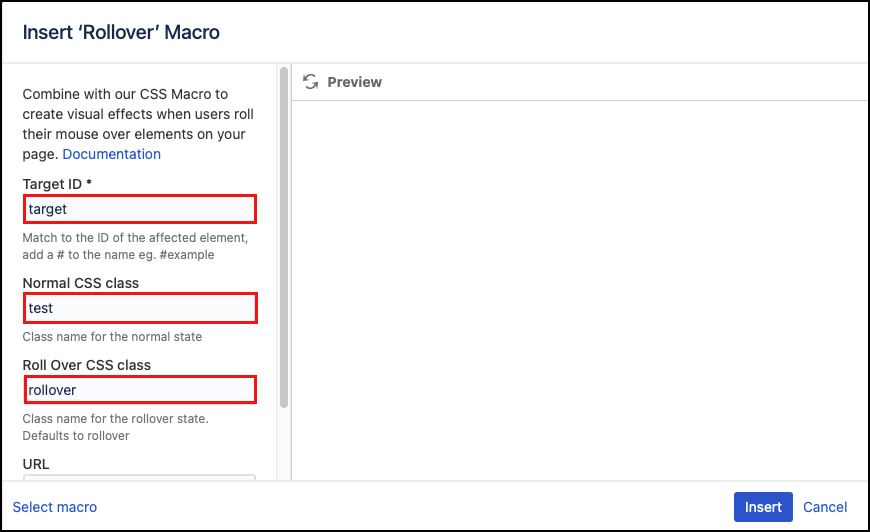
In the mandatory Target ID field identify the element to which rollover will be applied.
This serves as the targeting mechanism. In this case, we have a div macro elsewhere on the page with the parameter class name value set to 'test'. The Rollover macro searches for the element and applies the rollover effect to it.
- In the Normal CSS class field, enter the name of the class. eg. test that will be applied for the normal (roll-out) state.
- In the Roll Over CSS class field, enter the name of the class for the rollover state. eg. rollover.
- Save the macro.
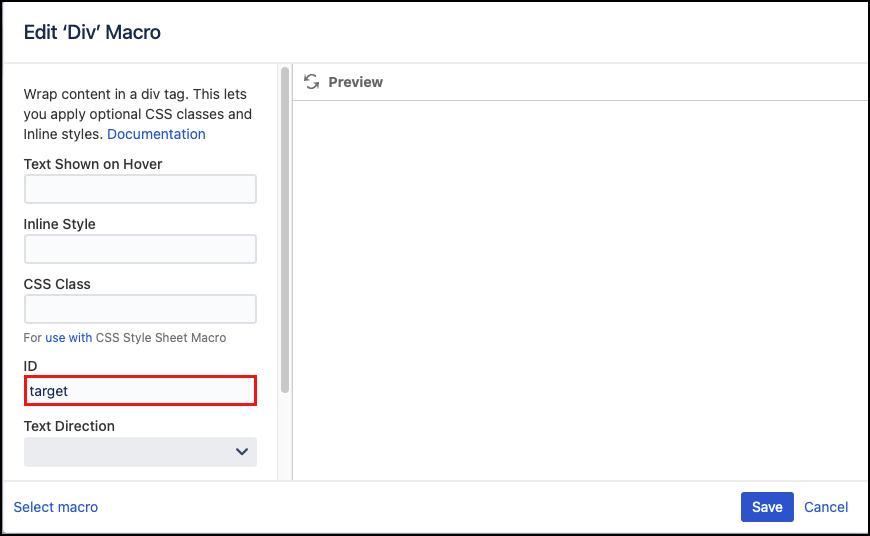
- Add a div macro, edit it, and give it the same ID as the target ID you used in the Rollover Macro eg. target.
- Add the CSS Stylesheet macro and specify the classes .
testand.rolloveras shown below. This is just an easy example, but a lot more is possible by editing the CSS.
- Save the page to see your text with a color background that changes on hover.
Published Result
Example Div macro targeted with a rollover. Colors change when the mouse rolls over the area.
Linking to pages
Set up the macros as above and specify the address as the URL parameter in the Rollover macro. Now when a user clicks the target they are redirected to the link specified.
The link should be a fully qualified web address for external pages, for example, https://www.kolekti.com.