
Horizontal Navigation
Horizontal Navigation is a pair of macros that allows you to add an interactive AUI-styled horizontal navigation bar, making content easier to navigate and digest. Start by adding the Horizontal Navigation Bar macro to your page. This acts as a container for your navigation bar pages.
See also : Tabs
Instructions
Horizontal Navigation Bar
- Navigate to the page you want to edit.
- Click Edit.
- Click the position where you want to add the navigation bar
- Click Insert More Content > Other Macros.
- Select the Horizontal Navigation Bar macro from the Macro Browser.
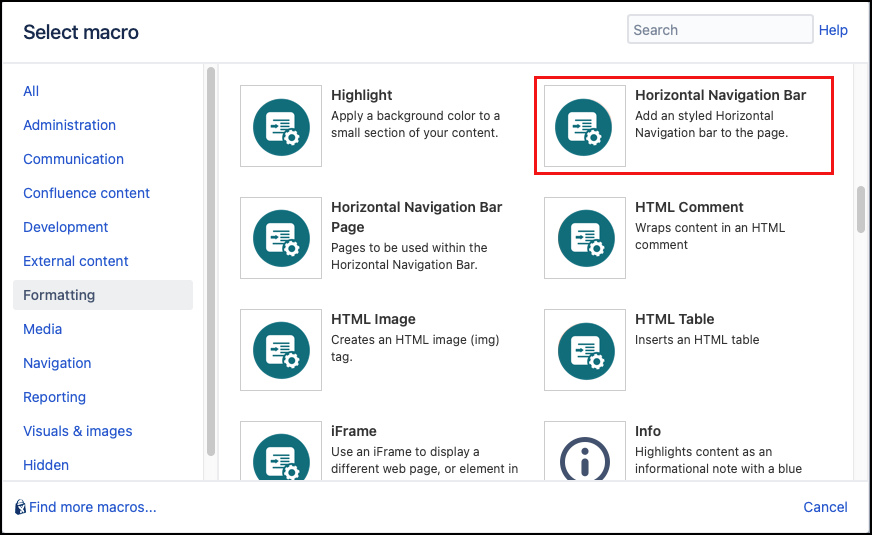
Complete any optional parameters, e.g. add a title that is displayed to users as a tooltip on hover.
Parameter
Description
Type
Default
Required
ID
Option to specify a unique ID for this element. If using this parameter to apply styling to the element, do not include the
#selector.string
none

CSS Class
Option to apply a custom CSS class to the element. Enter the CSS class name(s) to apply to the macro (case sensitive); multiple classes can be separated by a space or comma. Do not include the
.selector in the class name. Classes must be part of your Global Confluence CSS or defined in a CSS Stylesheet macro that you have added to your page.string
none
Title
Enter a title to be displayed as a tooltip.
string
none
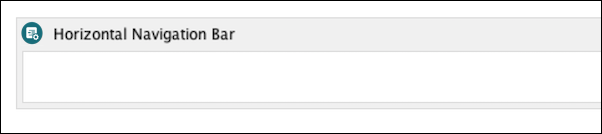
- Click Insert . The macro placeholder displays. You can now add your Horizontal Navigation Bar Page macros.
Horizontal Navigation Bar Page
Individual Horizontal Navigation Bar Page macros must be added to the Horizontal Navigation Bar macro.
- Click inside the Horizontal Navigation Bar placeholder.
- Click Insert More Content > Other Macros.
- Select the Horizontal Navigation Bar Page macro from the Macro Browser.
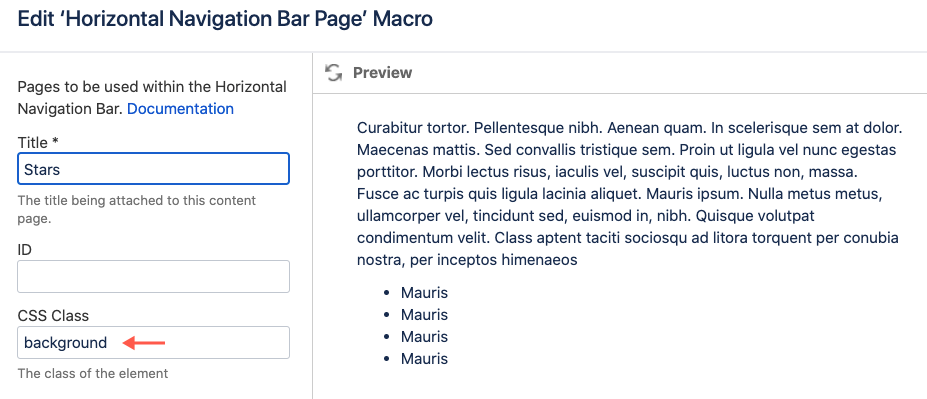
Enter the title to display as the bar header. You also have the option to assign styling to the macro content. eg. a specific font size or background color.
Parameter
Description
Type
Default
Required
Title
Enter the title to attach to this content page, e.g. Stars.
string
none

ID
Option to specify a unique ID for this element. If using this parameter to apply styling to the element, do not include the
#selector.string
none
CSS Class
Option to apply a custom CSS class to the element. Enter the CSS class name(s) to apply to the macro (case sensitive); multiple classes can be separated by a space or comma. Do not include the
.selector in the class name. Classes must be part of your Global Confluence CSS or defined in a CSS Stylesheet macro that you have added to your page.string
none
- Click Insert . The macro placeholder displays with space to add your page content in the macro body. Add your desired content then save the page to render the horizontal navigation.

- Add your desired content then save the page to render the horizontal navigation.

Example with CSS
Using the example above, a CSS Stylesheet macro is added to the page with the following style:
css.background {
background-color: #ADDFEE; border: double; padding:5px;
}
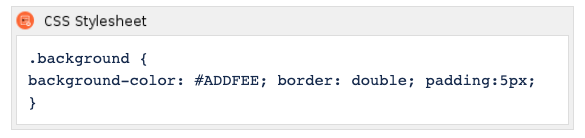
The CSS class is then added to the Horizontal Navigation Bar Page CSS Class parameter.

You can change the order of the bar pages by dragging the macro placeholder to the desired position.