Macro guide
Installation
To install the app use this guide.
Add macro
To add the Calendar for Confluence macro:
When editing, select from the toolbar
Find the macro by name and select it
You can also type / on the page to bring up the same list you'd see by selecting from the toolbar. Continue typing the name of the Calendar for Confluence macro to see it.
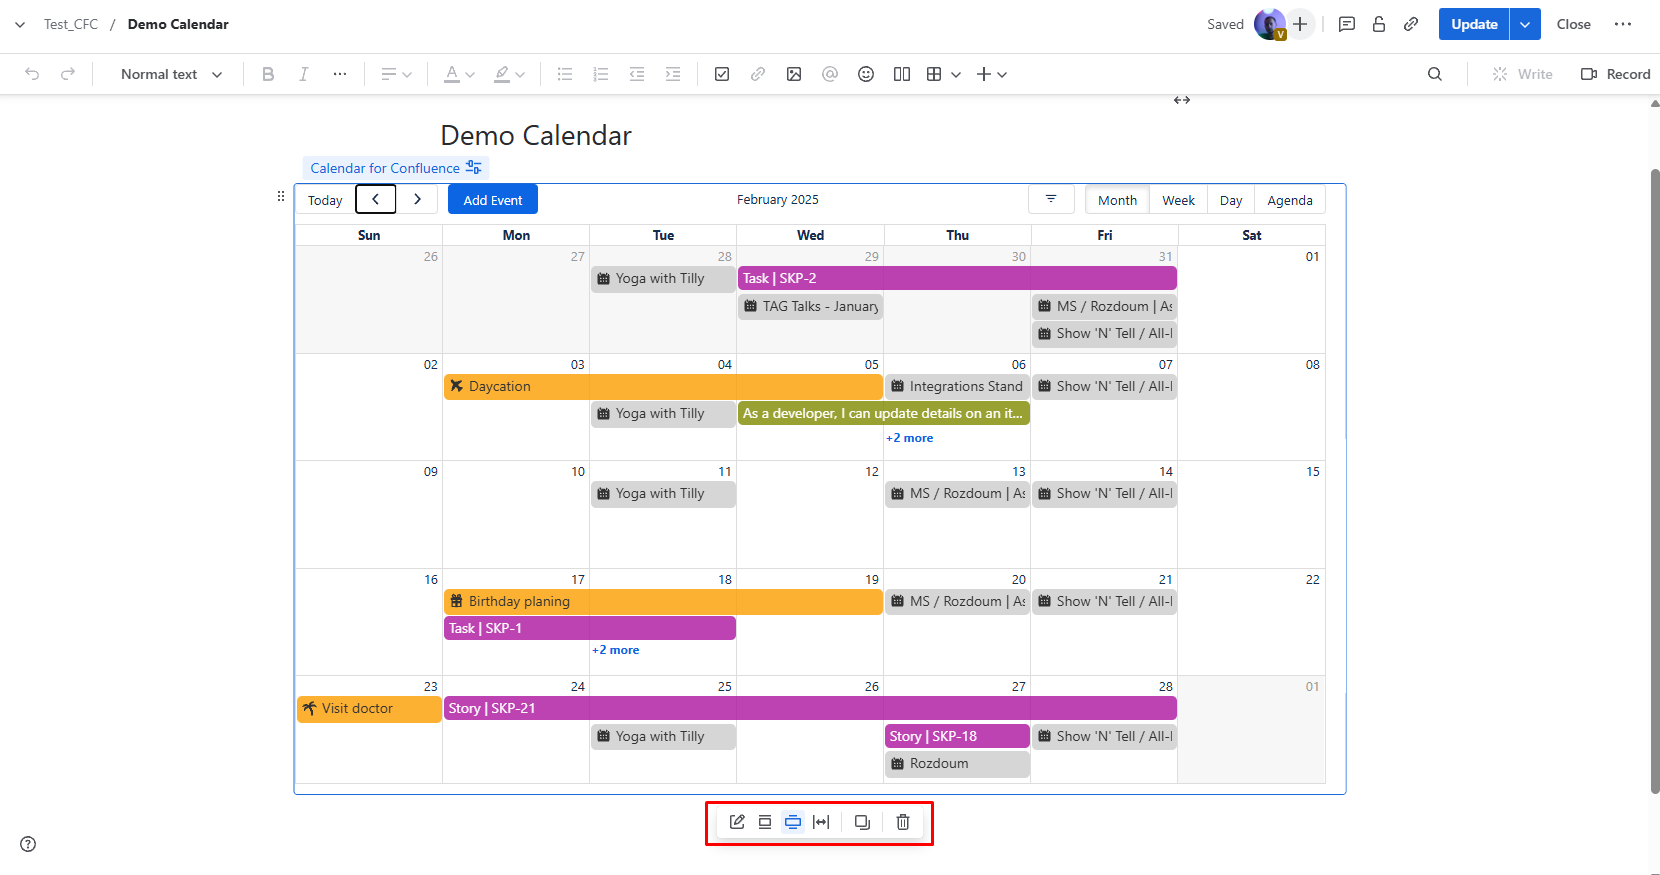
To adjust the width of some macros, select the centered , medium-width , and full-width icons. To remove a macro, select the trashcan icon .
Click on the Edit icon to configure your Calendar for Confluence macro.
Authorization macro
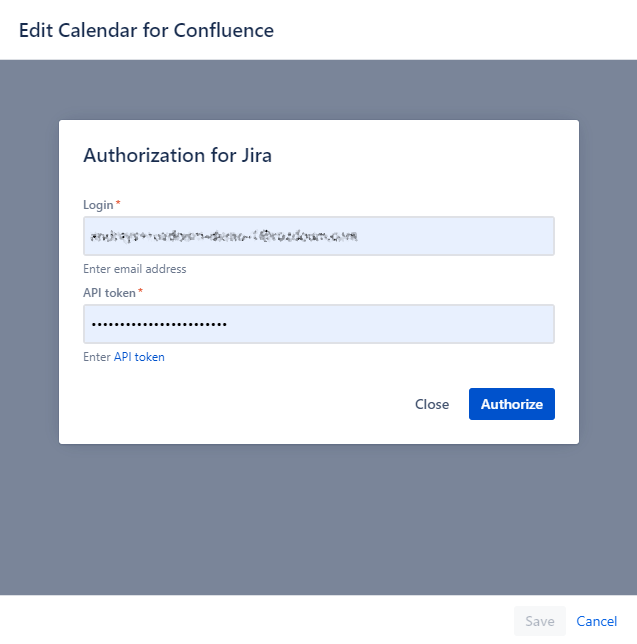
After adding the macro and publish page, the Calendar for Confluence authorization popup appears
To authorize macro, follow these steps:
Enter your Email
Enter your API token
Push Authenticate button
Your generated API token should be for the same entered email
If your Jira uses IAM (Identity and Access Management) or SSO (Single Sign-On) systems, it may prevent you from being able to authorize in the Calendar for Confluence macro.
Unfortunately, if you're using these systems, you may not be able to authorize the macro. We recommend consulting with your Jira or system administrators for further assistance and possible workarounds.


