
Custom events
Please note that the free version of Calendar for Confluence has limitations, allowing only up to three custom events. With the free version, you can create and manage a maximum of three custom events on the calendar. To bypass this limitation and enjoy unlimited custom events, consider upgrading to the Pro version of Calendar for Confluence.
In Calendar Pro for Confluence, you have the advantage of unlimited custom events support. This means you can add as many custom events as you need to the calendar, making it easier to manage and streamline your work. Take full advantage of this feature to enhance your productivity and stay organized within Confluence.
Adding
To add a custom event in the Calendar for Confluence, you have three options available:
Use the "Add event" button: Look for the "Add event" button and click on it. This option allows you to manually enter the details of the custom event

- Click on any day in the calendar: Simply click on any specific day in the calendar to create a custom event directly on that day. You can then input the event details and save it accordingly.

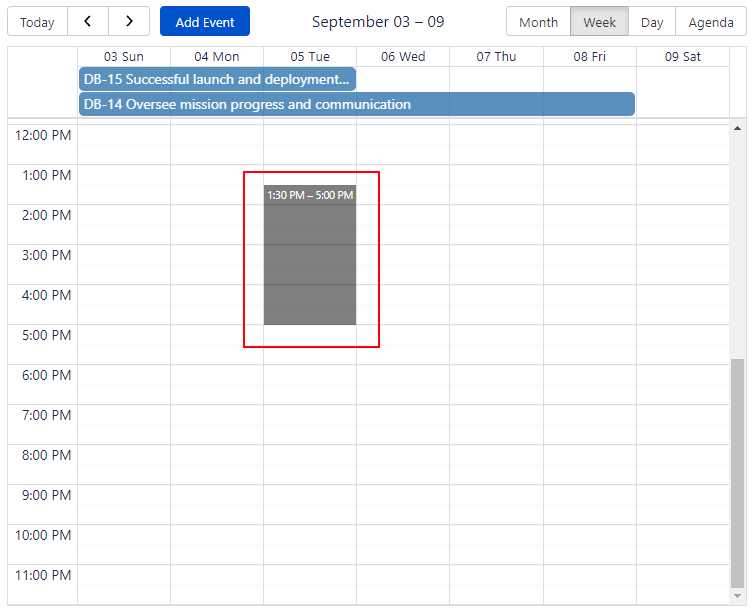
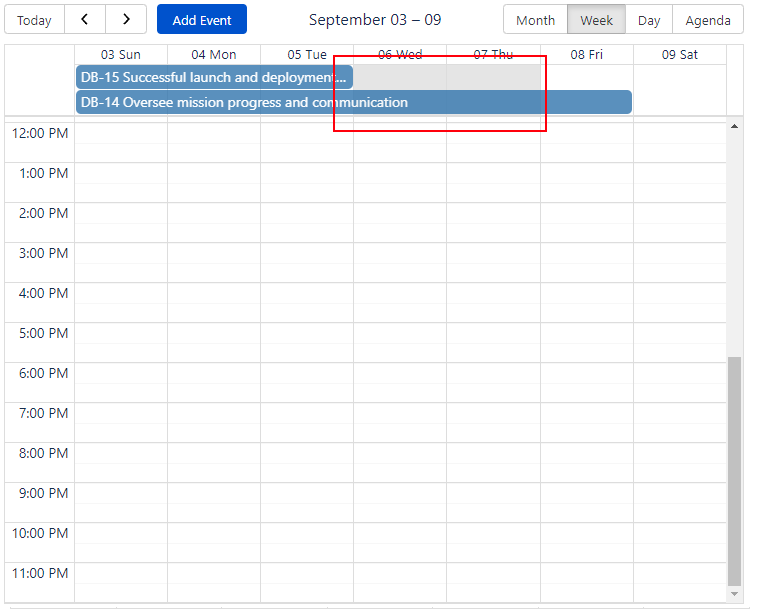
Select a range of days or hours in Week/Day view: If you are in the Week or Day view, you can select a range of days or hours by clicking and dragging over the desired duration. This will create a custom event spanning the selected range, where you can enter the event information and confirm the event creation.
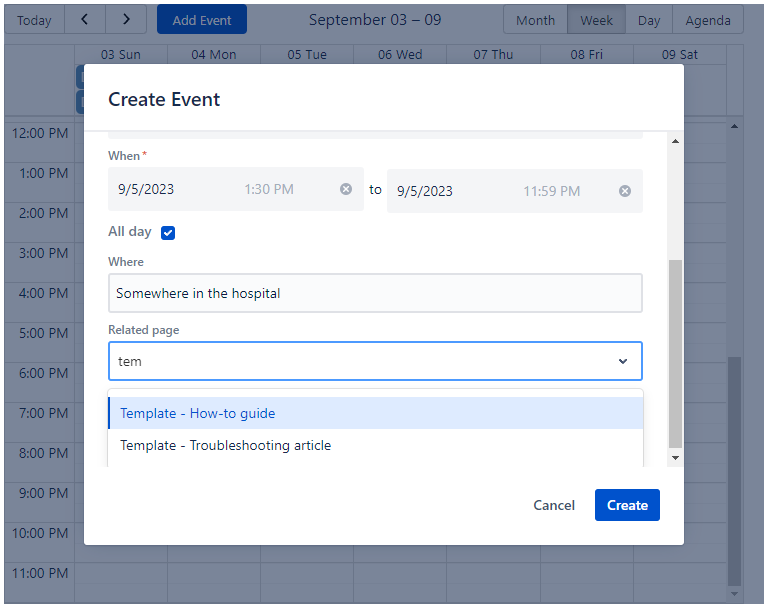
Create Event
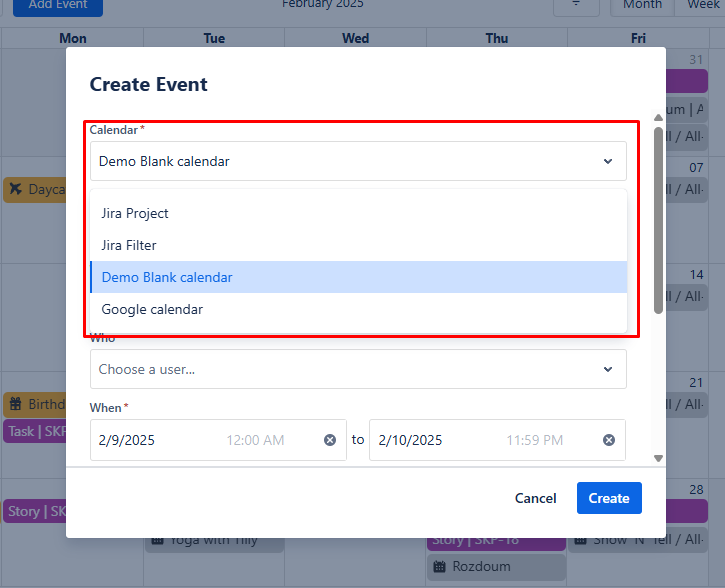
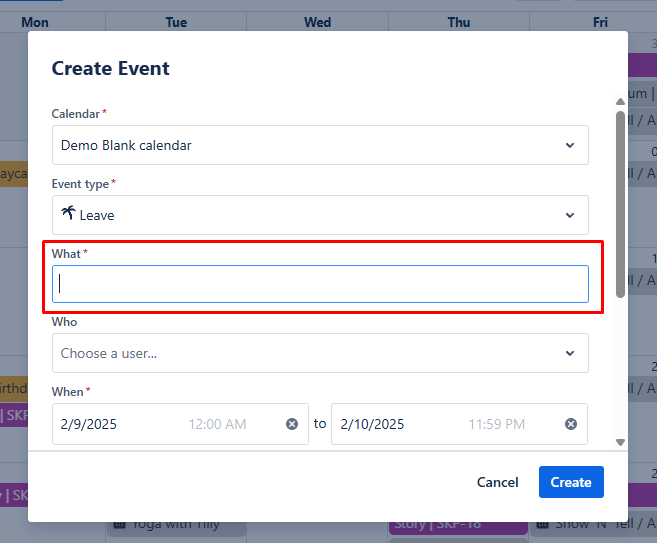
Calendar*. To create a custom event in a specific calendar, click on the "Calendar" field. A dropdown menu will appear listing all available calendars. Select the desired calendar from this list. The custom event will be created in this selected calendar and will be assigned the color associated with that calendar.
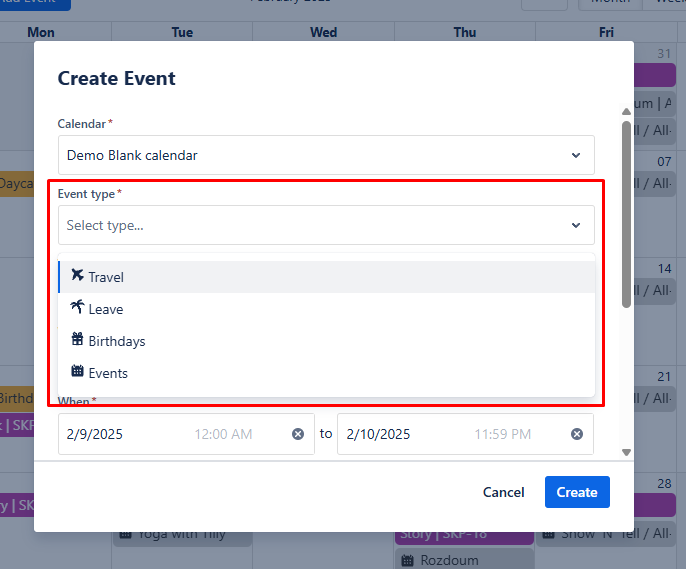
Event type*. To select the desired event type, click on the "Event type field". A dropdown menu will appear with four available event types: Travel, Leave, Birthdays, and Events. Choose the appropriate event type from the dropdown list that best matches the nature of the event you want to add to the calendar.
What*. In the "What" field, you should enter a summary of your event. This summary will be displayed on the calendar view, providing a brief overview of the event's purpose or topic.
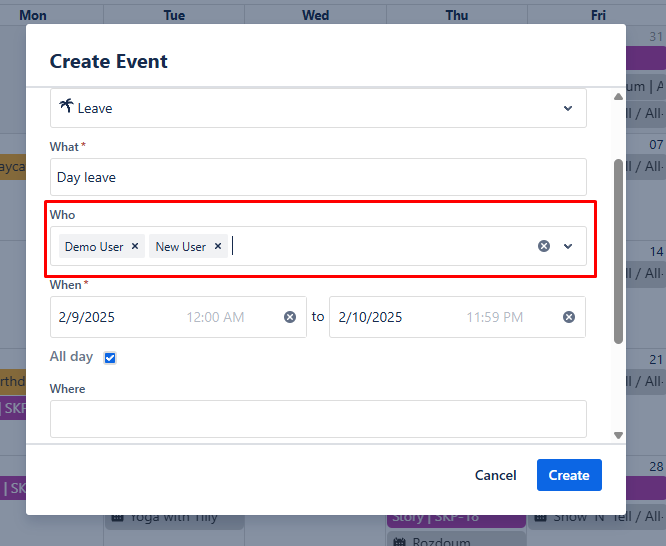
Who. In the "Who" field, you can select multiple users by typing their names. It functions as a multiple-user picker field, where you can start typing the name of a user to select them. As you type, a list of matching user names will appear, and you can choose the desired user(s) from the suggestions. This allows you to assign the event to specific users or indicate relevant participants for better organization and collaboration.
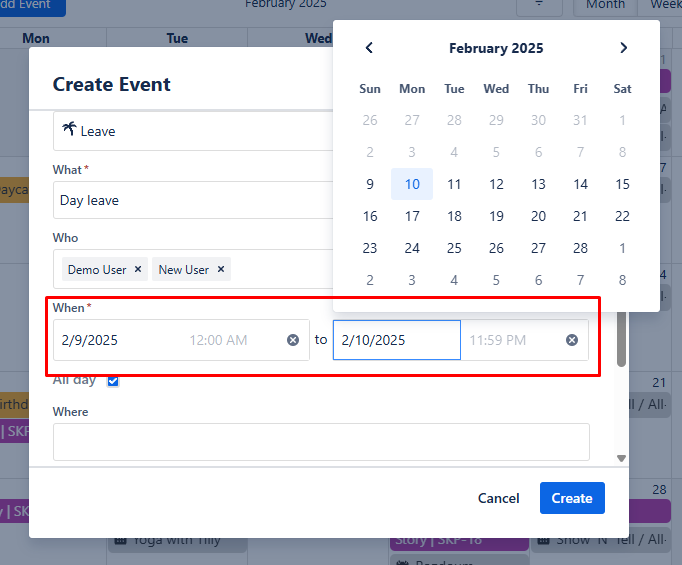
When*. In the "When" field, you can specify the date and time for your event. This field allows you to select the start and end day of the event, as well as specify the specific time if necessary. You can choose the desired date from a calendar picker and input the time either by typing it manually or selecting it from a dropdown menu. This enables you to provide a clear timeframe for the event on the calendar.
All day. To apply an event for the entire day, simply check the "All day" checkbox. This option indicates that the event will last the entire duration of the selected day without specifying a specific start and end time. Checking this checkbox ensures that the event is marked as an all-day event on the calendar.
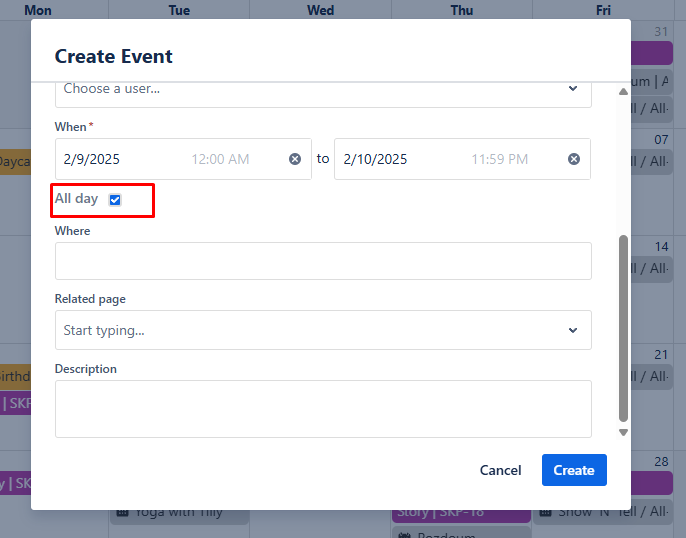
Where. In the "Where" field, you can enter any details about the location or venue of your event. This may include the specific place, such as an office address or meeting room name, where the event will be held.

Related page. In the "Related page" field, you have the option to specify any related page from Confluence to associate with the event. This allows you to link the event with a relevant Confluence page that contains more detailed information or context.
Description. In the "Description" field, you can provide any additional information or details about the event. This is where you can include a more comprehensive description, agenda, or any other relevant information that participants should be aware of.

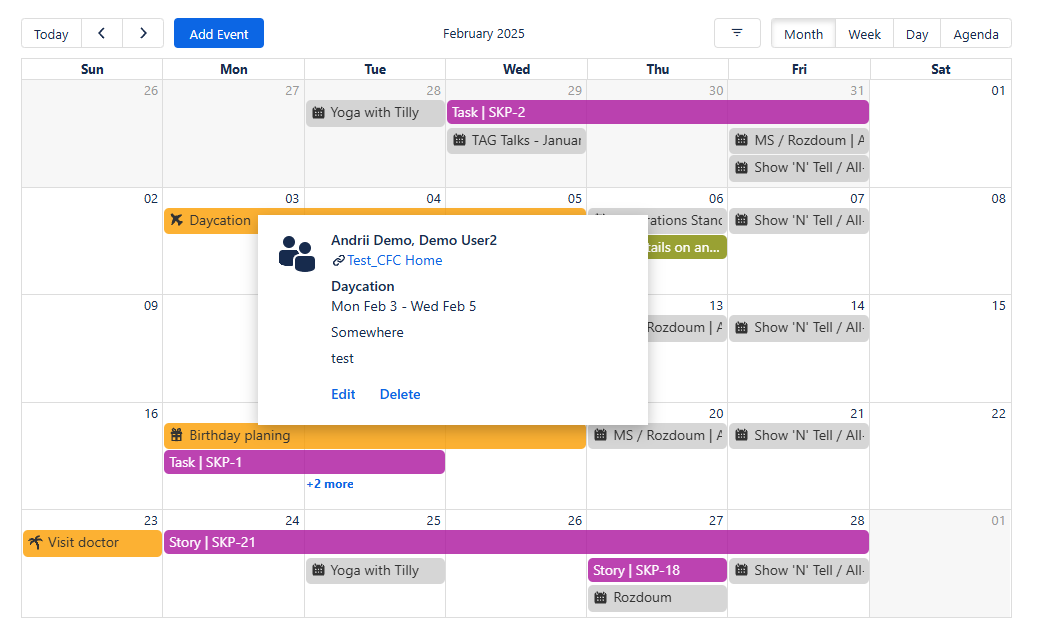
Usage
After adding a custom event, it will appear in the calendar view. You will have the ability to view, edit, and delete the event as needed. This allows you to manage and update your custom events according to any changes or requirements that may arise. Simply click on the custom event and interact with the event to access these options for viewing, editing, or deleting it.
Deleting a calendar will also delete all custom events that were created within that calendar.